Showing posts with label for gift giving. Show all posts

paper challenge

I mentioned yesterday that I have given myself a personal challenge . . . 
to reduce my paper collection!

My challenge is to choose 3 patterned sheets of paper
 and make a minimum of 6 greeting cards.  

Here are the sheets of paper I started with:


And here are the finished cards:
(sorry, my lighting wasn't great so the colours are washed out)


6 greeting cards, 2 mini cards with envelopes and 4 tags found their way out of these sheets of paper!

I found it to be a great way to relax, put some of my supplies to good use and practice new techniques.

These are the papers for my next challenge.

Thanks for stopping by,
~ joey ~

a small gift


I am in the process of trying to decide how to upgraded my art pencils so when a kind friend offered to lend us her collection of pencils to play with, I decided to whip up a little pencil pouch as a thank you.  I used this tutorial and simply enlarged the fabric dimensions to accommodate a 7" zipper.  Instead of using canvas I used iron on interfacing to slightly stiffen the fabric.


The fun thing about this gift is that the fabric I used was a piece left over from a blouse made for my daughter when she was small.  For the tag I printed a photo of her wearing the blouse and added a message of thanks.

I find personalizing small gifts like this fun and always well received.
Have you made a personalized gift for someone special?
~ joey ~
 

paper quilt cards


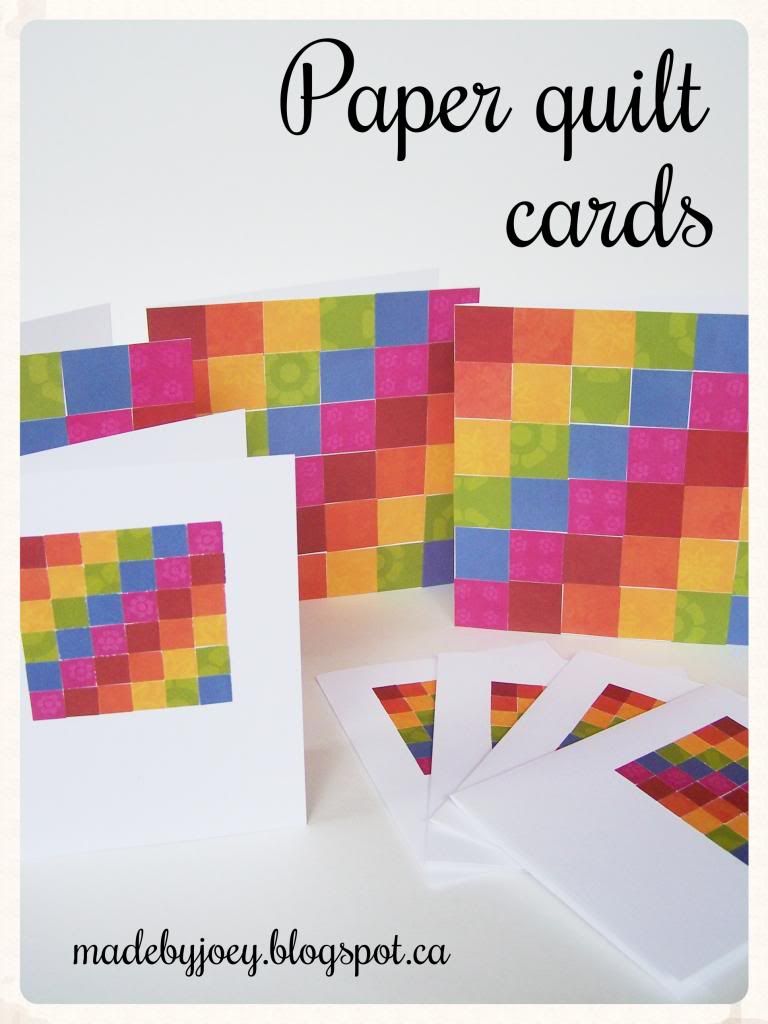
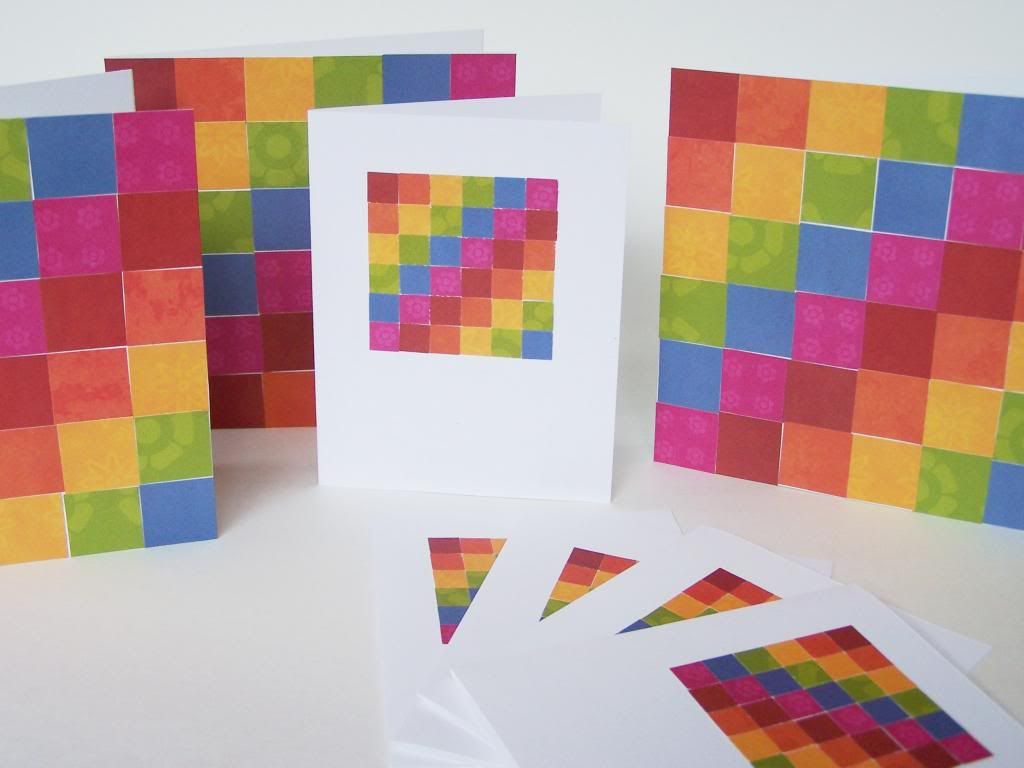
For my birthday last year I received a huge packet of printed cardstock (8 sheets of 25 designs... doublesided ...oh be still my heart!)  A few days ago I pulled it out (yes, I was hoarding it to only use on 'good' projects!) so I decided it was time to have some fun playing with the fun patterns.  This week I'll be sharing some of the projects that I have made using the 12"x12" sheets.

This first project is super easy can be done with any kind of paper, even old magazines work great (eco-art!)  It's a great rainy day activity for kids and perfect for teachers with limited Art budgets!

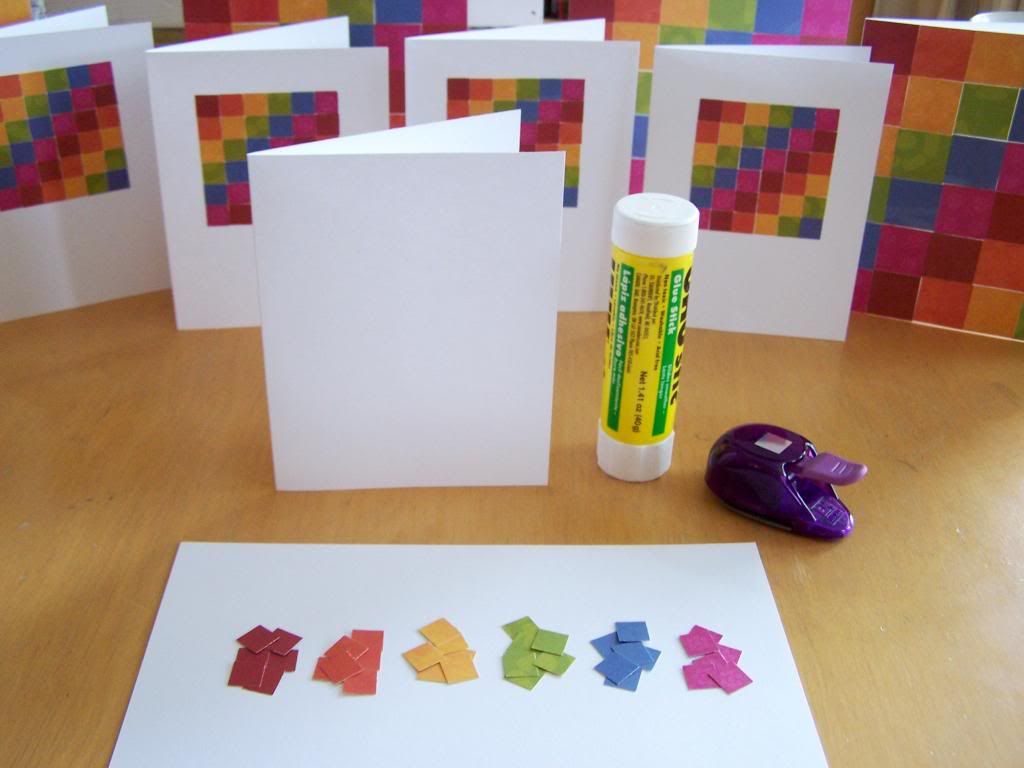
 You need:
paper scraps in rainbow colours
 white card stock 8.5" x 5.5"
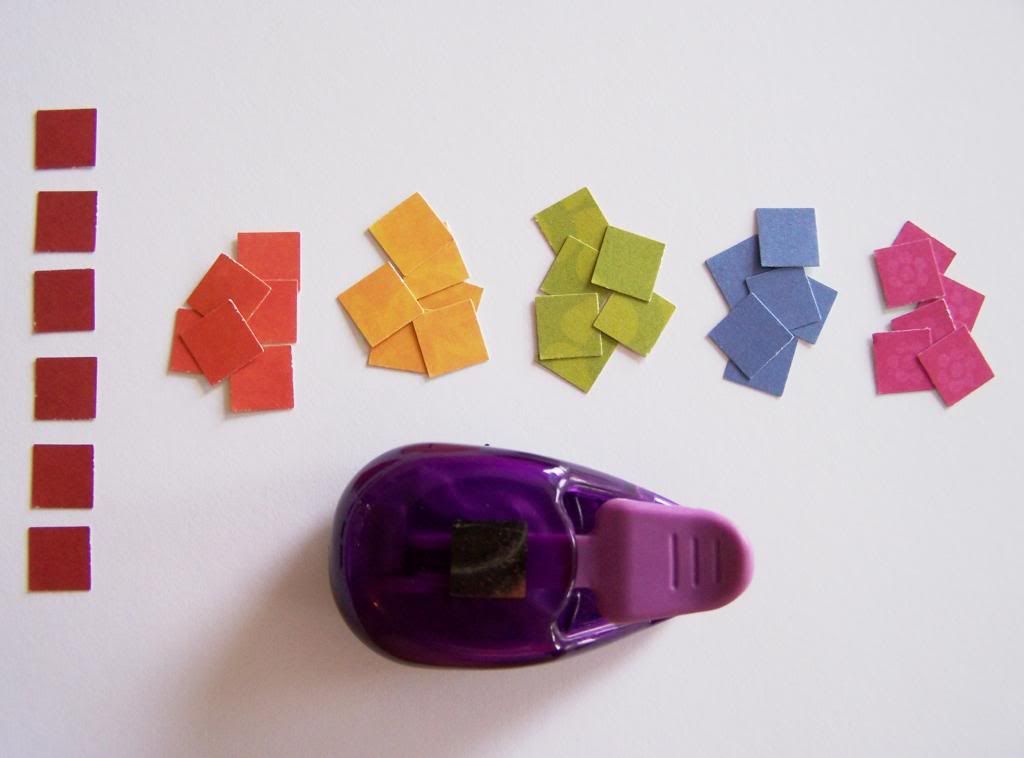
1/2" square paper punch*
glue stick

Cut 6 squares in each colour with the square punch.
*a paper cutter or scissors work too.

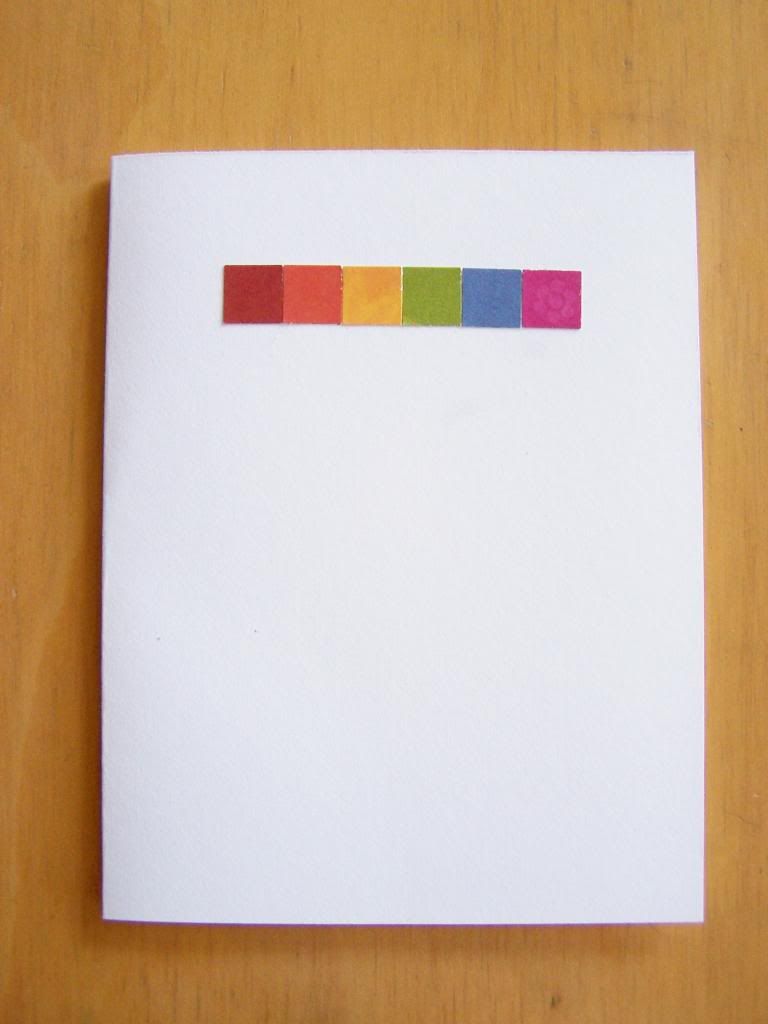
 Fold your white cardstock in half so your card is 4.25"x5.5".
Starting about 3/4" down from the top of the card, place your first line of squares (starting with red) so they are centred on the card.  Glue down with your glue stick.

 Continue glueing the next row of squares starting with orange and finishing with red.
You will see the diagonal pattern forming as you continue to glue on each row.


I also made 6"x6" cards using 1" coloured squares.

I love the bright rainbow colours and the fact that it looks like a quilt.  I can't wait to make some more with other colours, maybe even experiment with triangles!?
Cards fo Autumn, Christmas, Spring, the possibilities are endless!

Have fun!
~ joey ~ 

Sharing with:
Natural Suburbia - Creative Friday
Teaching Mama - Tender Moments
 Sun Scholars - For the Kids Friday

summer gifts

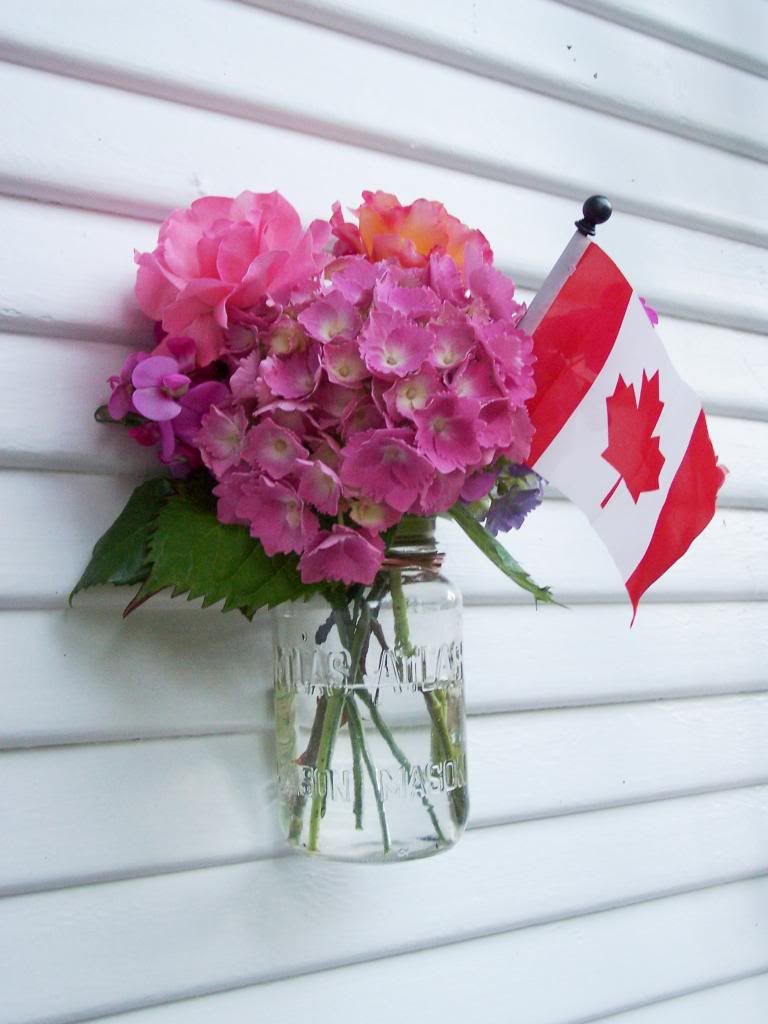
Happy Canada Day (yesterday) to all of my Canadian readers!

Now that the kids have finished school and the summer heatwave has arrived early (phew!) I thought I should set up a blogging routine to keep me organized throughout the summer.

This is what I have come up with:

:: I will be posting most of the creative projects that we do this summer.  Some may be short and sweet, others long and chatty, depending on what our schedule looks like.

:: Garden updates as things change through the season.

:: I love posting tutorials so there will be some tutorials thrown into the mix as well.

I will continue writing for Playful Learning and The Magic Onions so check for me there as well!

 ***************
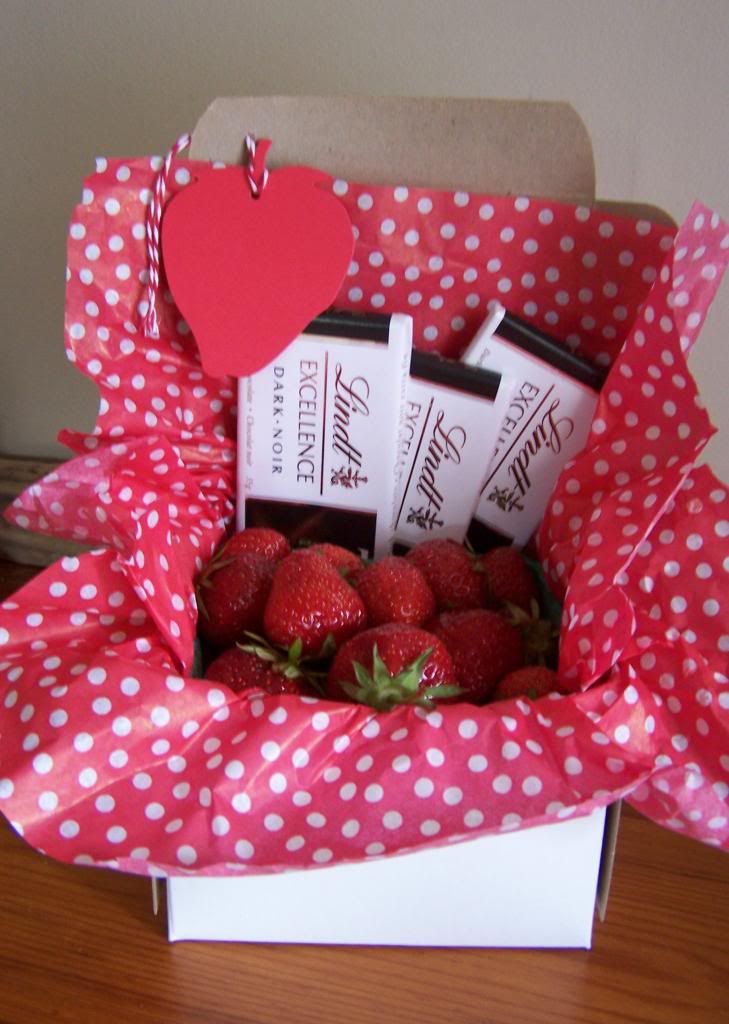
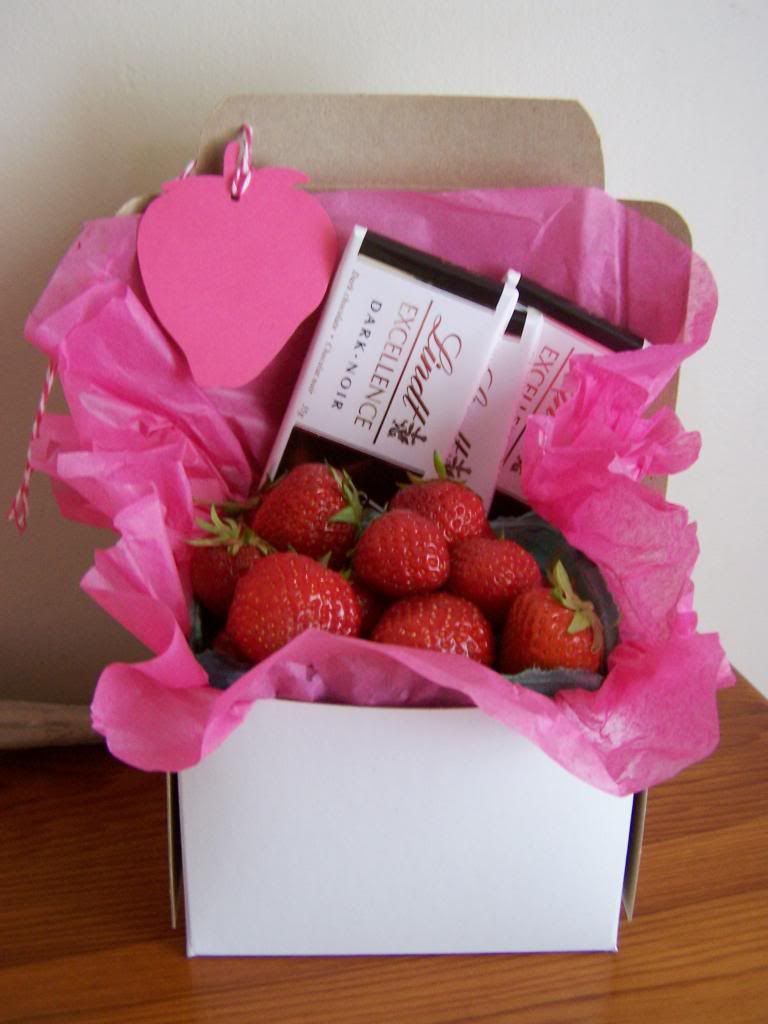
So I'll start the summer off with the gifts that we gave to our wonderful teachers this year.  I feel that teachers get enough mugs and knickknacks to fill their shelves so we decided to get them something that would appeal to their taste buds instead.

red strawberry basket 

and a pink one for the pink loving teacher!

Fresh local strawberries!...and what are strawberries without chocolate?  I thought these sweet strawberry die cuts made perfect tags, tied with a bit of baker's twine.  Homemade cards by the kids added a personal thank you to the package.
 They were very well received so we will likely use this idea again!
It's a perfect gift for any summer occasion that you want to take a little something.

Coming this week:
* new additions to our "family"
* garden update 
* front porch makeover with tutorial
* starting a fairy garden

I hope you have had a wonderful start to your summer!
~ joey ~

making: a flower fairy heating bag


making:  is a self-imposed quest to use up supplies that I have on hand to make things that are pretty, useful or to be enjoyed by someone else!  Won't you join me in clearing out the clutter?!
   * * *
I am especially happy with this project, (I'll share why in a minute)
today I made a heating bag with a removable cover for my daughter.

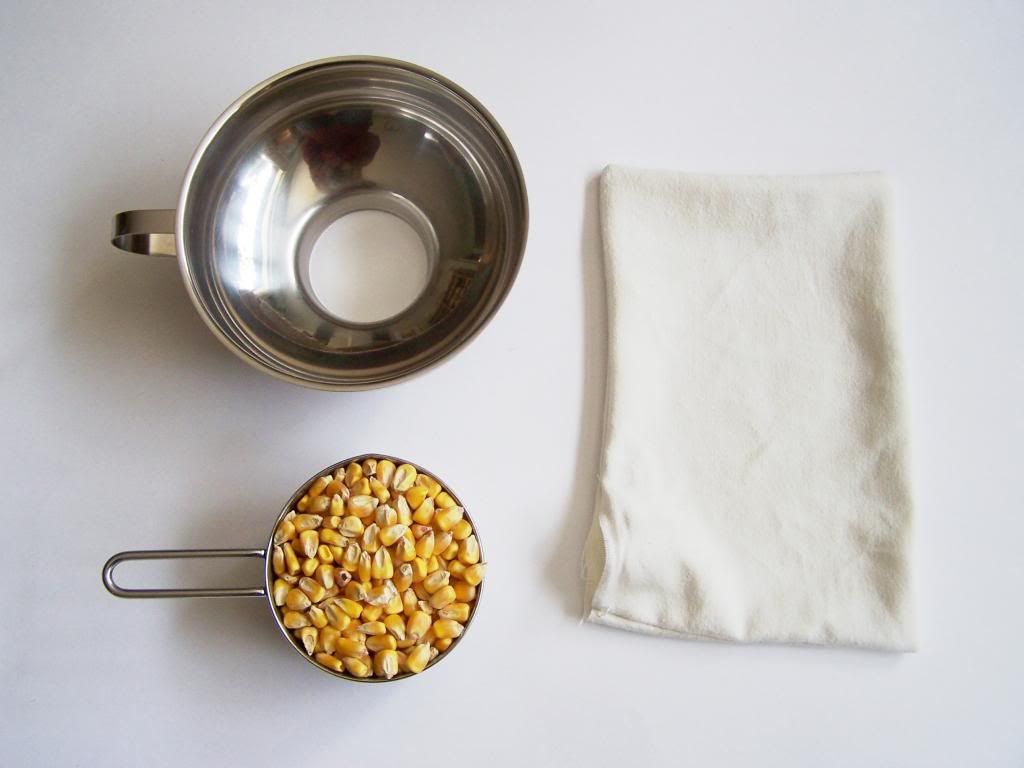
To sew a heating bag and a cover you will need:
~ fabric of your choice
~ thread
~ whole corn

To make the heating bag: 

   
 Step 1:  cut two pieces of fabric (I have used flannel 9"x6")
 Step 2:  lay one piece on top of the other and pin together

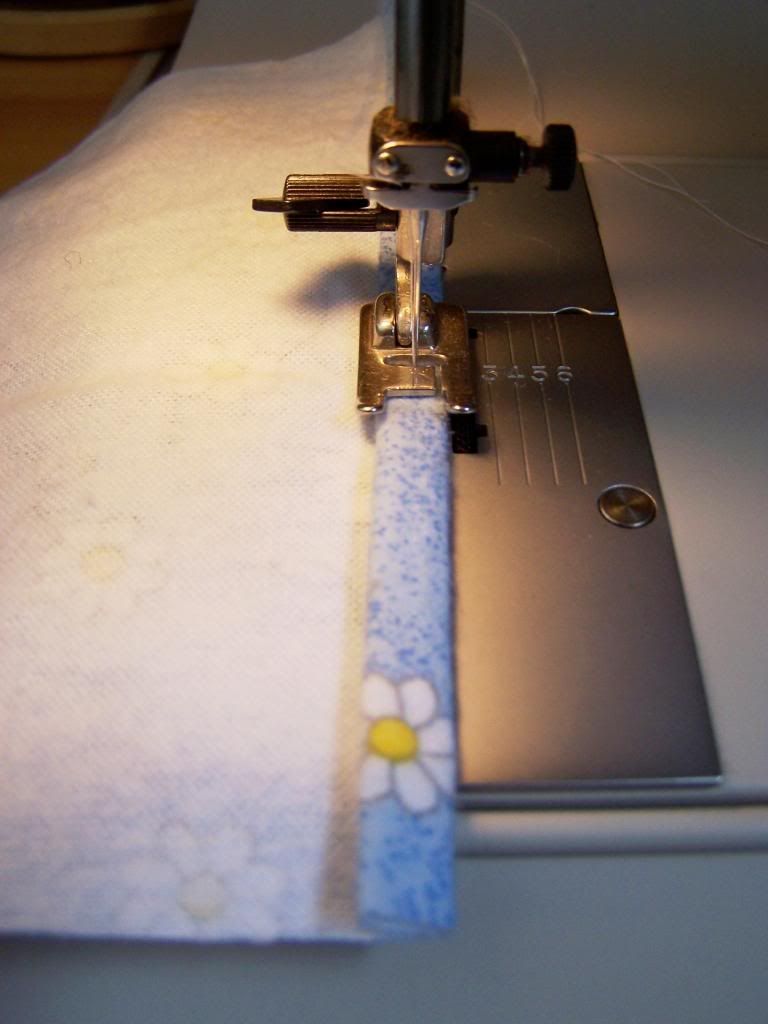
Step 3:  sew a 1/4" seam all around the perimeter leaving a 2" opening, then turn bag inside out


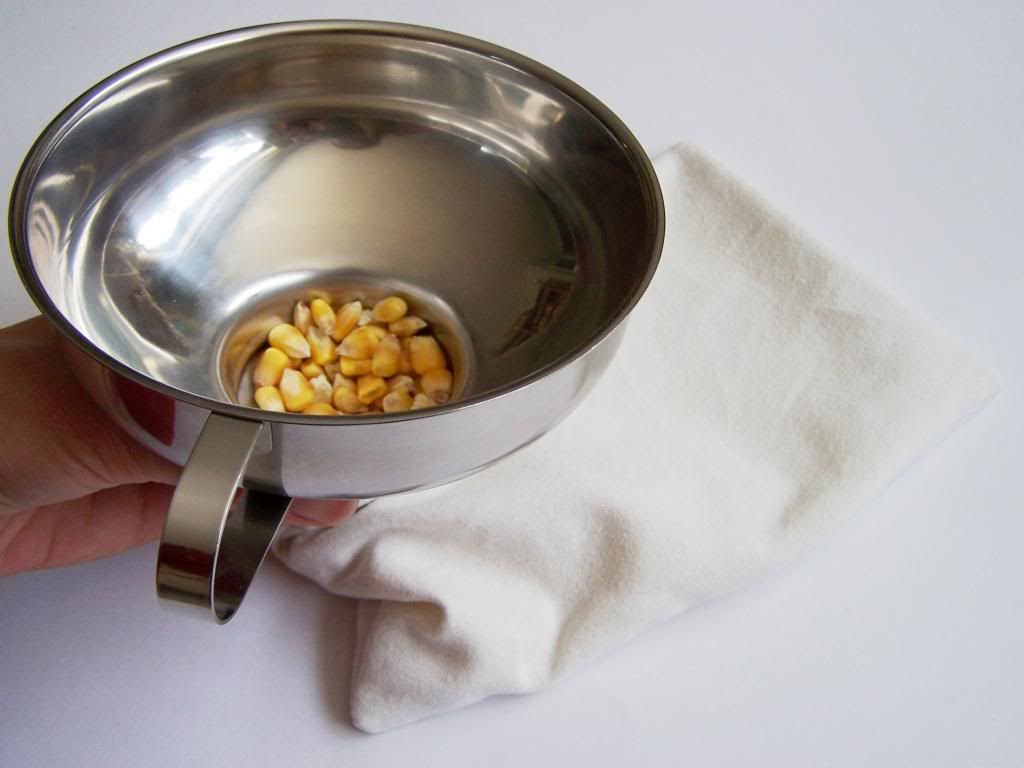
Step 4:  fill bag with whole corn* (not popcorn!)  I have used 2 cups for this size bag.
*Other grains can be used, however, a corn bag can also be used as an ice pack and washed when dirty, as long as it is microwaved (when the cloth is dry) to dry out any moisture in the corn.


Step 5:  fold in edges and sew opening closed.  Continue to sew around the entire perimeter of bag.
To make a cover for the heating bag:
 
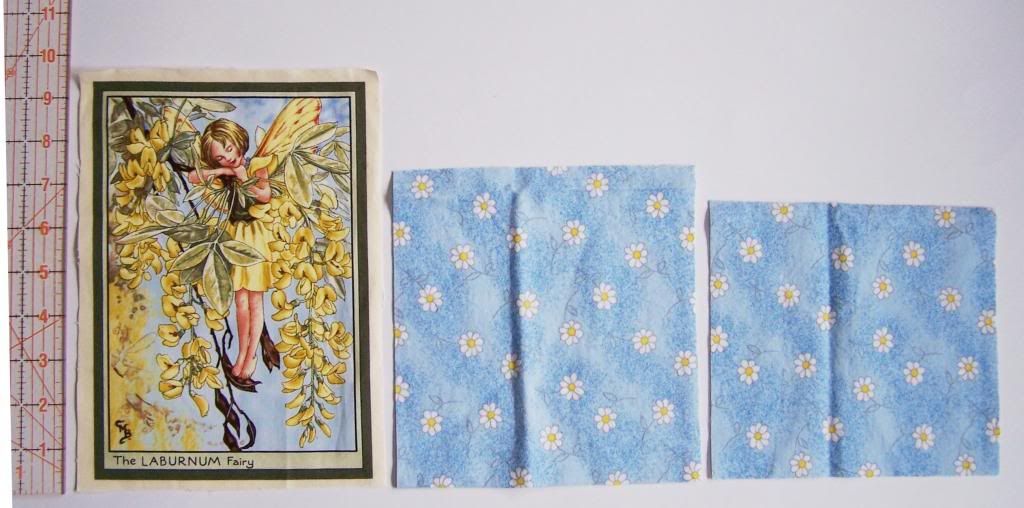
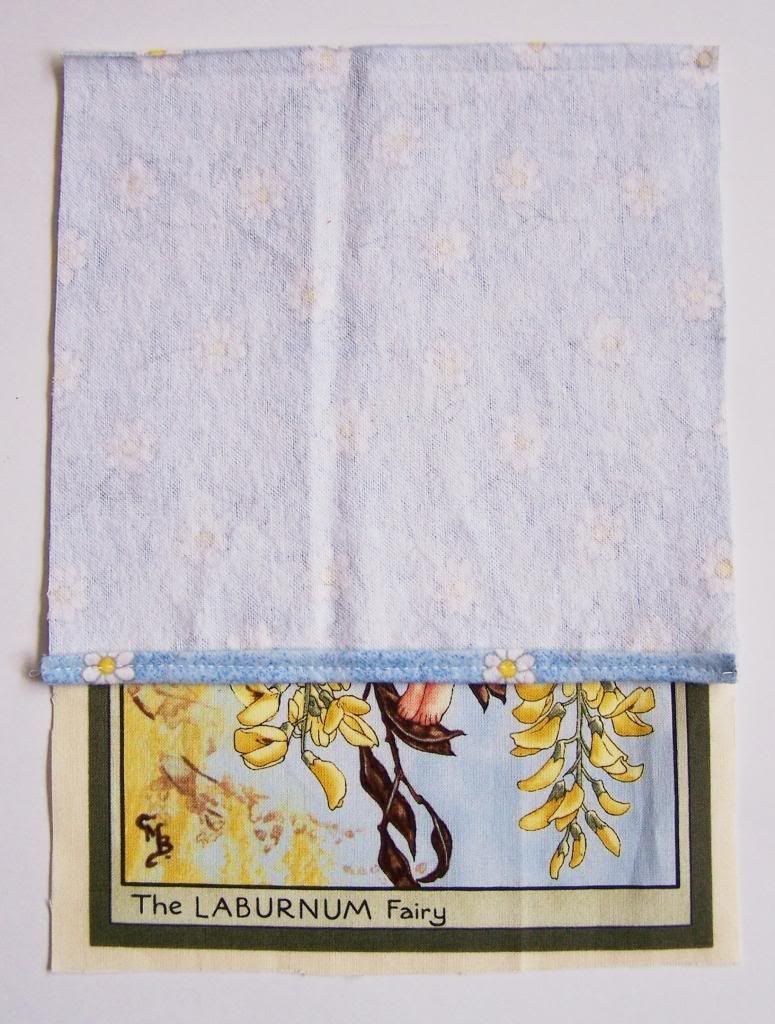
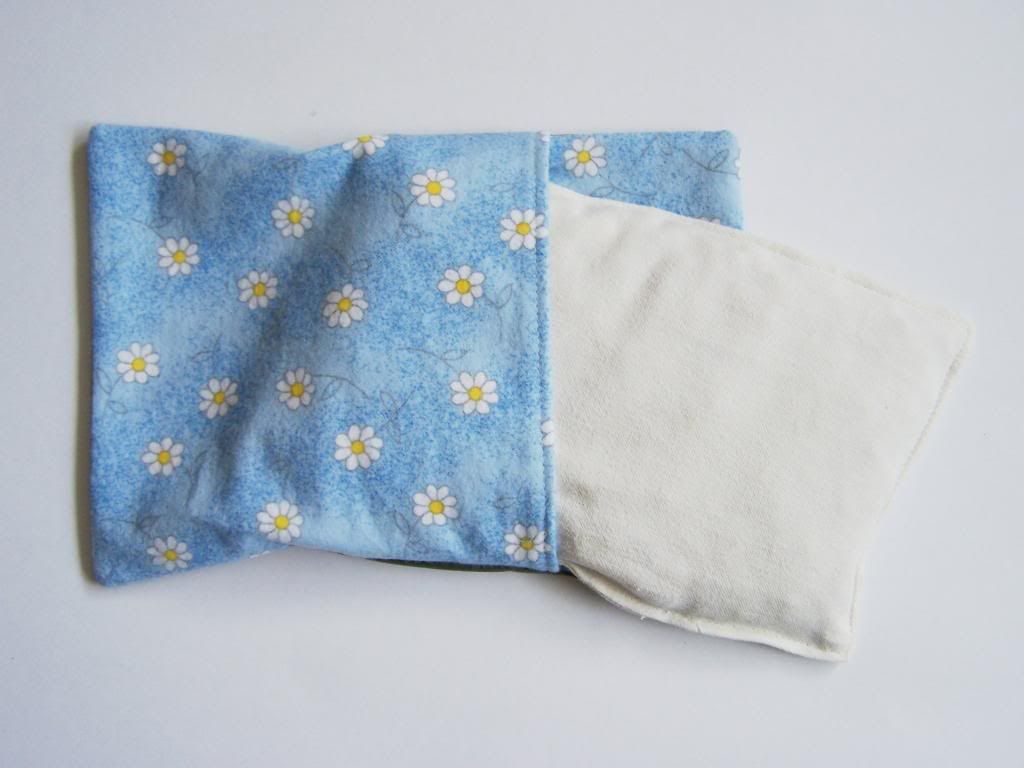
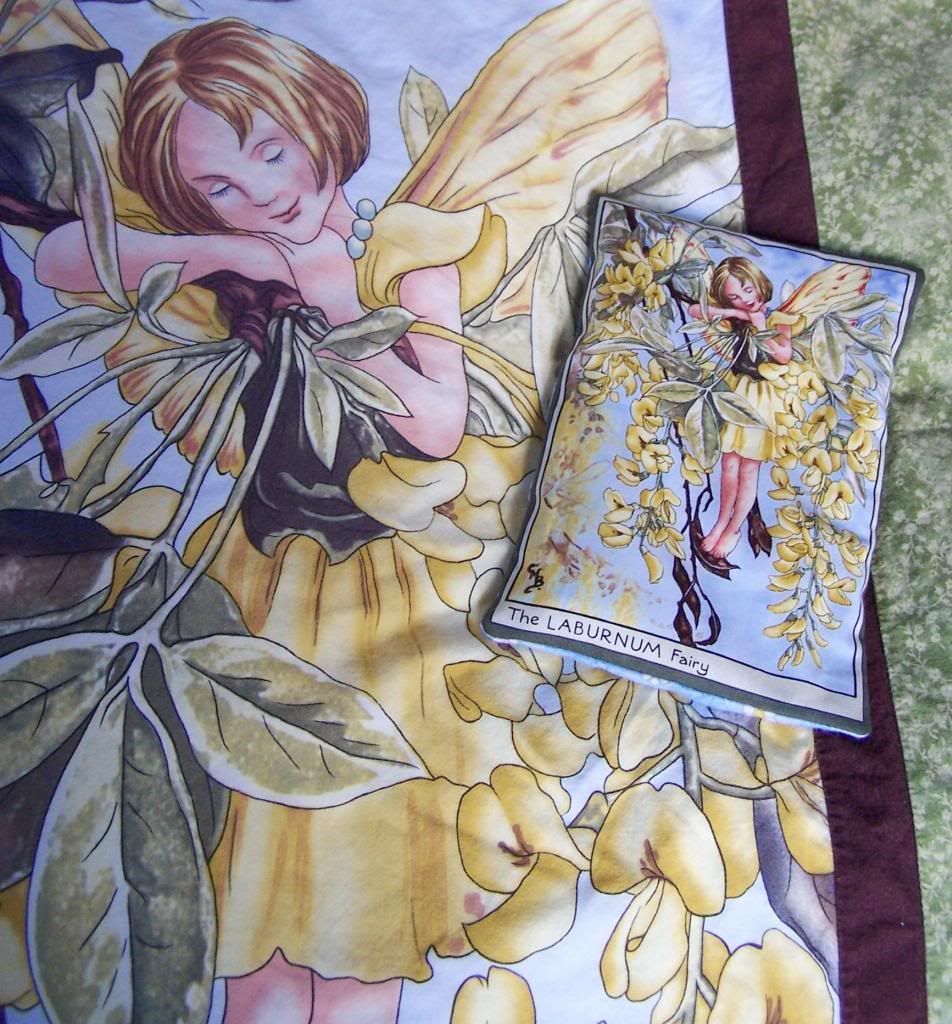
 Step 1:  cut a front for your heating bag (I have used a 9 1/2"x7" flower fairy panel) and two pieces for the back similar in proportion as the photo. (the two back pieces will overlap to create a closure)

  Step 2:  on each piece, fold over 1/2" seam twice (to create a 1/4" hem) and sew.

 
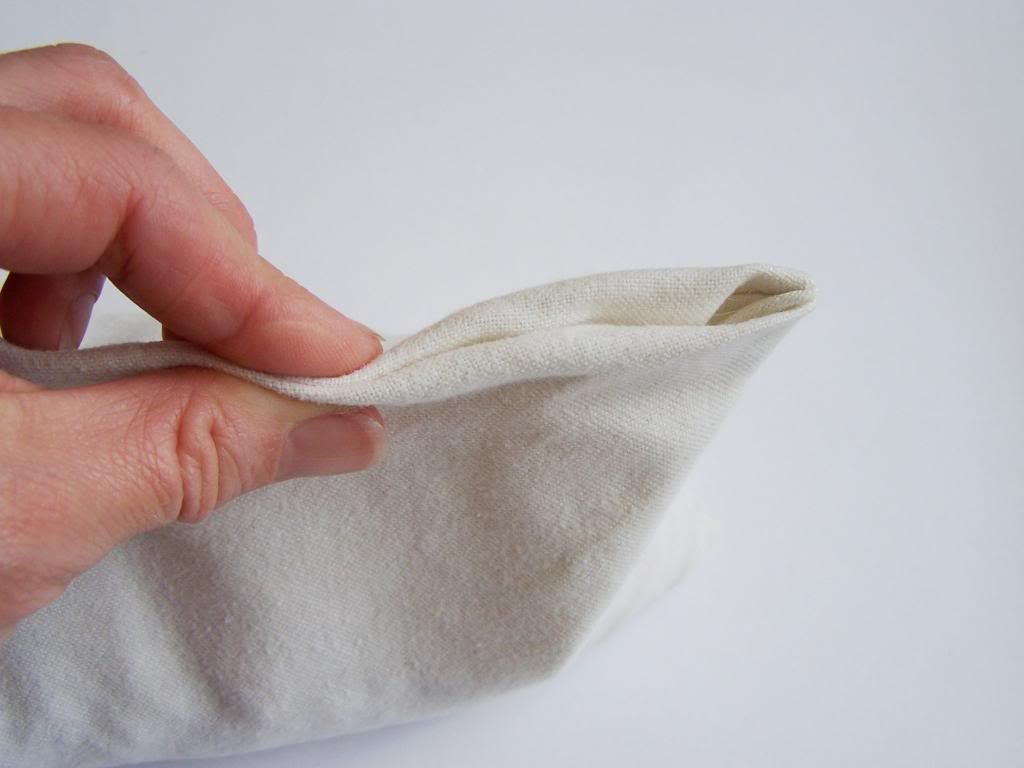
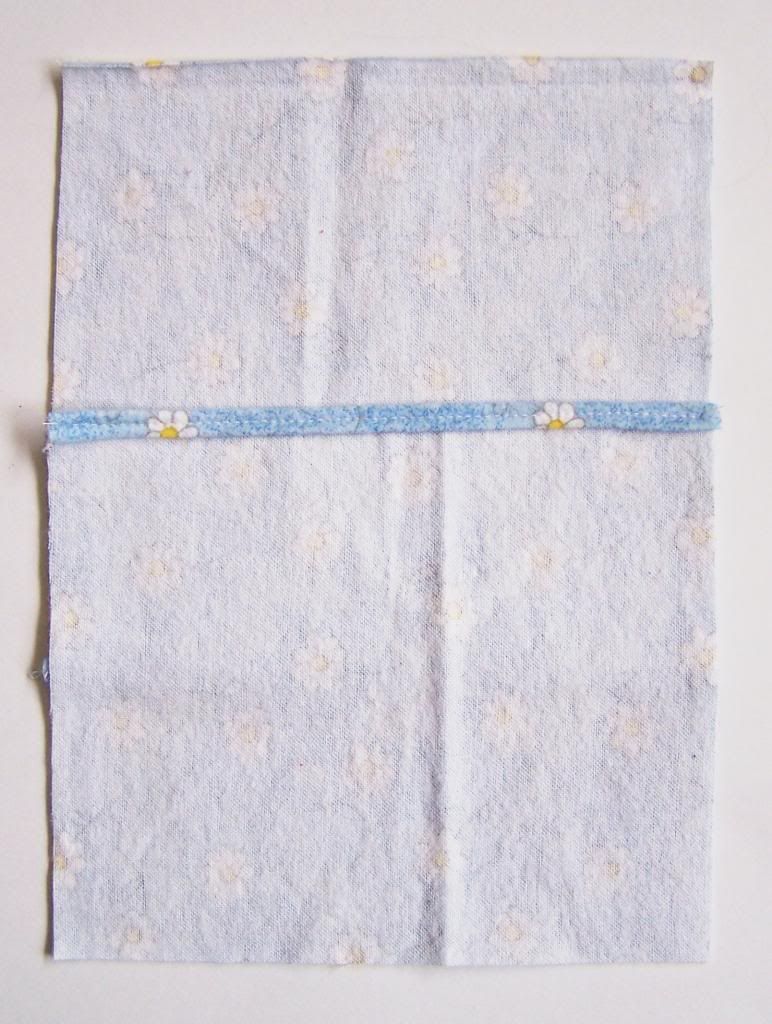
 Step 3:  position the pieces right sides together, starting with your front piece facing up, then lay one of the back pieces on top facing down, and finally the second back piece on top of the second piece as shown in the photo.


 Step  4:  pin all of the pieces of fabric together and sew a 1/4" seam around the entire perimeter.  Trim corners as shown.


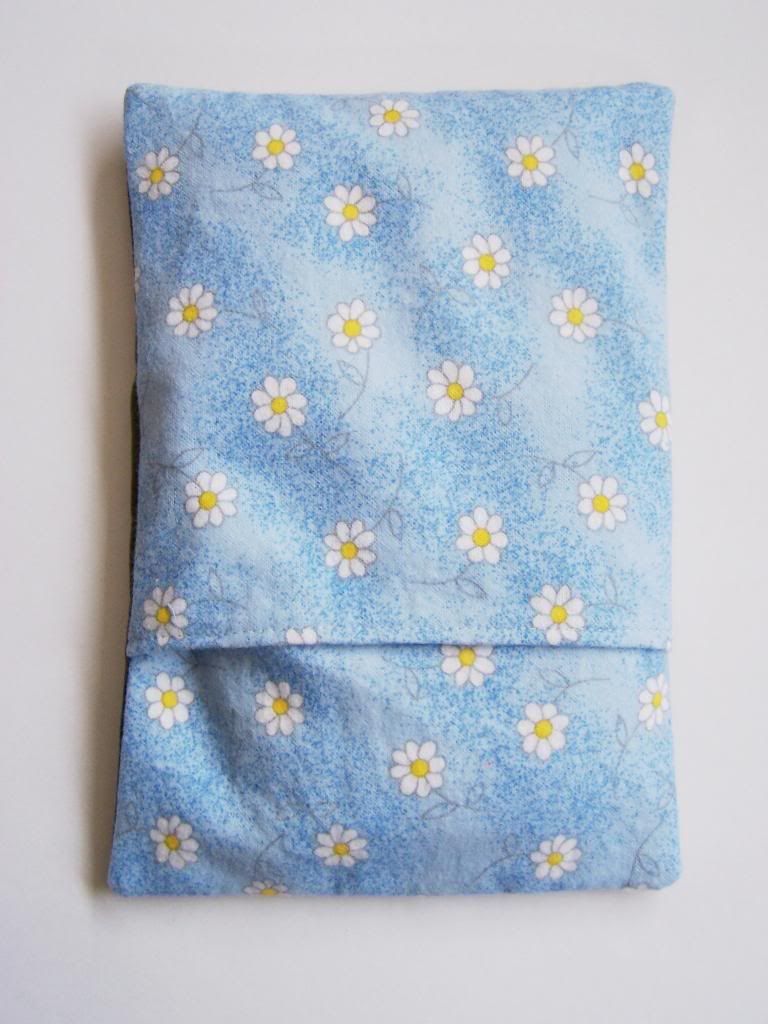
front                        back
 Step 5:  turn inside out

Step 6: stuff heating bag inside cover and you are done!

**place heating bag in the microwave for 1 minute or until warm (be careful not to over heat!)  Keep away from pets who may chew the bag and frequently check bag for holes where corn may leak out.**

heating bag on duvet cover
 The two reasons that this project makes me so happy is because of the fabrics that I chose especially for my daughter.  This small panel matches the Cicely Mary Barker Flower Fairy fabric that my daughter chose for Gramma to sew her a duvet cover.
So to now have a matching heating bag cover is perfect!
The fabric I used on the back of the heating bag cover was also meaningful as it was a scrap left over from my daughter's favourite pair of Gramma-made flannel pj's.

The white flannel used to make the heating bag also has special meaning to me as it was from one of several much loved receiving blankets that my son toted everywhere as a toddler.  

I intend to make more heating bags for the rest of us just as soon as I pick out some fabrics that have special meanings to my son, husband and myself!

Do you have some scraps that you could sew up to make someone feel warm and loved?!
~ joey ~

Shared with:

happy birthdays

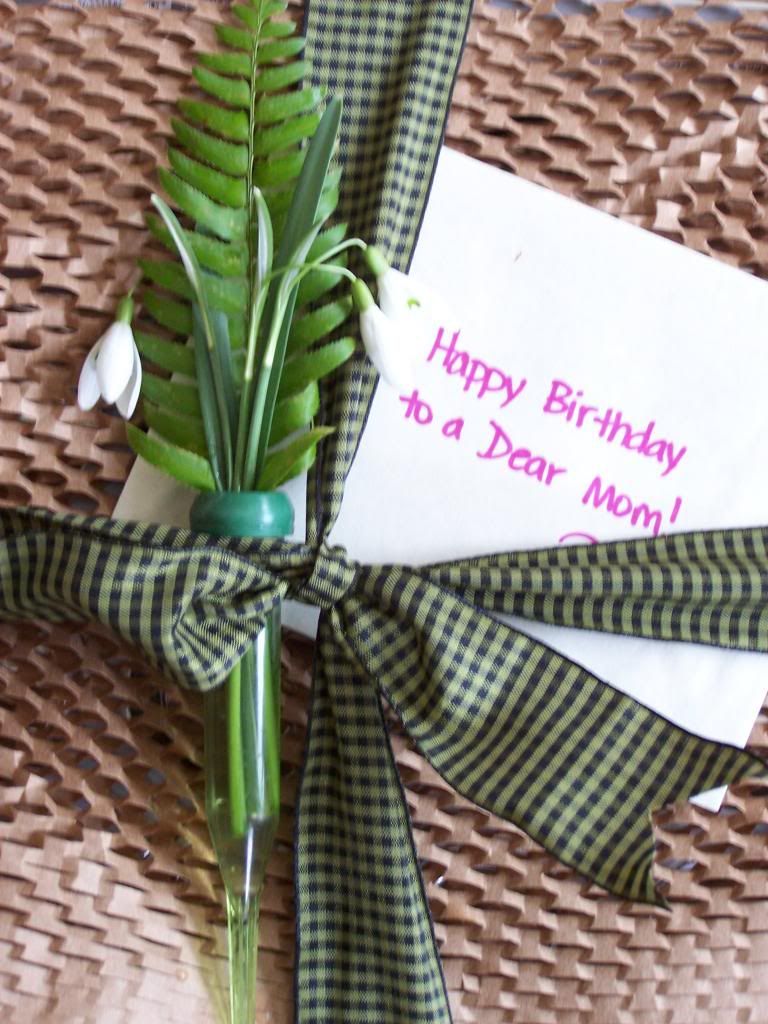
snowdrops and fern
Today our family will be celebrating two Birthdays - 
my Mom's and my Great Aunt's!

Two very special ladies who I felt deserved an extra special little touch 
added to the top of their gifts
I love tying flowers and sprigs of greenery to a package
 to give it a fresh from the garden feel.
There isn't much in the garden to chose from right now
but it's amazing what a few snips can create
when tied together with a pretty ribhon!

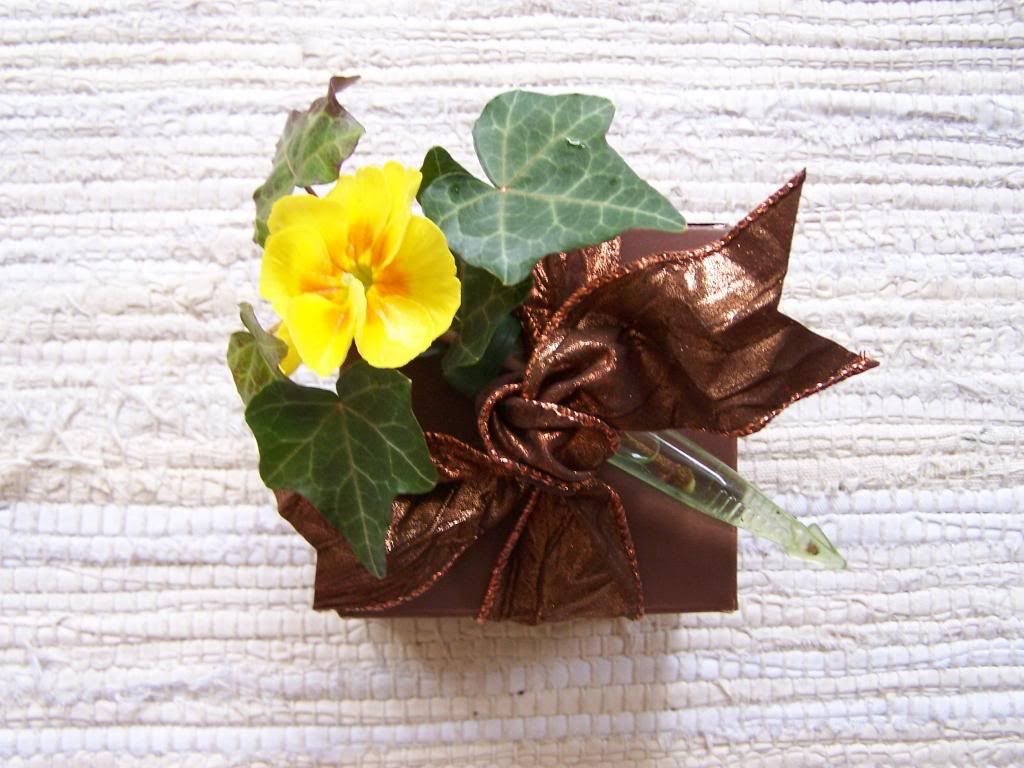
primula and ivy

I use this type of flower water pick to keep the blooms fresh all day.
They are sold in most garden centres and craft stores.

Now I'm off to bake a cake with a new flourless recipe that, if all goes well,
I will share with you tomorrow!  ;o)
Have a wonderful day!

making recycled crayons


For a while now I have been admiring the neat shaped crayons that everyone seems to be making to re-use their broken bits of crayon, so yesterday I decided to give it a try!

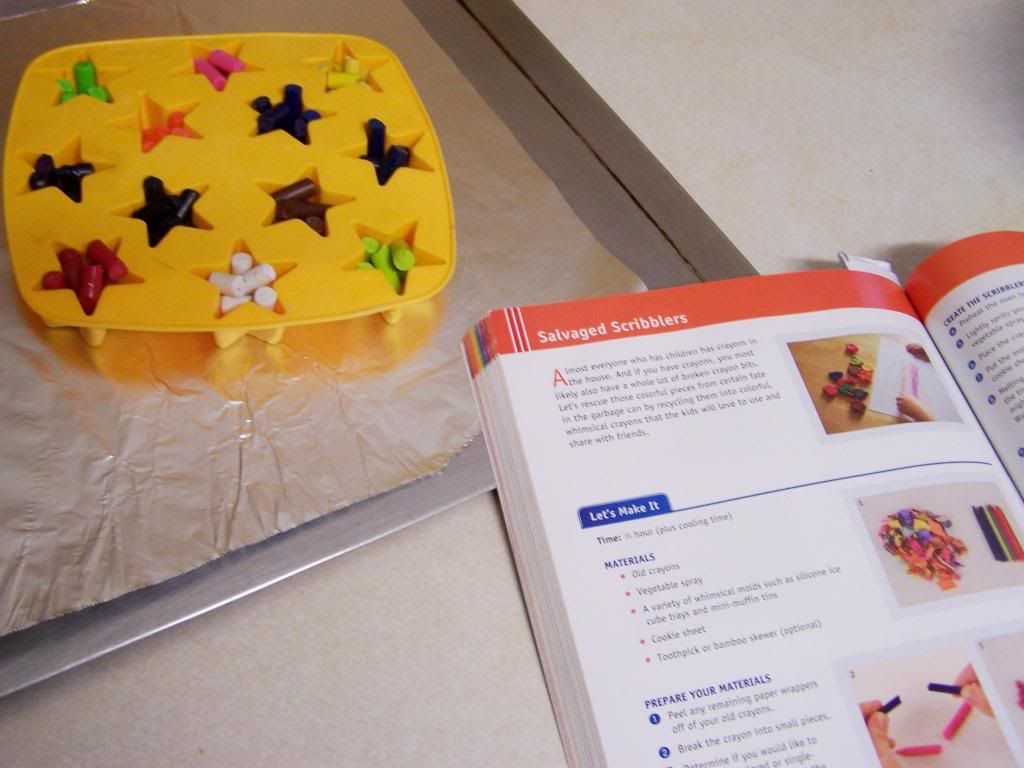
I followed the instructions in the book Crafting with Kids by Jennifer Casa.


I carefully sorted the crayons by colour . . .
(my favourite part of the project!)


. . . peeled off the paper
 and then broke them into small pieces
(which for me was the hardest part of the project!)

Then I filled my lightly oiled Ikea silicone ice cube tray with the crayon bits, put it on a cookie sheet and popped it in the oven at 200 degrees.

 
The book said that the melting time would vary according to your oven, mine took about 25 minutes.  I stirred them a bit with toothpicks to make sure there were no lumps.

I was a bit impatient when it came to waiting for them to completely cool so after about 25 minutes of waiting I popped them into the freezer.


They were very tricky to pop out of the mold but I think this was due to two things:
~ a few were made from poor quality crayons
(I think I'll only use Crayola from now on)
~ a star shape with delicate points may not be the best shape to start out with.

 *Note:  Ikea makes heart shaped trays that would be fun for Valentine's Day!

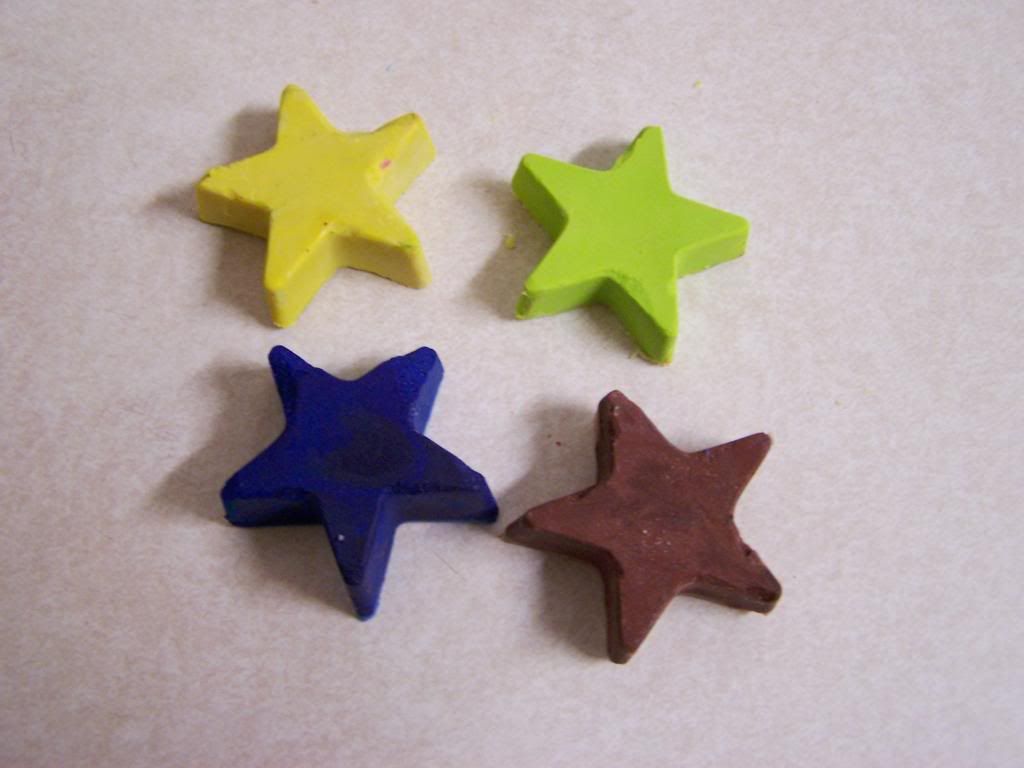
But overall they were fun to make and I did get a few out successfully.

The one thing I would like to mention that I didn't know beforehand is that once you use a mold for crayons, it gets stained so you really can't use it for anything else again.  So just make sure you don't use your best mold.

I'm eager to hear if you have tried making these recycled crayons or have any tricks that would improve my results?