Showing posts with label for Valentine's Day. Show all posts

Valentine moments

I hope everyone had a lovely Valentine's Day!
Here are some of the moments that my Valentine's Day special . . . 

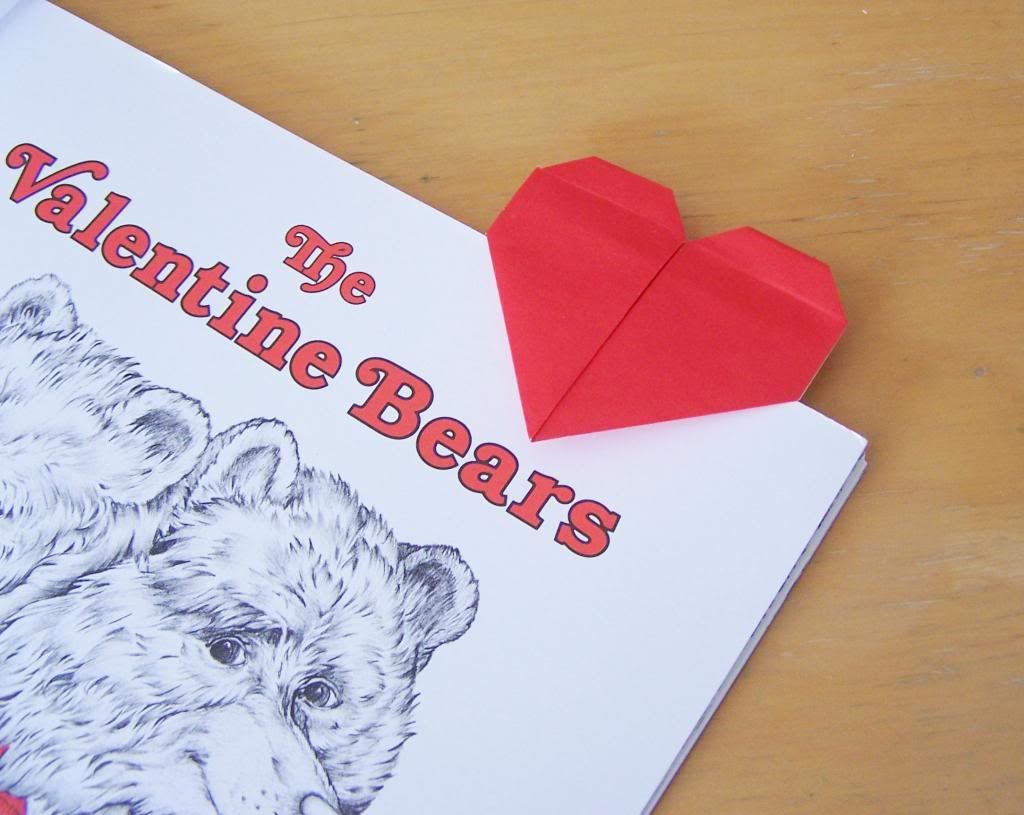
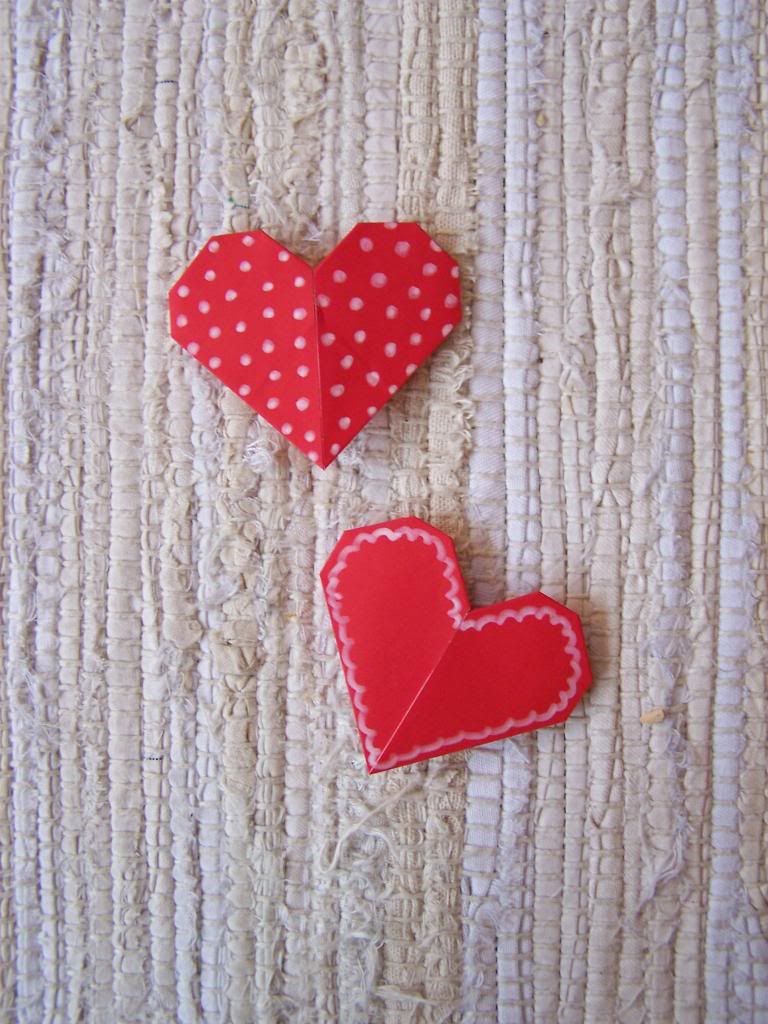
origami hearts (tutorial here)

breakfast
 
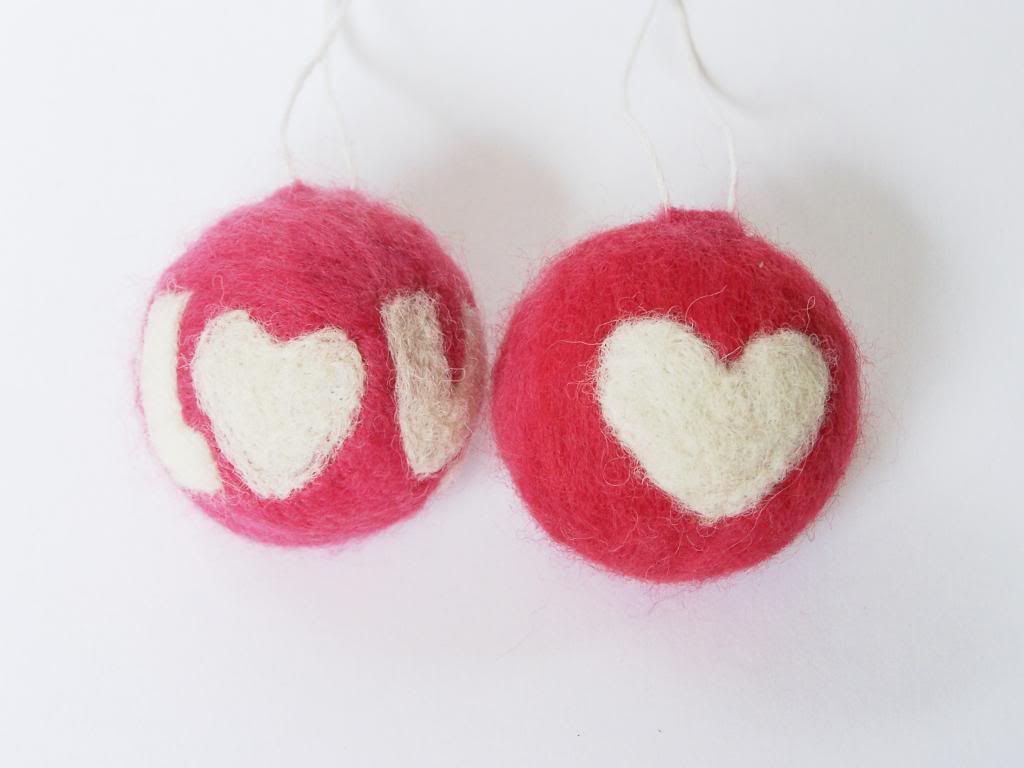
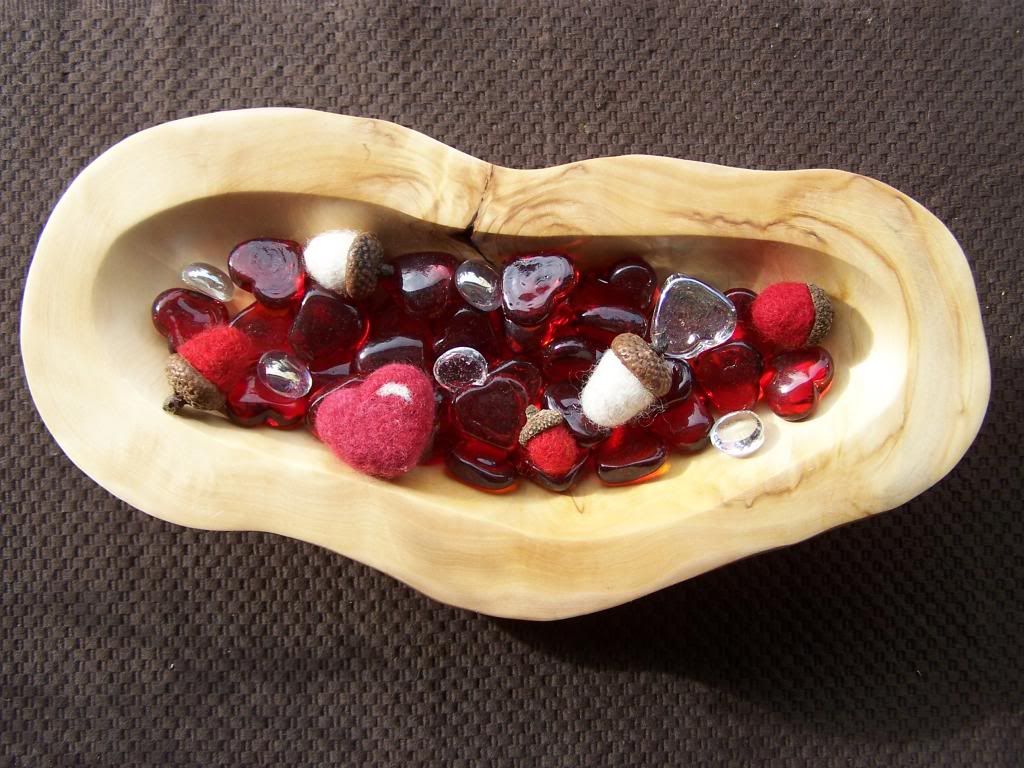
 needlefelted ornaments

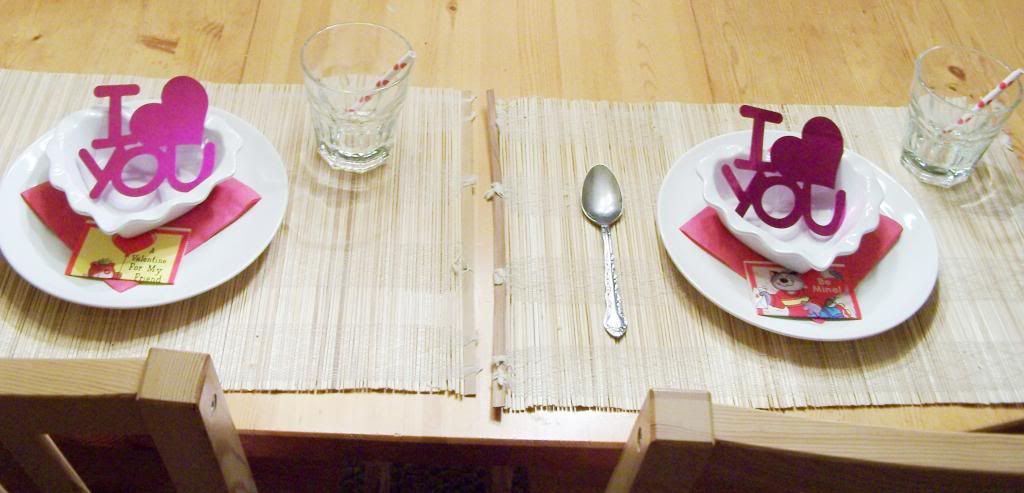
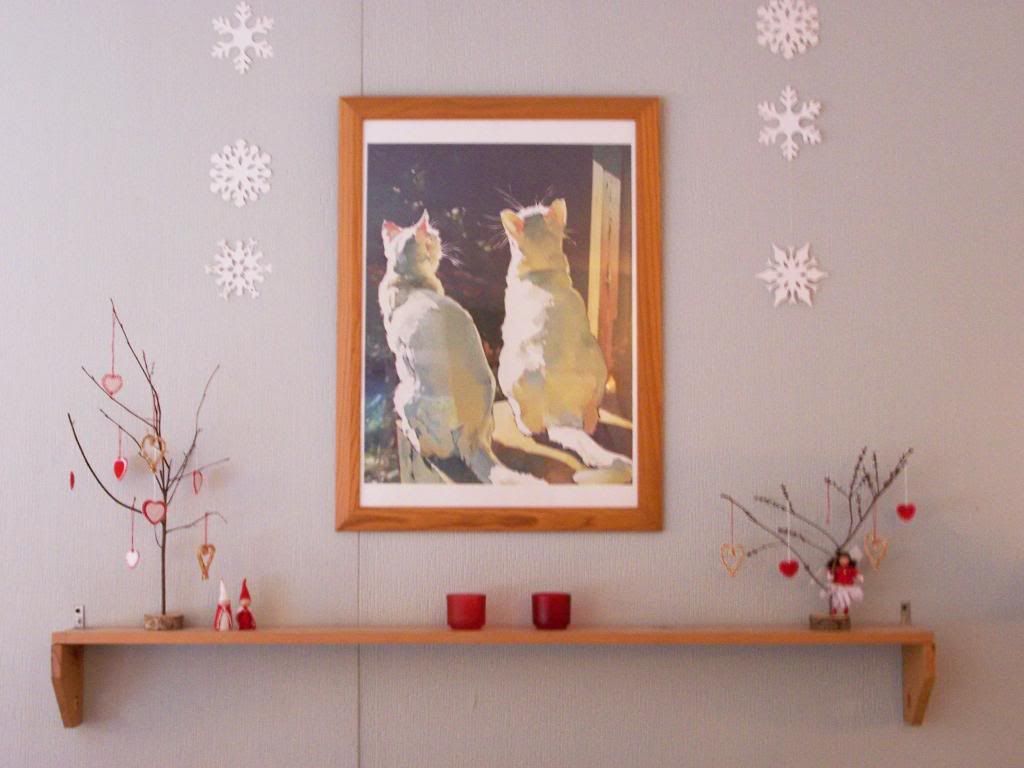
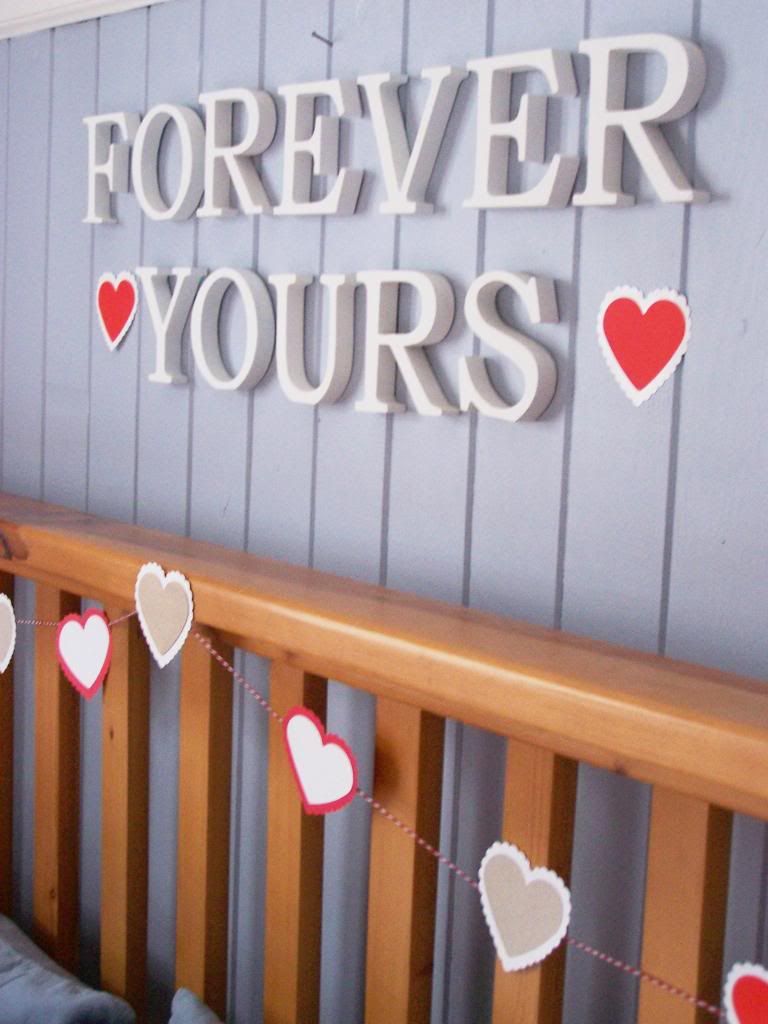
 decorating

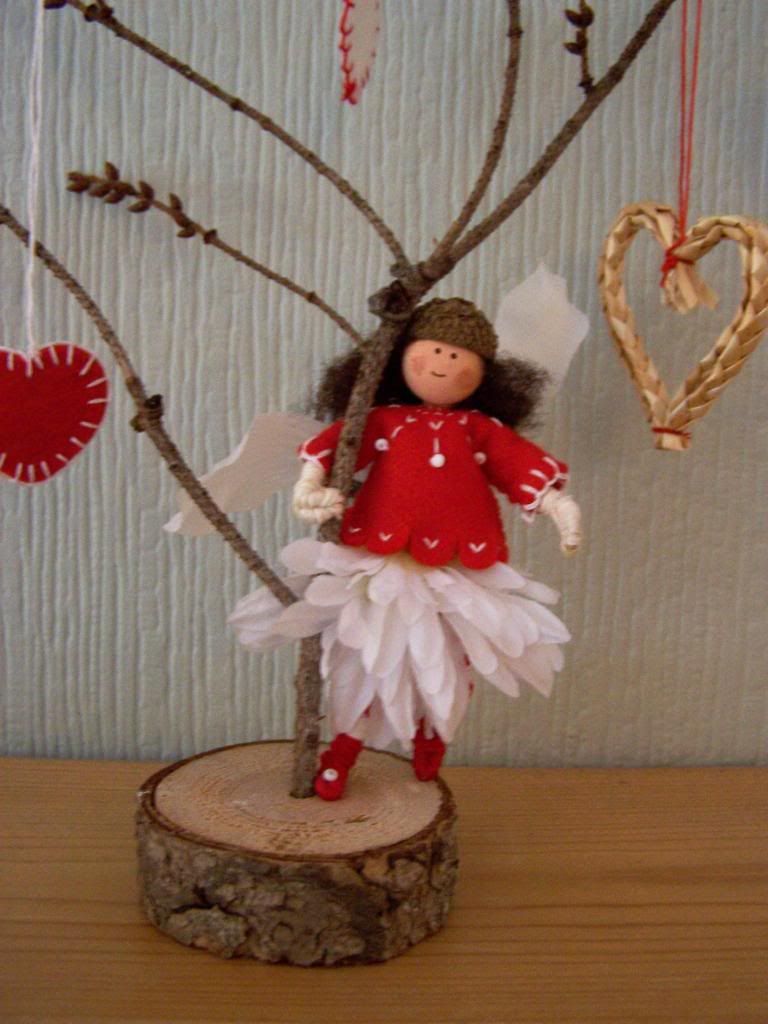
Valentine fairy


love notes

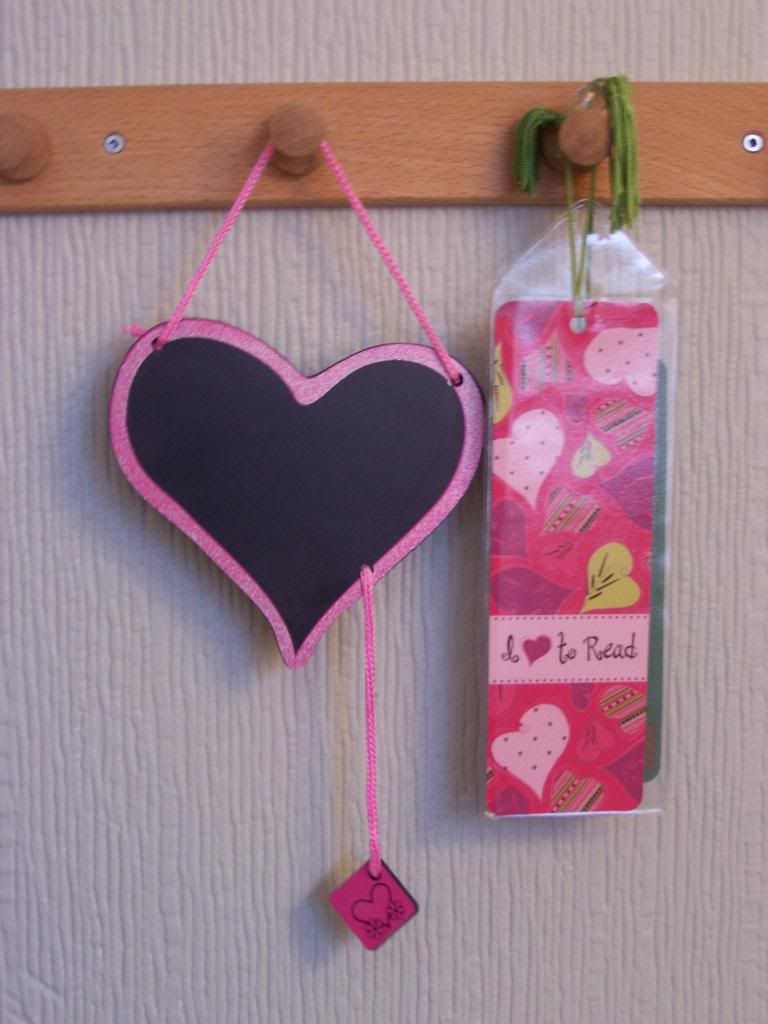
fun creative accessories

the love from my family

Have a wonderful day!

happy valentine's day!


Roses are red
Violets are blue
I am so thankful
To have readers like you!

Wishing you all a very Happy Valentine's Day!
xoxo
~ joey ~

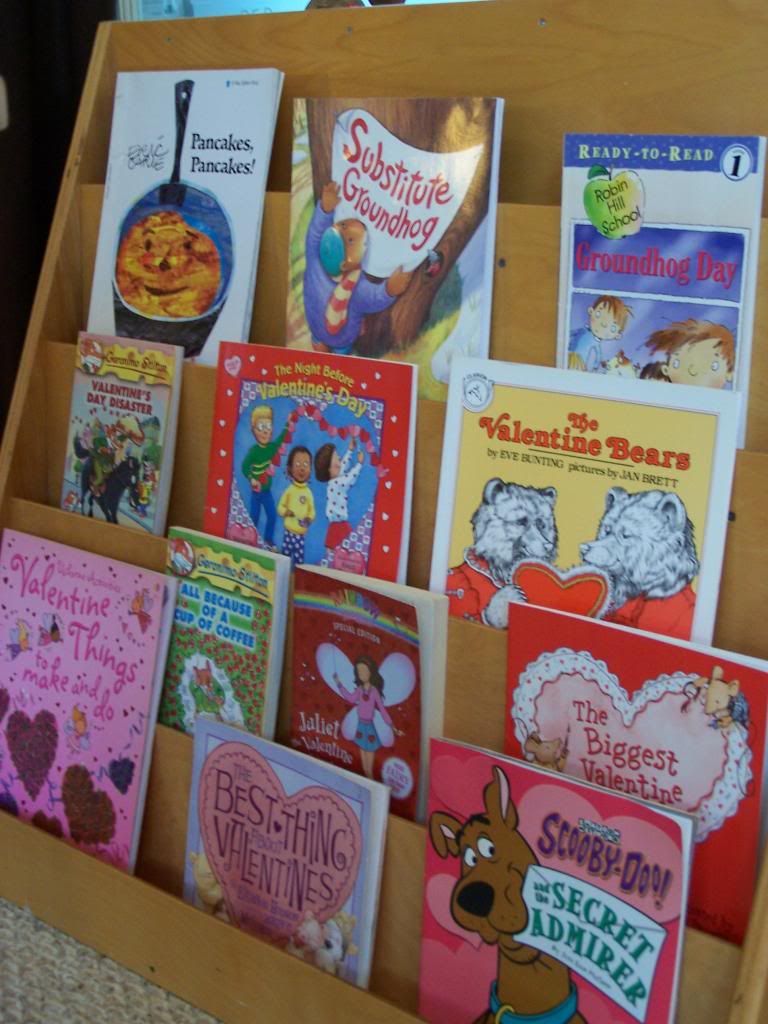
Our 10 favourite Valentine books


Since the children were babes we have read to them so it's no surprise
that our bookshelves are overflowing!
   To make the holiday books a bit more special I tuck them away to save them to read only during the holiday.  Over the years new titles have been added
but the old favourites are still read cover to cover whenever they reappear
with the seasonal decorations!
Here are 10 of our favourites starting with early books.

The Valentine Bears ~ Eve Bunting and Jan Brett

Happy Valentine's Day, Mouse! ~ Laura Numeroff

Franklin's Valentines ~ Paulette Bourgeois

The Biggest Valentine Ever ~ Steven Kroll

The Best Thing About Valentines ~ Eleanor Hudson
The Night Before Valentine's Day ~ Natasha Wing


Usborne Activities ~ Valentine Things to Make and Do ~ Rebecca Gilpin


Rainbow Magic ~ Juliet The Valentine Fairy ~ Daisy Meadows


Geronimo Stilton ~ Valentine's Day Disaster

All Year Round ~ Ann Druitt, Christine Fynes-Clinton, Marije Rowling
**My go-to book for every season and holiday
for wonderful craft and celebration ideas!**

Please share your favourite Valentine books in the comments below!
~ joey ~

p.s.  I'm not sure if all of the links are working as I was having a bit of trouble getting Blogger to co-operate!

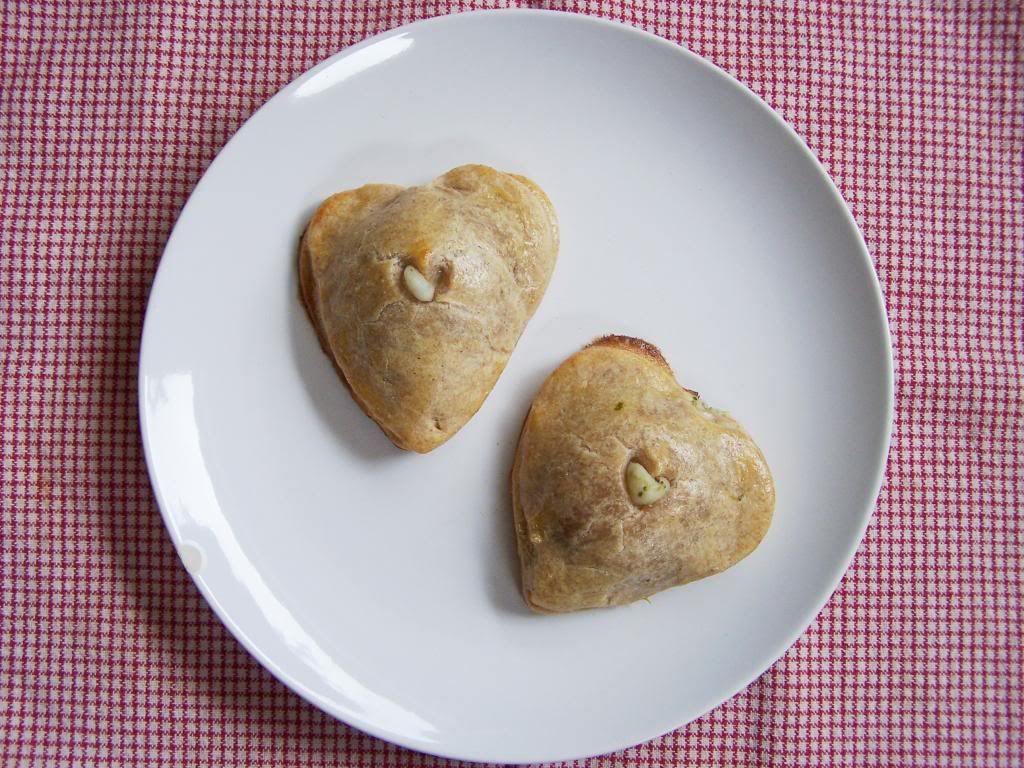
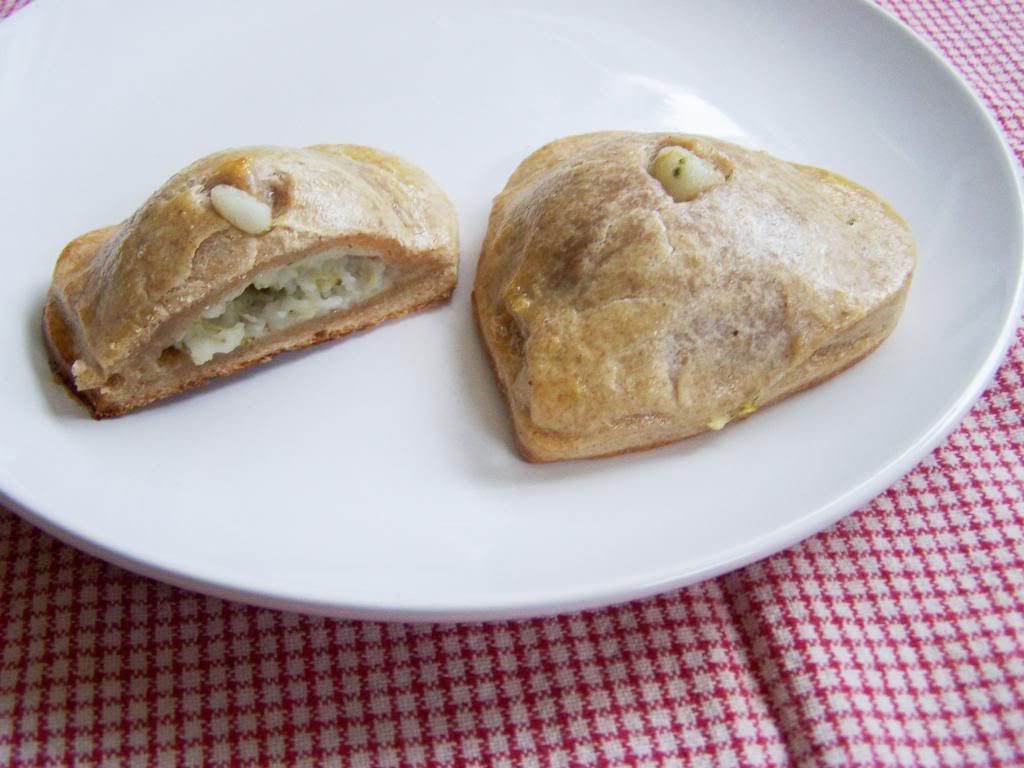
valentine vegetable pies (wheat free)


Here is a Valentine treat that isn't sweet but oh so tasty!
(although I suppose you could fill them with fruit, hmmn?!)

These little pies can be cut into any shape and filled with any leftover vegetables that you have in the fridge.  They are quick to make up and so handy to have in the freezer, pop into the kids lunches or take on a picnic!

Cream Cheese Pastry
8oz. cream cheese
1/2 cup butter or non hydrogenated spread
2 cups spelt flour
(OR  1 1/2 cups of wheat flour could be used instead of spelt)
  
Beat the cream cheese and butter together in the mixer.  Add the flour until it forms a ball.  Chill if dough is too soft to roll out with a rolling pin.

Filling
1/2 cup cooked broccoli, chopped
1 cup mashed potatoes
1/4 cup grated aged cheddar cheese
salt and seasonings to taste

Mix together all filling ingredients in a bowl.

 
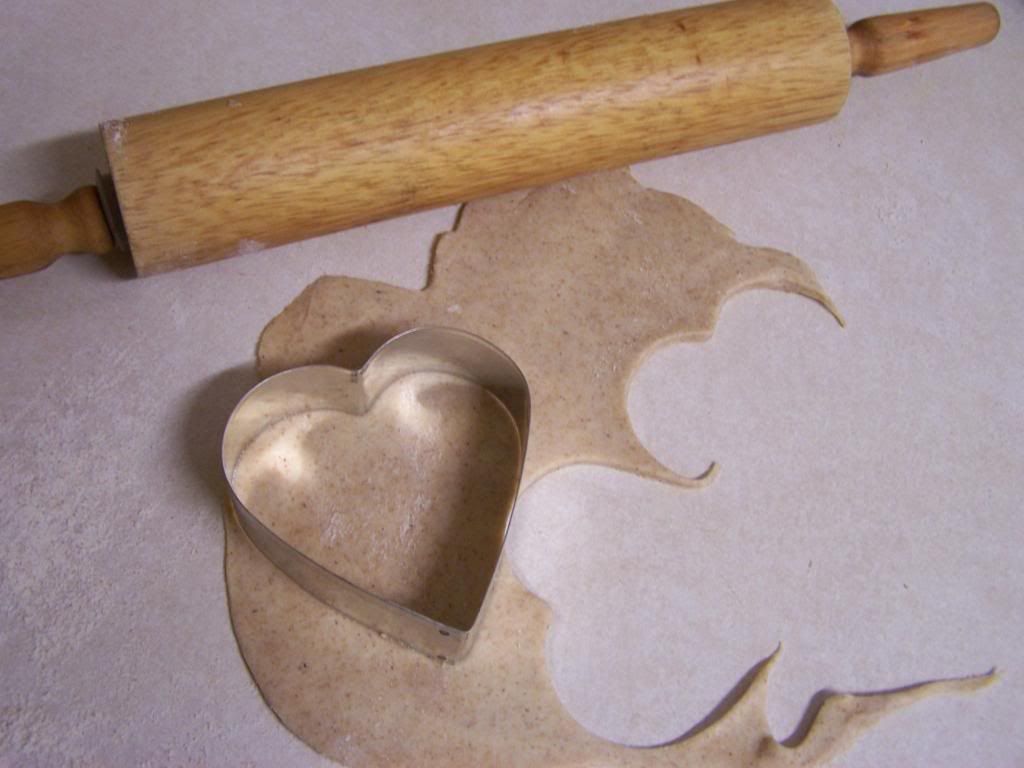
Roll dough out to about 1/8" thick and cut out hearts with a 9cm (3.5") cookie cutter.  Place hearts onto ungreased cookie sheet


In a small bowl beat 1 egg.


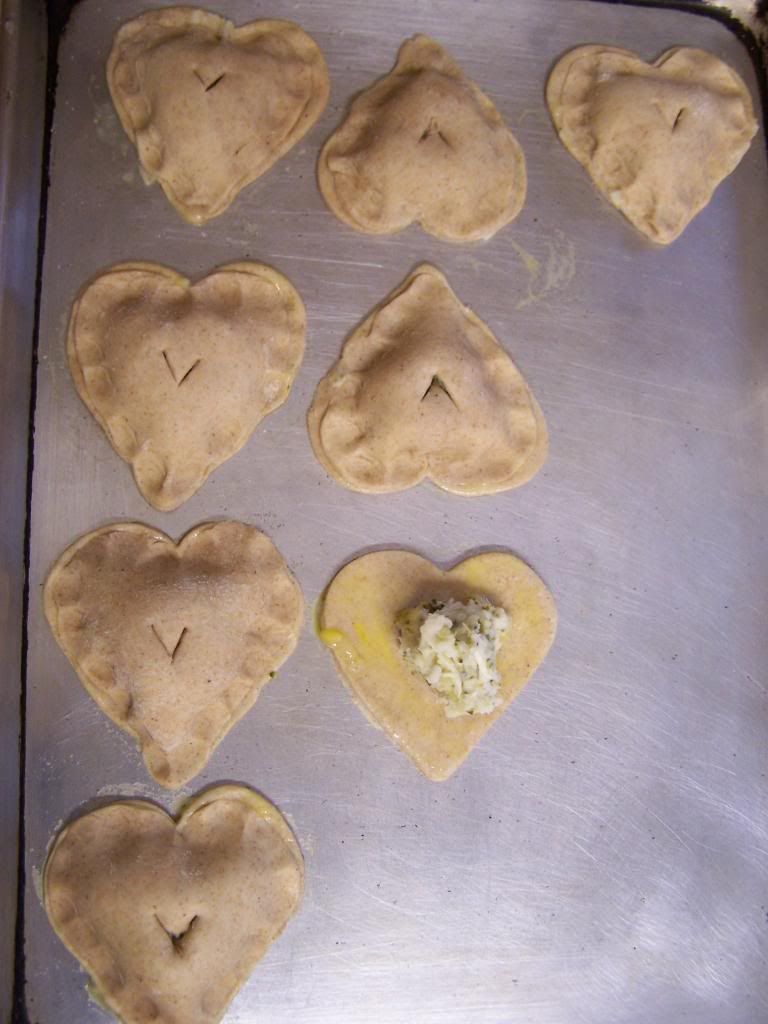
With a pastry brush wipe hearts with beaten egg.  Place filling in the centre and cover with another heart.  Press down the edges to seal.  Cut a small "v" with a knife in the centre of each pie.  Wipe the top of the pie with more beaten egg.


Bake at 350 degrees F for 15 minutes or until golden brown.  Makes about 16 pies.
Enjoy!

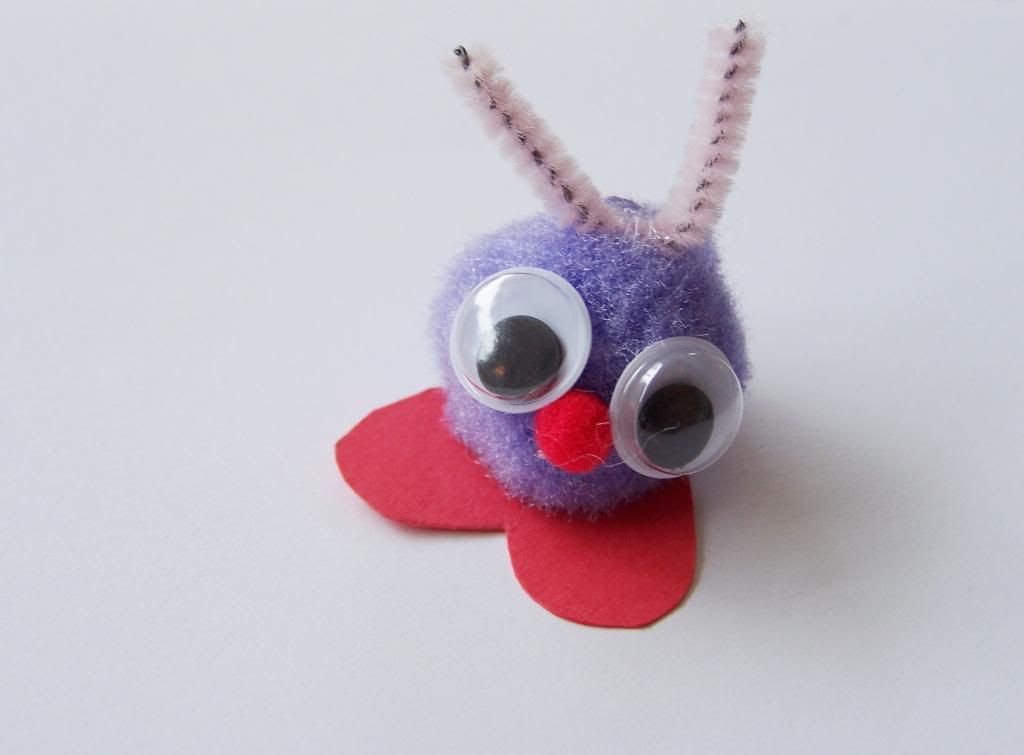
Love bug Valentines


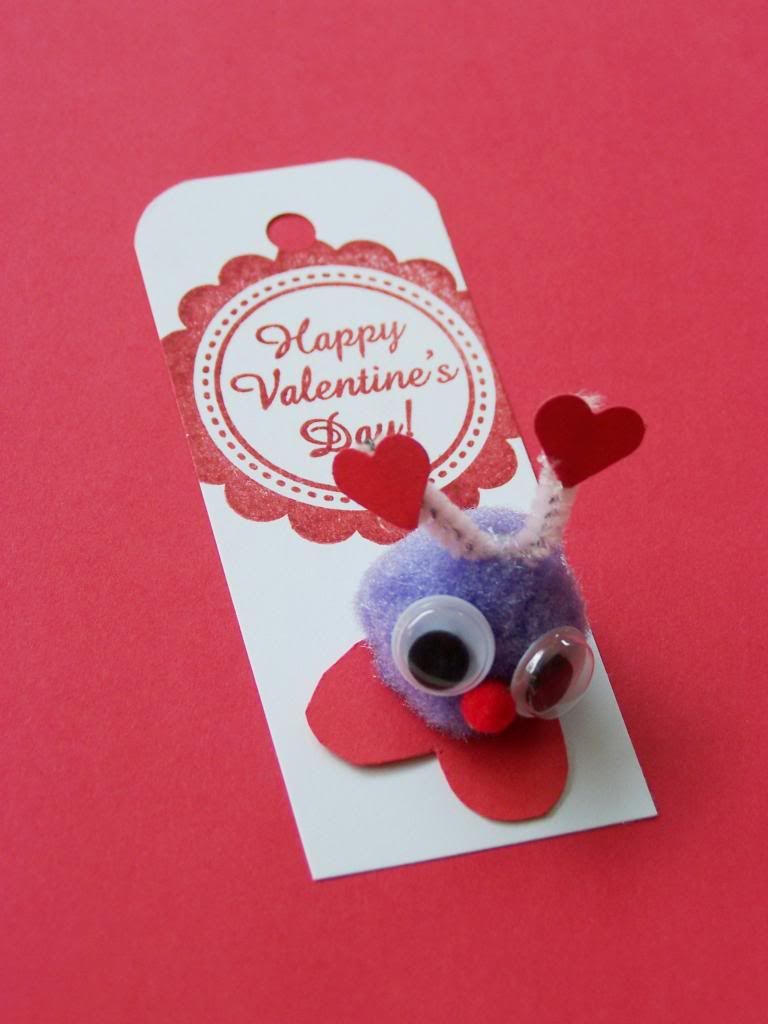
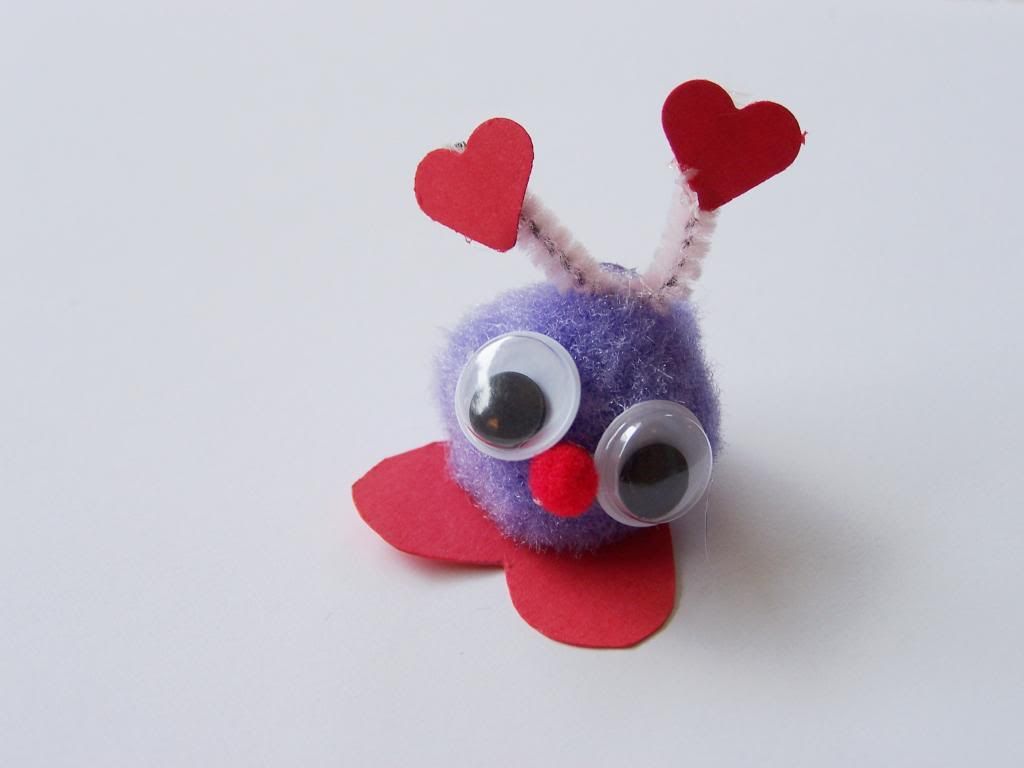
Today I am sharing how we made these adorable Love Bug Valentines for the kid's classmates.  


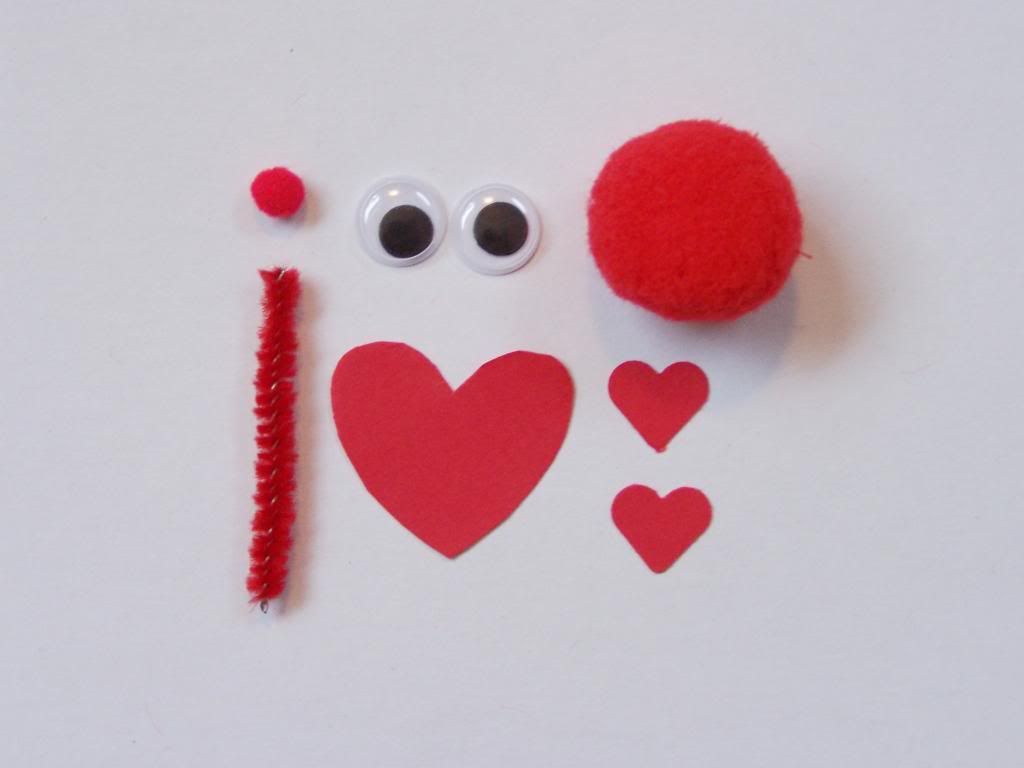
To make one of our cards you will need*:
 
~ card stock cut into card 93mm x 37mm (3 5/8" x 1 1/2")
~ rubber stamp and ink
~ 6mm (1/4") hole punch
~ one 22mm (7/8") pom pom for the body
~  two 10mm (3/8") googly eyes
~ one 5mm (3/16") pom pom for the nose
~ 32mm (1 1/4")  piece of thin 4mm (1/8") pipe cleaner
~ two 11mm (1/2") paper hearts for antenae (we used a punch)
~ one 27mm (1 1/16") cardstock heart for base (we cut these by hand) 
~ scissors
~ hot glue 
~ double sided tape
~ scotch tape
~ ribbon  

*Note:  Measurements are approximate and listed just to give a sense of size.
We used up scraps and supplies that we had on hand.

We had to make a total of 54 Valentines so here's what we did!

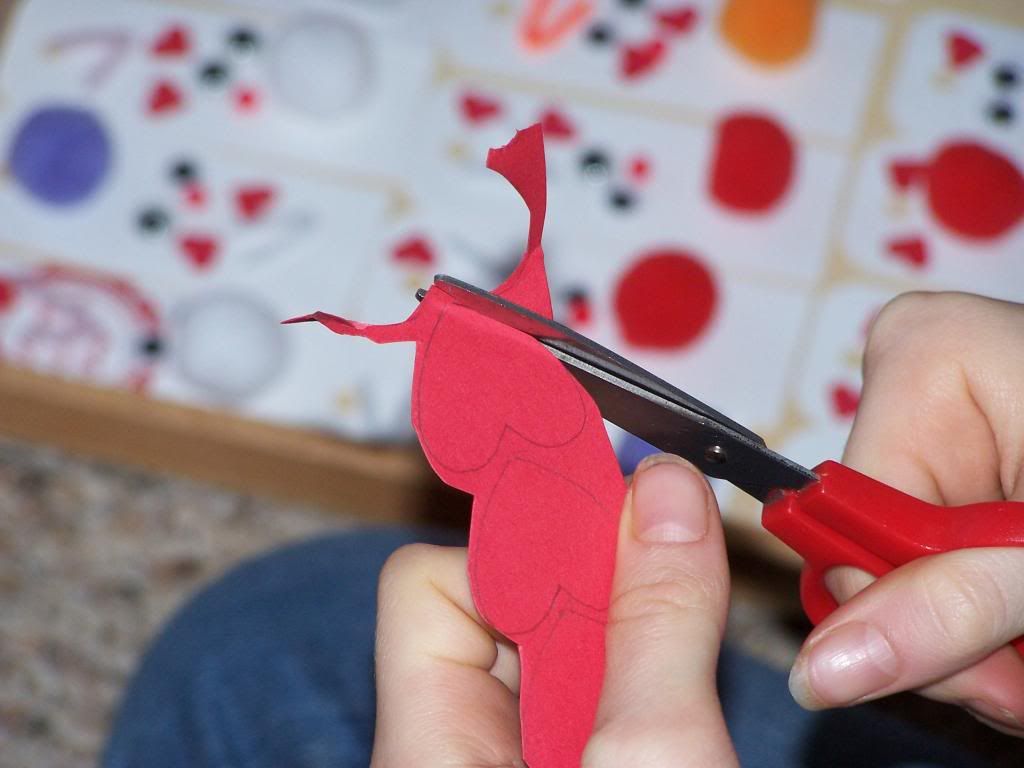
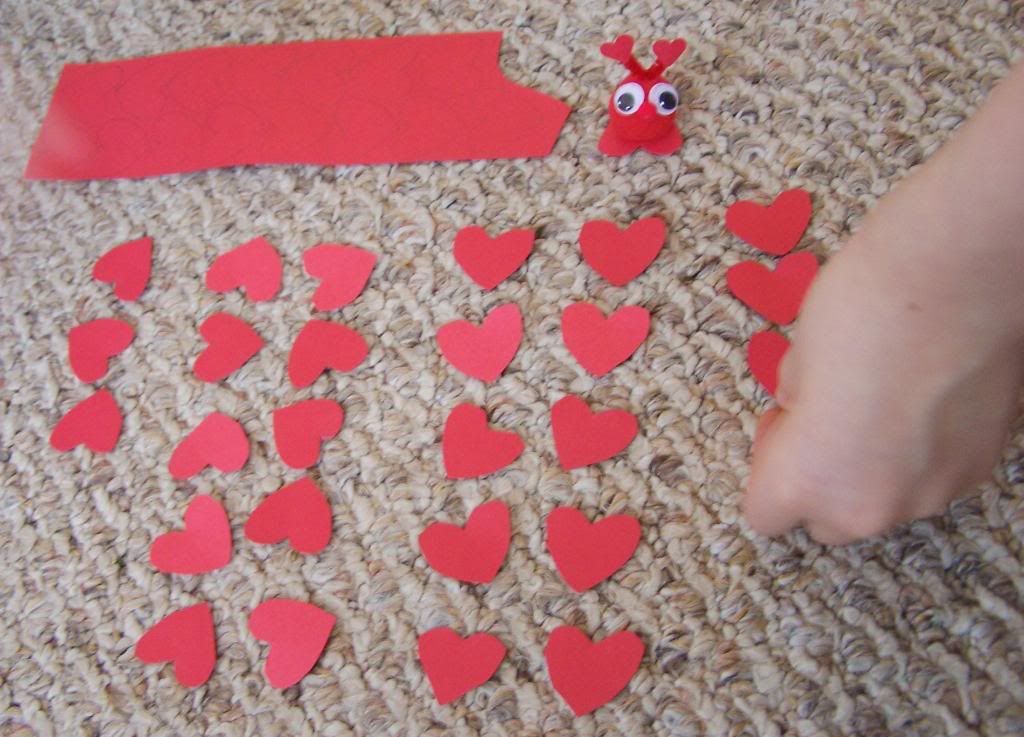
Cut out the "base" hearts


I found this not only provided a good fine motor skills task for my younger child, but a good "math" review for my older child.  By organizing our cut hearts into groups we could quickly multiple (or add) how many hearts we had cut and how many more we had to do!


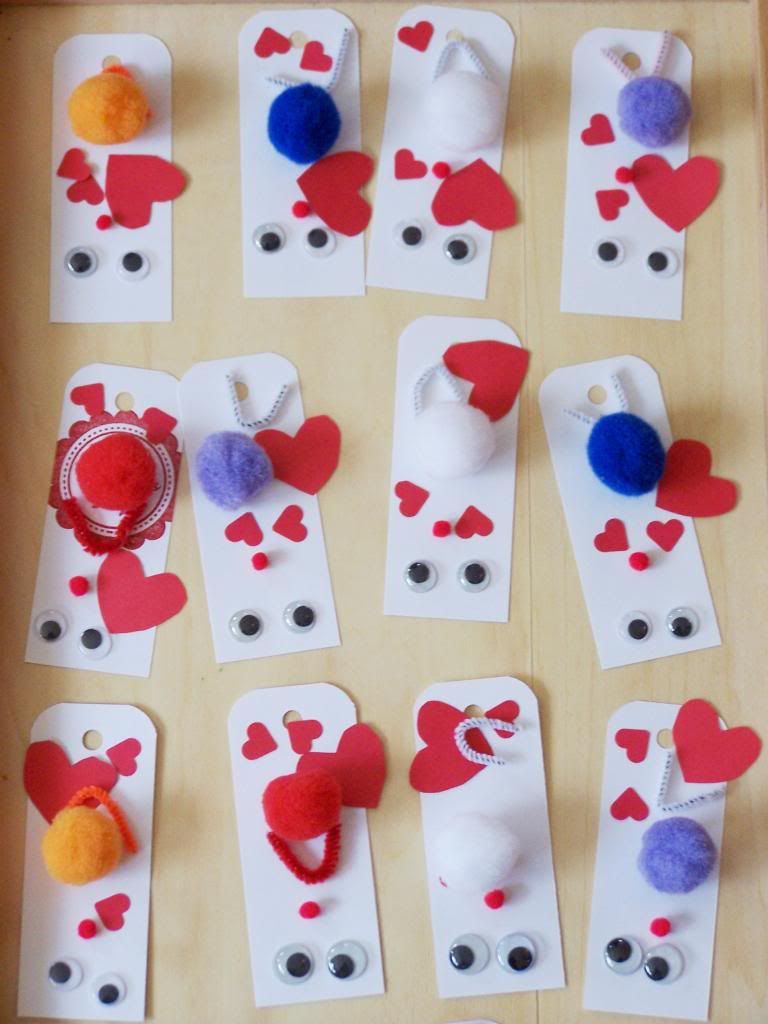
Organize your supplies


We organized our supplies on wood trays so we could coordinate colours, etc.
This required even more calculations!
~ If I have 23 kids in my class and two teachers how many Valentines do I need to make?
23+2-1= 24  (don't forget to subtract yourself! ;o)
 
~ 30 love bugs need 2 eyes each how many do I need in total? 
30x2 = 60 (oh my!)
 
~ If I place 4 cards in a row and I have 30 cards total how many rows will that be?
30*4 = 7.5 (which meant 8 rows were needed to fit them all on the tray!)  

OK back to the tutorial!

Decorate your cards 

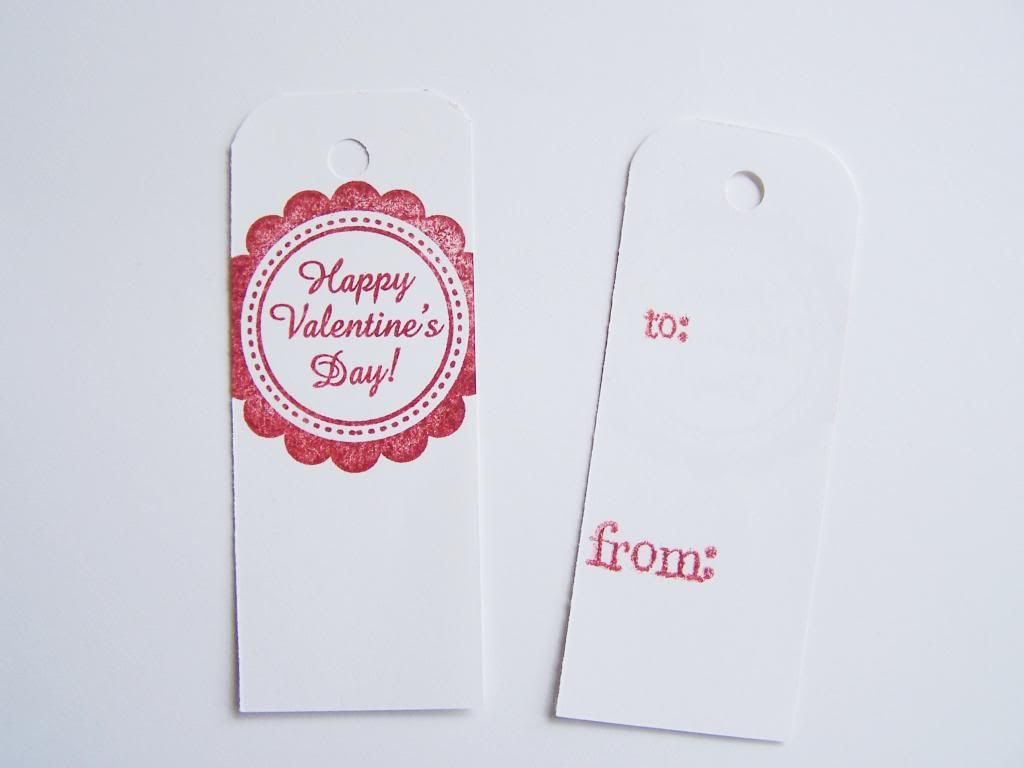
 Have your child address the cards BEFORE attaching the love bug to the front side of the card!
 
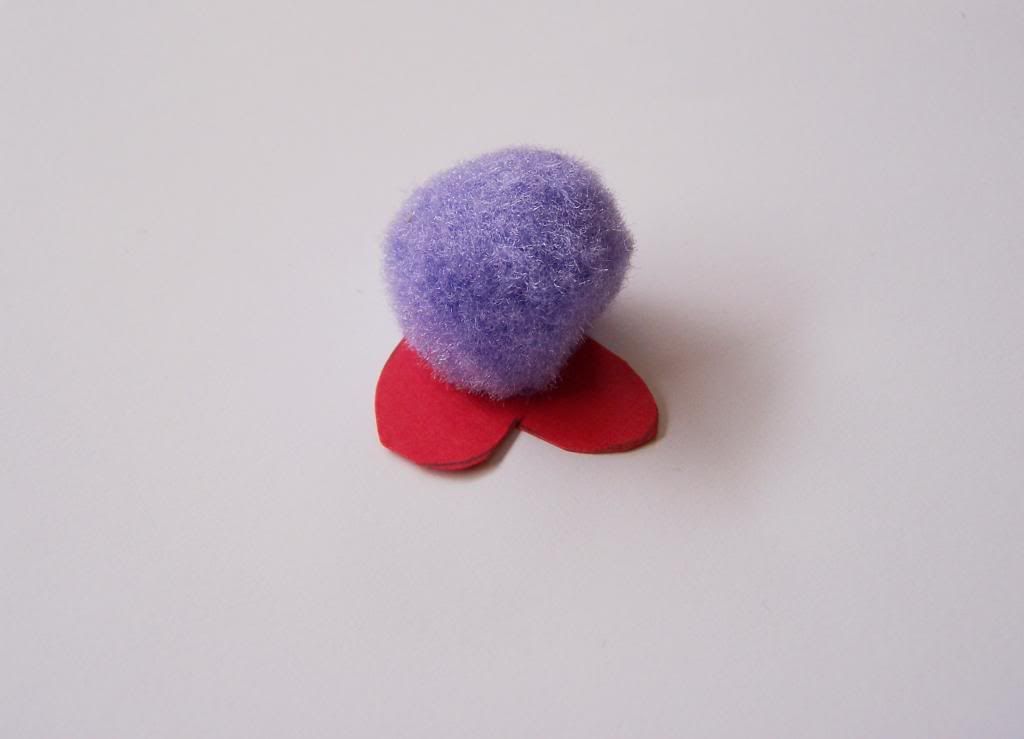
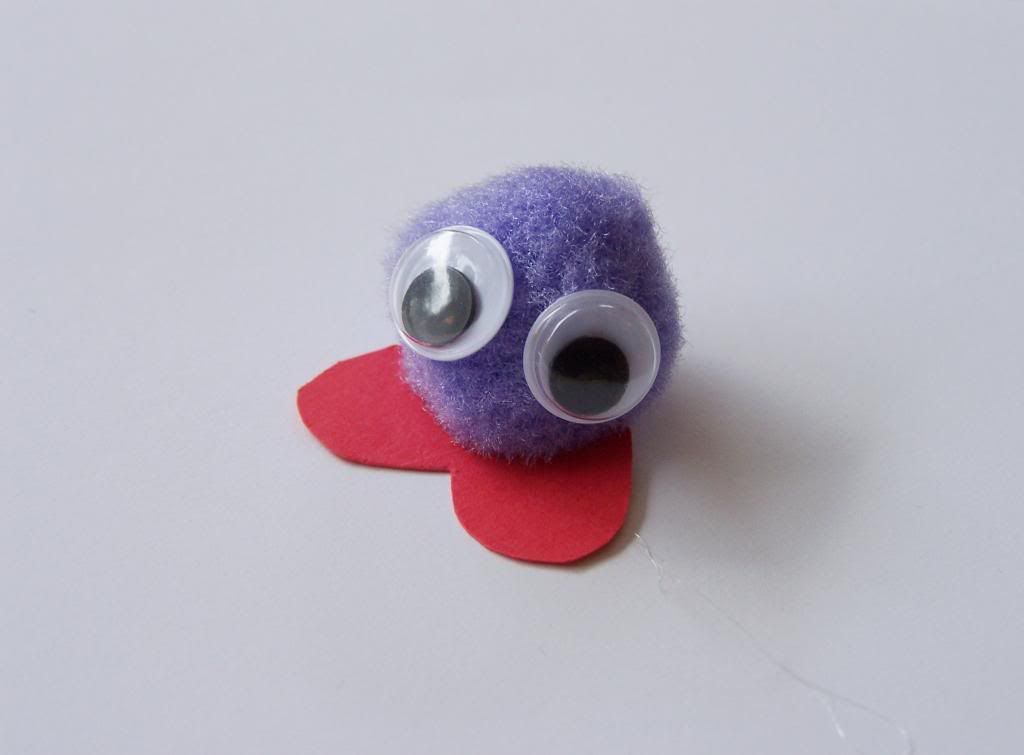
Glue heart base onto bottom of pom pom
 

Glue on the eyes


Fold pipe cleaner into a V shape and glue on top of head


Glue on the nose

 
Glue the small paper hearts onto the ends of antennae


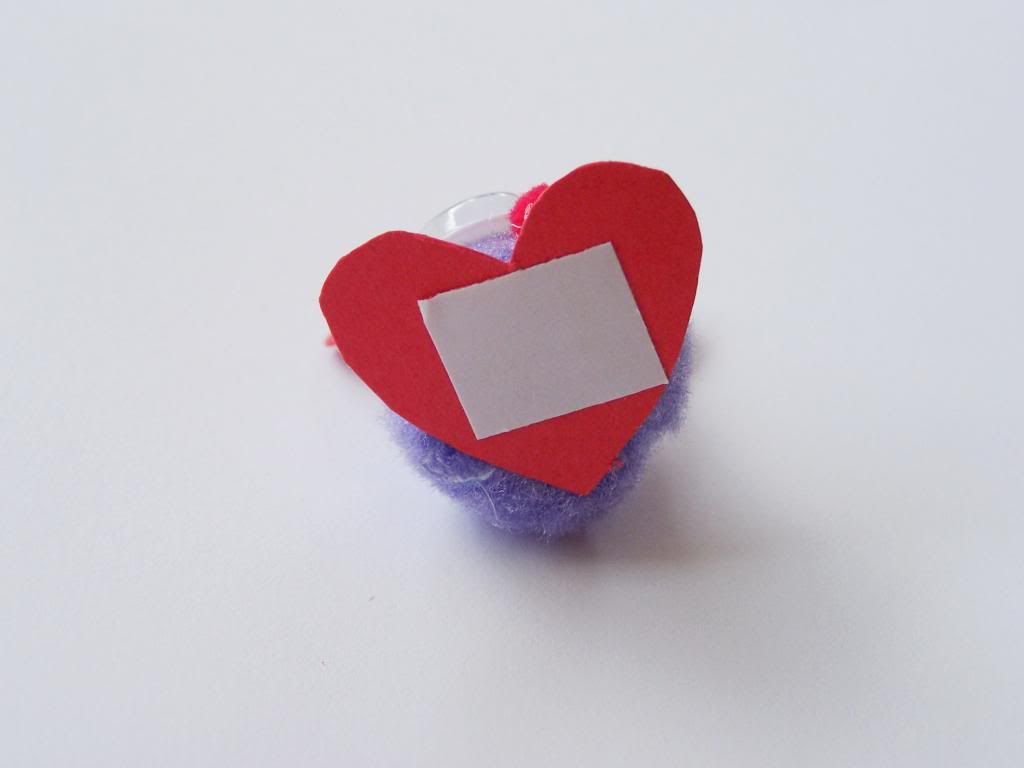
On the bottom of the bug put a small piece of double sided tape
 

The double sided tape offers a means for the recipient to stick their bug to anything they choose.
By adhering the bug to the Valentine card with scotch tape (folded into a loop) it can be easily removed from the card later on.

Thread a ribbon through the tag hole 
(which I forgot to do before taking this photo!) 


 Happy Valentine Crafting!
trash-y valentines


I'm back!  Sometimes these things take longer than expected but my computer is now almost fully operational so I thought I would try a quick post today.
I mentioned in my last post that we have been up to lots of creative things so today I thought I would start with a Valentine post of sorts.
 
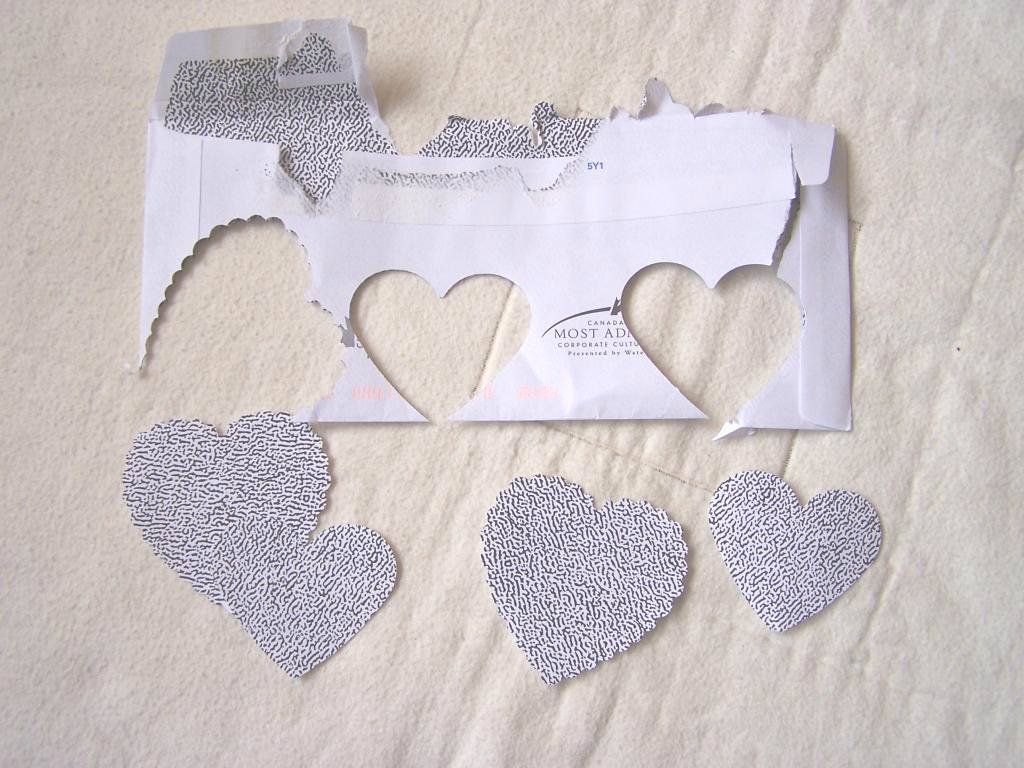
Once again I have been digging through the recycling bin and wanted to share a few ideas on how I turned our "trash" into fun materials that the kids can make their Valentine cards with.
 
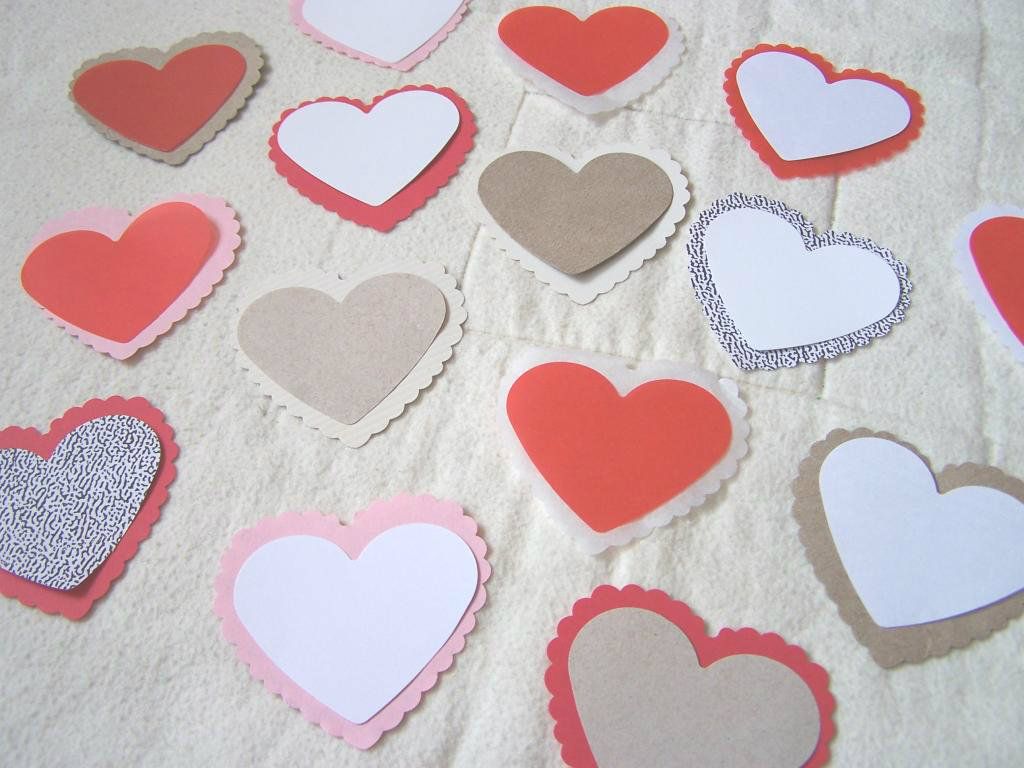
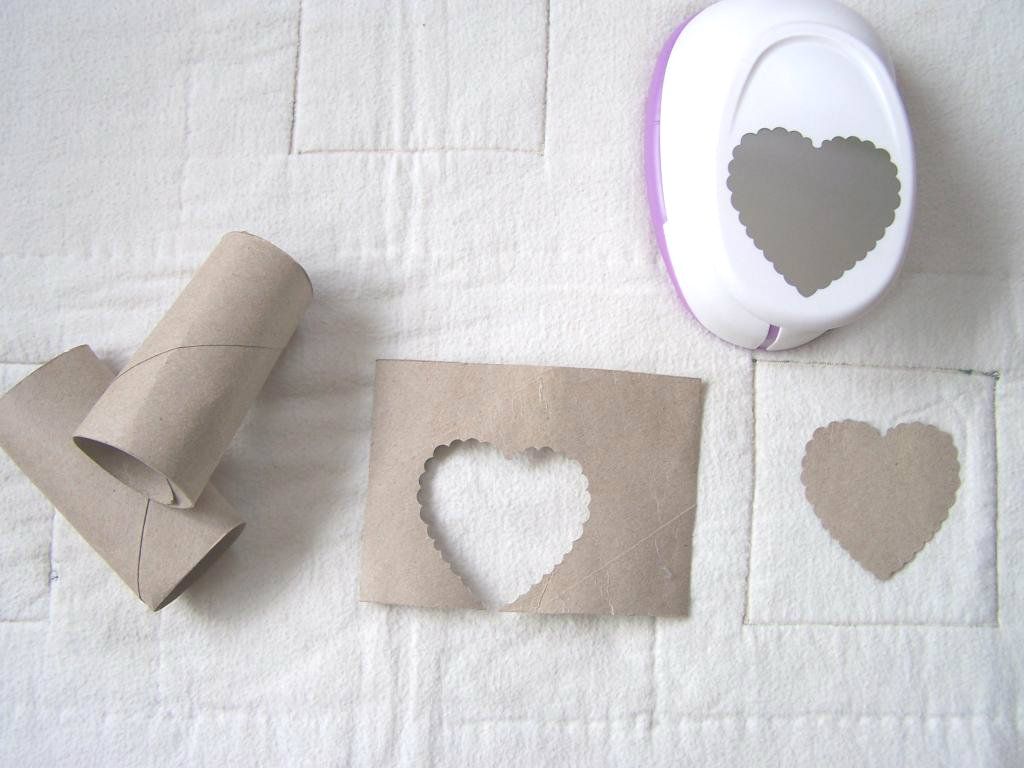
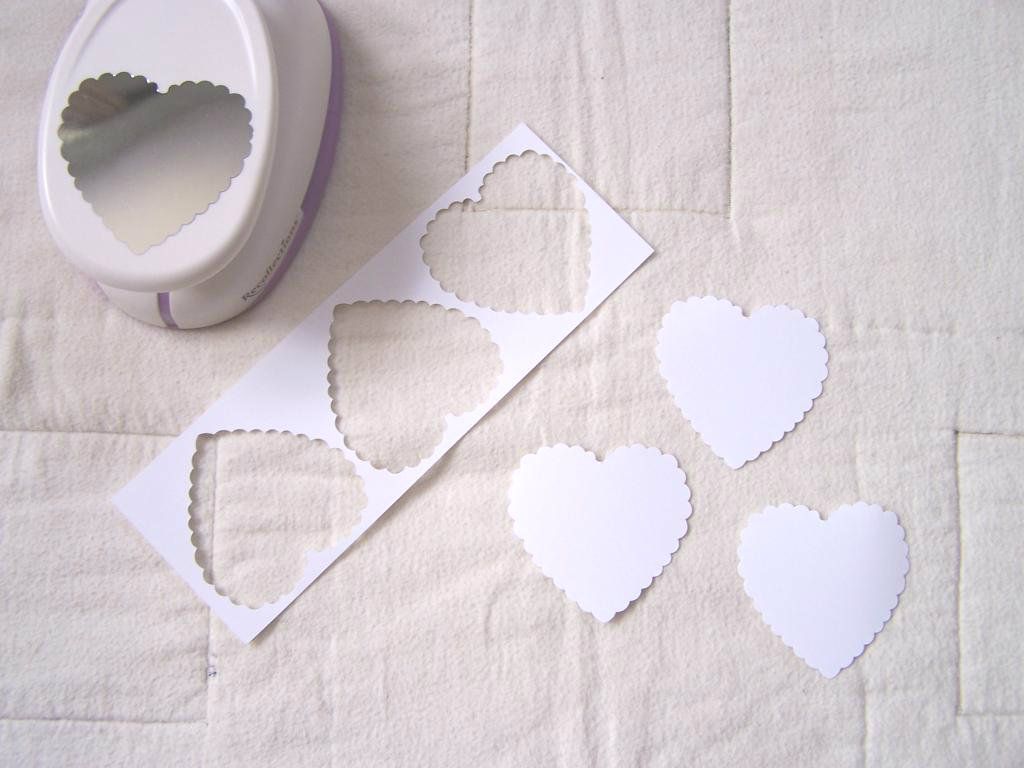
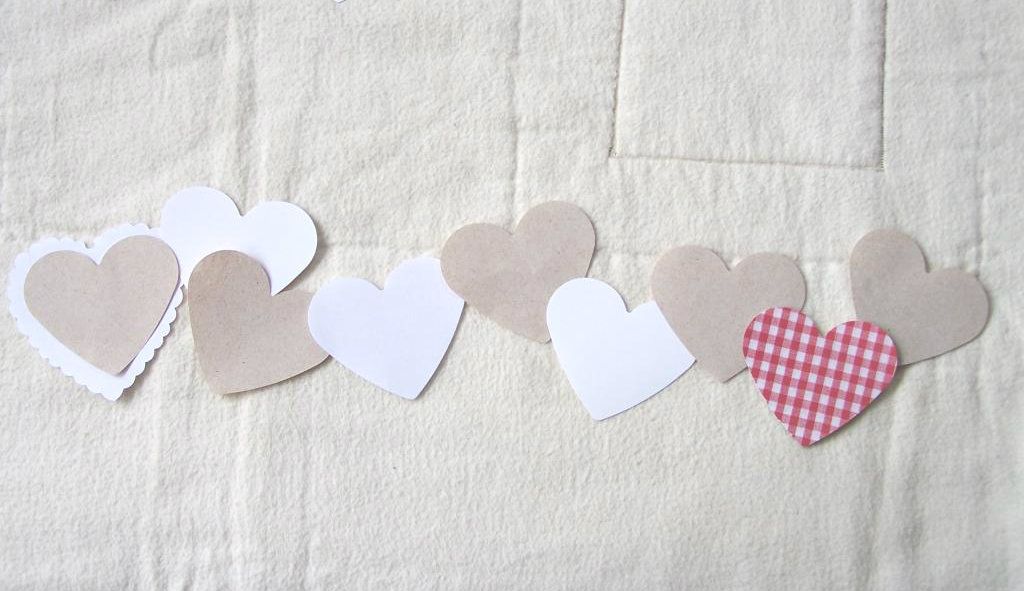
I recently purchased two very fun heart shaped punches (on sale!) but in all honesty I didn't really need them to make any of these Valentines.  A simple heart shaped cardboard template to trace around and cut out with scissors works just fine.  Use those fancy edged scissors to create a scalloped edge.

So what bits of trash did I see potential in?

Toilet rolls

  Glossy photo paper trimmings from my son's Birthday party invitations.

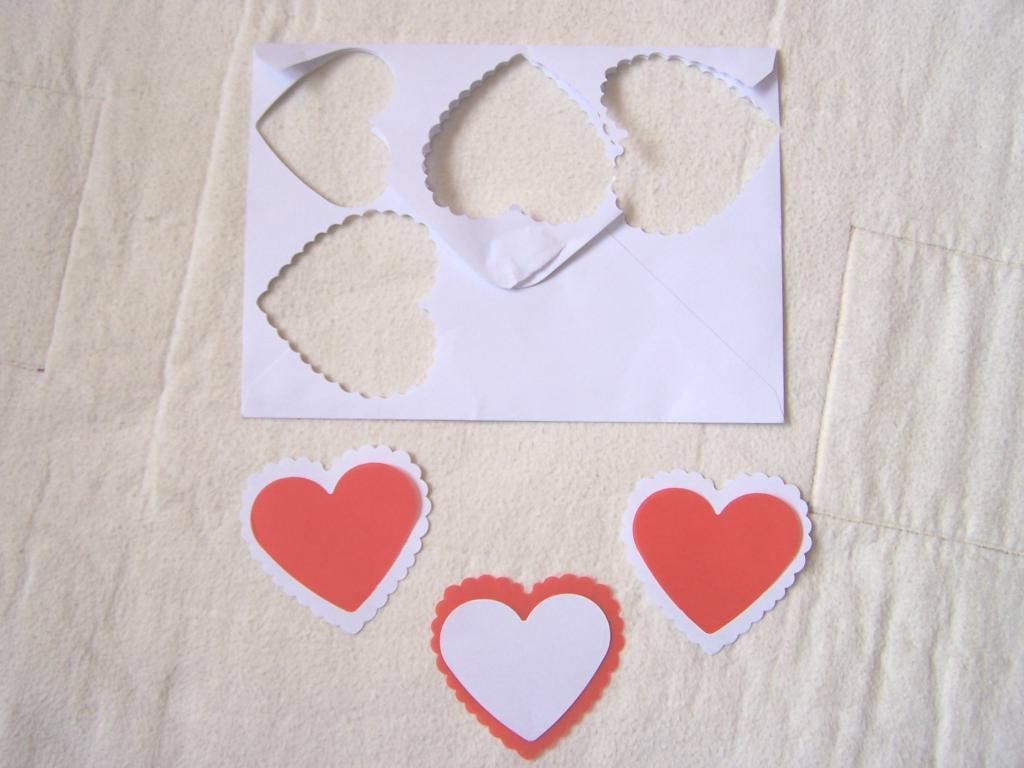
 Birthday card envelopes 
(remember the INSIDE of the envelope has not been written on!)

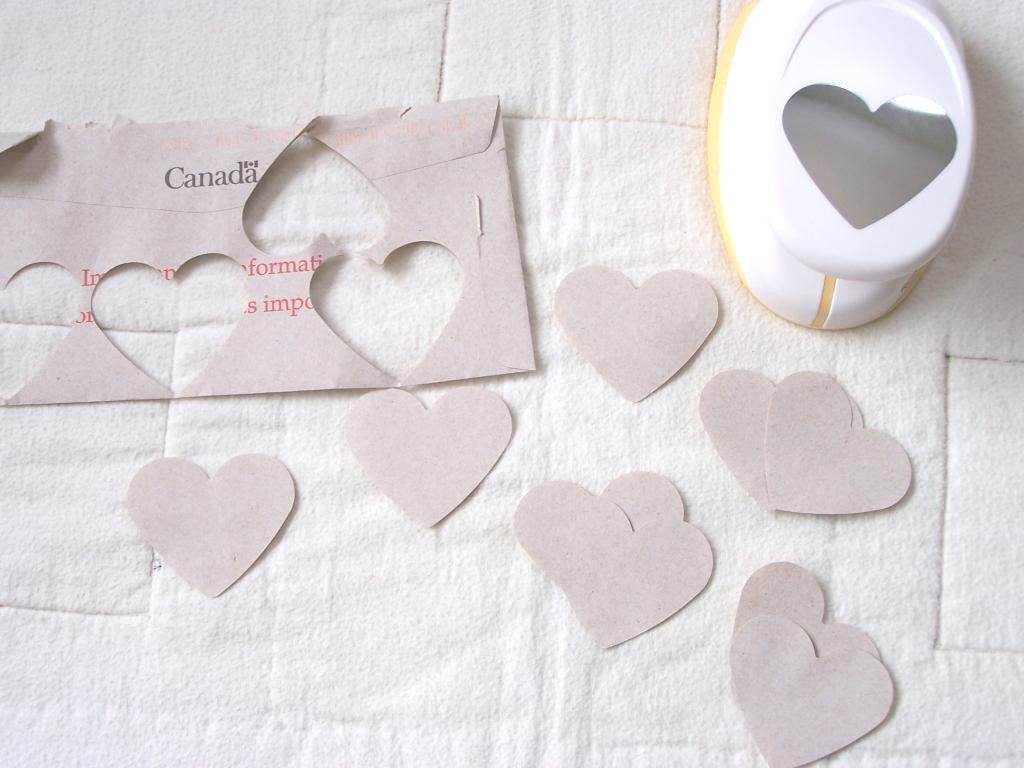
Government envelopes!  Ah ha! 


Security envelopes (for patterns)


Small scrapbook paper scraps.


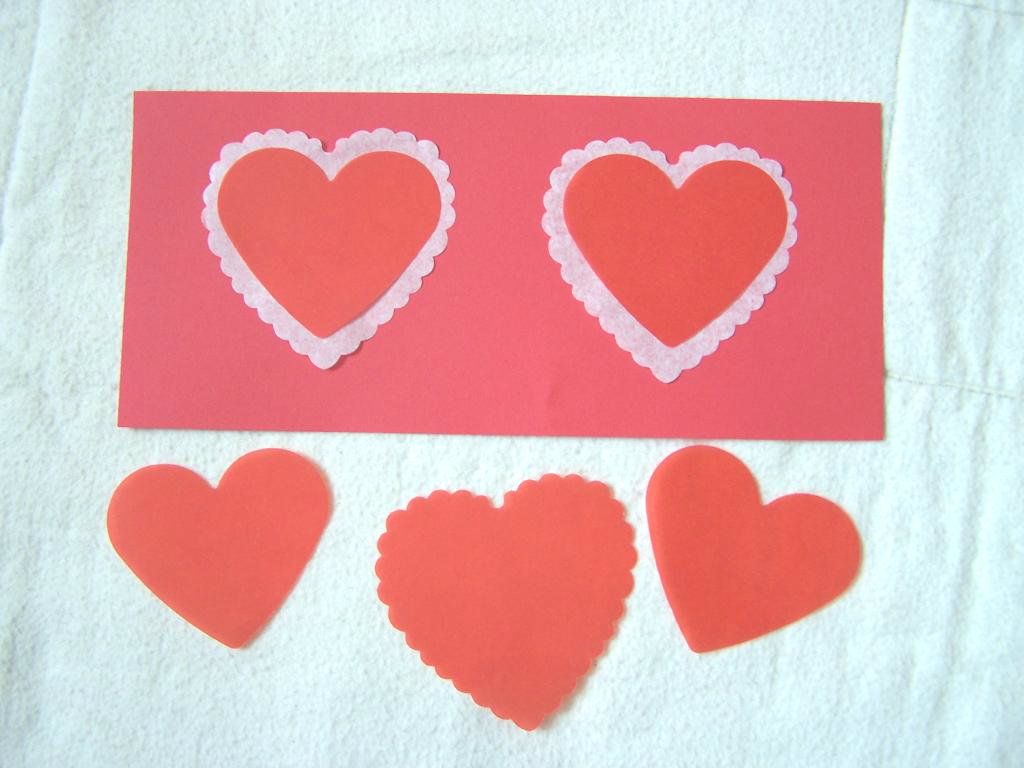
 Vellum paper scraps

 School notices!


Tissue paper
I found the easiest way to cut tissue paper in the punch (or by hand) is by putting the tissue in between two layers of regular paper.  In the photo I used an envelope.

 
 Can you think of more paper scraps that I could use?!
~ joey ~ 

Shared at: 
Like Mama~Like Daughter - Eco Kids Tuesday

Frontier Dreams - Keep Calm Craft On  

Seasons of Joy - Waldorf Wednesday

The Magic Onions - Friday's Nature Table

Natural Suburbia - Creative Friday