Showing posts with label for Autumn. Show all posts

creating spaces - clean creative spaces for Autumn play


Welcome!  I have been "fluffing our nest" for the cozy Autumn days ahead.  Refreshing our supplies and tidying up our spaces is a big part of our seasonal change over.  

Since taking the Playful Learning Spaces course my goal has been to bring all of our common supplies together in one space rather than having bits and pieces stored all over the house.  Being that we live in a small home, it's not been easy as storage space is limited, but over time I feel that I get closer to this goal each time I go through our things.


Our family loves to read and create, so supplies for these hobbies are often scattered about our house and found in every corner.  The kids have a nook in the living room that is designated as "their space".  Like most children they prefer to be in the centre hub of our home rather than working on a project off in a room by themselves.  This space has  evolved over the years as their abilities and interests change as they mature.


Before my reorganizing, this shelf held about half of the children's books with the other half stored on a bookshelf in the hallway with my husband and my books.  Also on the hallway bookshelf were boxes of less frequently used art supplies and boxes of fabric.  A third bookshelf in the living room (shown below) housed more art supplies that were used on a more regular bases.


It seems so obvious now that it's sorted and done, but at the time it appeared that there was not enough room on the living room shelves to store all of our craft supplies in one space...until I moved the books to hallways bookshelf that is! 
 
I like to use plain kraft storage boxes to store our art supplies as they are clean and neutral in our living room.  I also like that I can easily transform any box to coordinate with these boxes by simply wrapping the box with kraft wrapping paper.


I took a few minutes to label all of the boxes with the same font making them clean and easy to read.


Having a work table close by means the kids can easily grab a kit or supplies and create some Autumn art whenever they have the urge.

And now when they want to read or look up something, all of their books are in one spot!  After purging the entire book shelf, I sorted the kid's books into several categories: seasonal books, childhood classic story books, chapter book series,  British comic books, reference books, paperback fiction and non fiction.  Above their books I have our gardening, craft, music, natural health and fiction books.


I found a great way of storing series books like Magic Treehouse and Geronimo Stilton is in the same kraft storage boxes that I used for art supplies.  It saves a lot of shelf space and is also handy if the kids want to take the whole series of books to another spot in the house.


At the end of the hall I have our front facing bookshelf that I picked up at a Thrift Store for $10!  It's been a great way to display our seasonal books and to casually suggest new titles to kids!


Have you been refreshing your home for Autumn?  I'd love to see how you have organized your home, leave a link in the comments below!
~ joey ~
I have shared this post with the Link Up Hosts found on the right sidebar.
Please visit them to see what other creative ideas have been shared. 

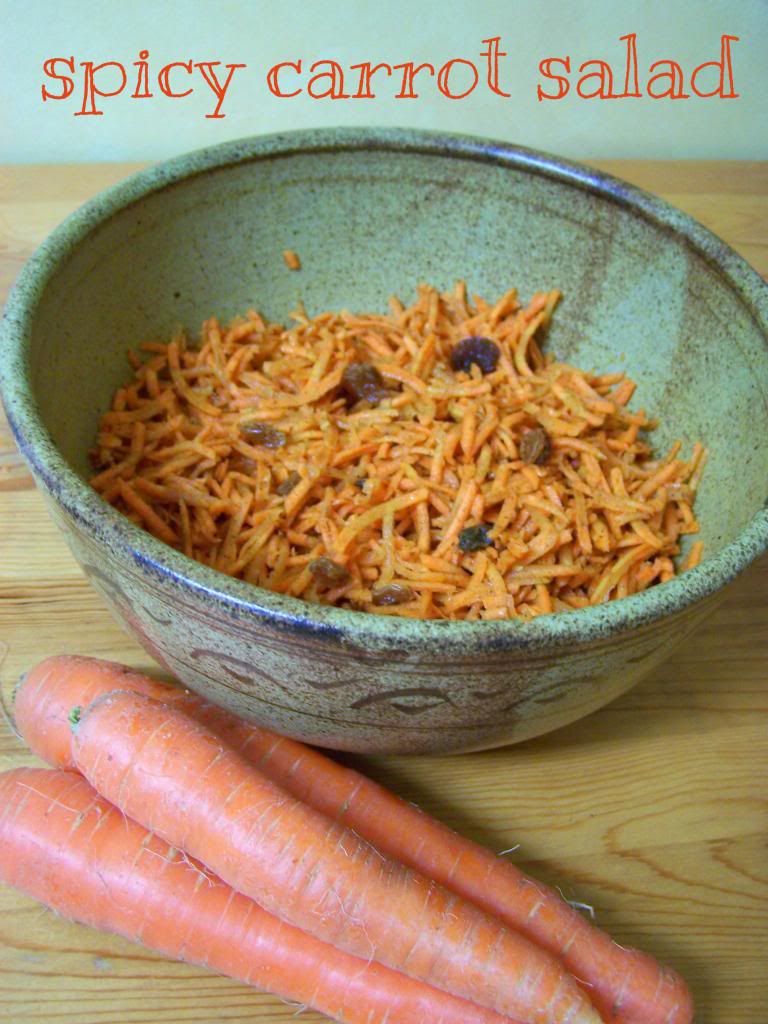
recipe: spicy carrot salad

 
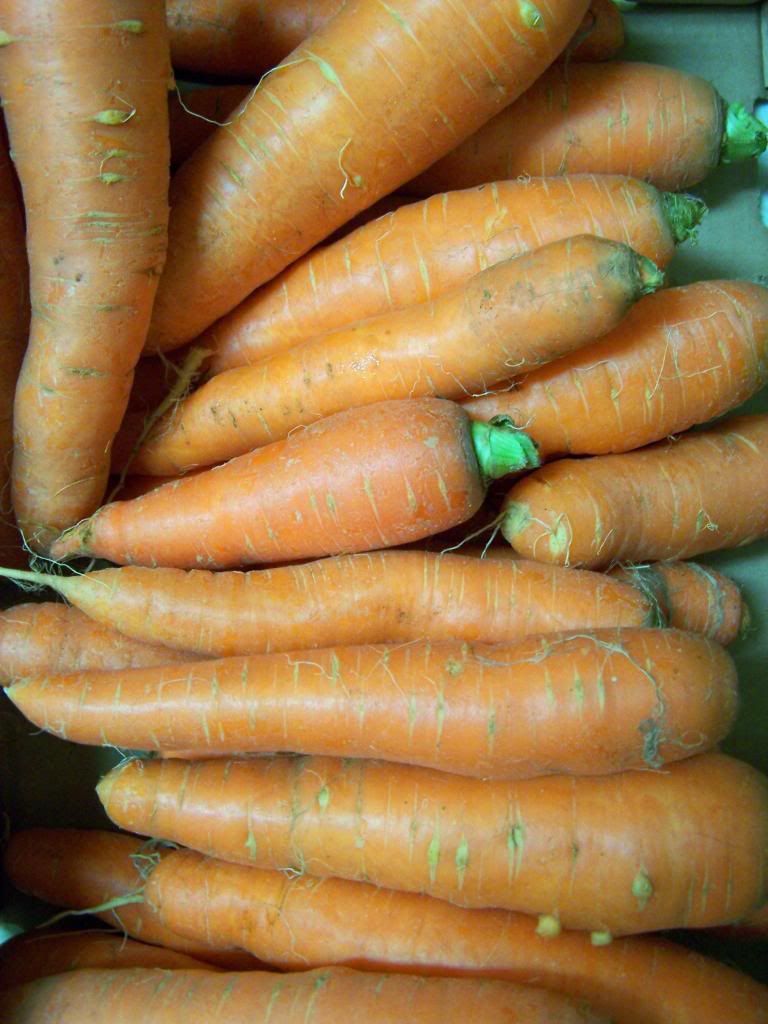
With carrots in season right now we have stocked up on locally grown bulk carrots to store for the winter.  I shred and freeze them to add to muffins, loaves, soup, stir fry and to make this delicious Autumn salad! (yes, you can use thawed shredded carrot for this salad)

To feed our family of four the recipe goes something like this:

5-6 large carrots, shredded
1/4 cup raisins
1 tbsp cinnamon
1/8 tsp ground cloves
2 tbsp lemon juice
1 tbsp flax oil

Mix together and let it sit for about 30 minutes to blend the flavours.
You can add or subtract any of the ingredients to suit your family's tastes, it's one of those "taste it as you make it" dishes that can be easily tweaked.

The sweet carrot and raisins mixed with the tart lemon juice and warm spices makes it a salad perfect for the Autumn days ahead.

Do you have any carrot recipes to share?....I've got a lot of carrots!
~ joey ~
I have shared this post with the Link Up Hosts found on the right sidebar.
Please visit them to see what other creative ideas have been shared.

I'm back...with an Autumn Nature Table

I'm back from my break and I must say the last two weeks flew by!  The kids went back to school the day after Labour Day and have settled into their new classes and our new routine quite well.
On Labour Day we felt the weather change and now it feels like Autumn is not far off.

I pulled out our Autumn box of decorations and put together a Waldorf inspired nature table.  We haven't had a nature table in a while and I really missed it, so when this space was created after a furniture shuffle, I began planning for an Autumn nature table.

Some of the things that I have included on our nature table
this season are:
~ a silk in the colours of the season - red, orange, yellow
~ wood and needle felted acorns in shades of brown, green, yellow, orange, and red
 ~ silk sunflowers
~ a grove of pine trees along the back

~ a basket of pinecones

 
~ gnomes dressed in gold, red and orange


 ~ bare trees with falling "leaves"
 ~ an Autumn flower petal fairy

 
~ needlefelted pumpkins and toadstools

The nature table is in our dining room so one of my recent Thrift Store finds is being proudly displayed on the table as well - a pumpkin soup tureen!  We have soup with the Grandparents every Hallowe'en so I had been looking for a plain white tureen.  I couldn't resist this one complete with a ceramic ladle for $6!

Well it's good to be back, I have some posts planned with fun ideas to do this Autumn and you'll find me at Playful Learning as well.  If you haven't already, remember to subscribe to madebyjoey so that you don't miss a post!

Happy September!
~ joey ~
I have shared this post with the Link Up Hosts found on the right sidebar.
Please visit them to see what other creative ideas have been shared.
Autumn riches


Yesterday we stopped in at our favourite local farm market to buy some veggies and visit our friends in the farmyard!


 The goats always seem to have room for one more bunch of carrot tops!

 But then the donkeys start to get jealous ...


... and then they pout ...


... and look up at you with those
big brown donkey eyes!
We love 'em!

  
We found gorgeous Autumn colours still in the Upick flower garden.  I love yellow and orange astramaris!


And even thought the Winter Solstice is still 8 weeks away, I'm feeling a change in the weather that tells me that the golden Autumn days are coming to an end.

I'm feeling the urge to start slowing down, cozying up, and starting our Holiday planning. 

How about you?
~ joey ~   


{this moment}


 {this moment} - A SouleMama Friday ritual. A single photo - no words - capturing a moment from the week. A simple, special, extraordinary moment. A moment I want to pause, savour and remember.  

xoxo
~ joey ~

Mini acorns & perler bead storage

Here's a quick how to for the mini acorns that we used on our Thanksgiving napkins.


We used the hexagon base which fits three mini acorns perfectly!


I think this photo should show the pattern clearly enough.  Super quick and easy!


And these are the little containers that we keep our beads in.
I had to share them as they are the perfect sized containers to sort all of our beads neatly by colour.  Have I mentioned how much I love organization before? ;o)


Thanks so much for stopping by and for those of you that participated in last weekend's Sharing Creative Ideas link up.
I love seeing what you are creating too!
Enjoy the day!
~ joey ~

autumn creativity #2 - glass bead acorns


I'm back with another autumn craft!
I absolutely adore acorns so inspired by This Cosy Life's acorn bells I decided to make some glass bead acorns for our branch.
 These are the simplest of all of the autumn crafts that I'm making right now.
*note:  young children will need an adult to do
the drilling and hot gluing.

Here's what you need:

~ glass beads - assorted sizes around 1/2" in diameter
(amber beads are my favourite!)
~ acorn caps
~ hot glue
~ embroidery floss (I used silver and copper
for a bit of glitz!)
~ drill and a 1/16" drill bit


Step 1 - Match each bead with an acorn cap
(kids love this job!)
Step 2 - drill hole in top of acorn cap (adult's job)
Step 3 - loop the floss, thread through the hole and tie a knot so that it's hidden inside the acorn cap
Step 4 - fill inside of acorn cap with hot glue 
Step 5 - glue bead into place, done!

Here are some other ideas on how to use these colourful little acorns:

 
~ hang them on a branch, peg or door knob in your home

~ tie them around a napkin as a napkin ring

~ make them into wine glass rings

~ earrings anyone?!


~ make one into a necklace for your doll

~ make one into a necklace for yourself! ;o)

~ tie onto a gift for someone special (perhaps with a felt embroidered leaf!?)


Are you making any new crafts this year to celebrate the season?
~ joey ~ 

Linking up to:


gnome2-3-1 

sunnydaytodaymama

{this moment}

Inspired by soulemama and waldorf mama


This week I am grateful for:

~ beautiful natural decorations

~ the sun that continues to shine

~ the food that continues to grow in our garden
(and in the wild)

~ upcoming birthdays

~ the beginning of my favourite season
Happy Autumn Equinox!

What are you grateful for this week?
xoxo
~ joey ~

making mini leaves


I had an ah ha moment the other day when I was decorating our new nature shelf.  This shelf is on our bookshelf and is much larger so I can really go crazy with our little collections in the scene.
Honestly, it's too much fun!


I knew exactly what I wanted in the scene ~ "a tree that was almost bare with just a few autumn coloured leaves still attached" but kept stumbling on my ideas of how to make it happen.

So I went outside and found a fallen fir branch that still had some little buds on it.  I plucked off the few remaining brown needles, drilled a hole into a round slice and stuck it into the base.  OK nice, but now how do I make the leaves?!?
. . . then the lightbulb went on!  

Take apart a silk flower and cut off the petals, too easy!

And just a small slit on the bottom of each petal created the simplest way to attach the "leaves" to my "tree".  I also scattered them around for splashes of autumn colour.  What do you think? Ah ha!

I'm collecting supplies for another autumn project so I'll be back with autumn creativity #2 very soon! 

Thanks for stopping by,
~ joey ~ 

Linking up to: