Showing posts with label for Christmas. Show all posts

Christmas creativity - sewing

 Back again with more Christmas creativity, yesterday I shared some drawings, today I'll share my family's sewing projects!
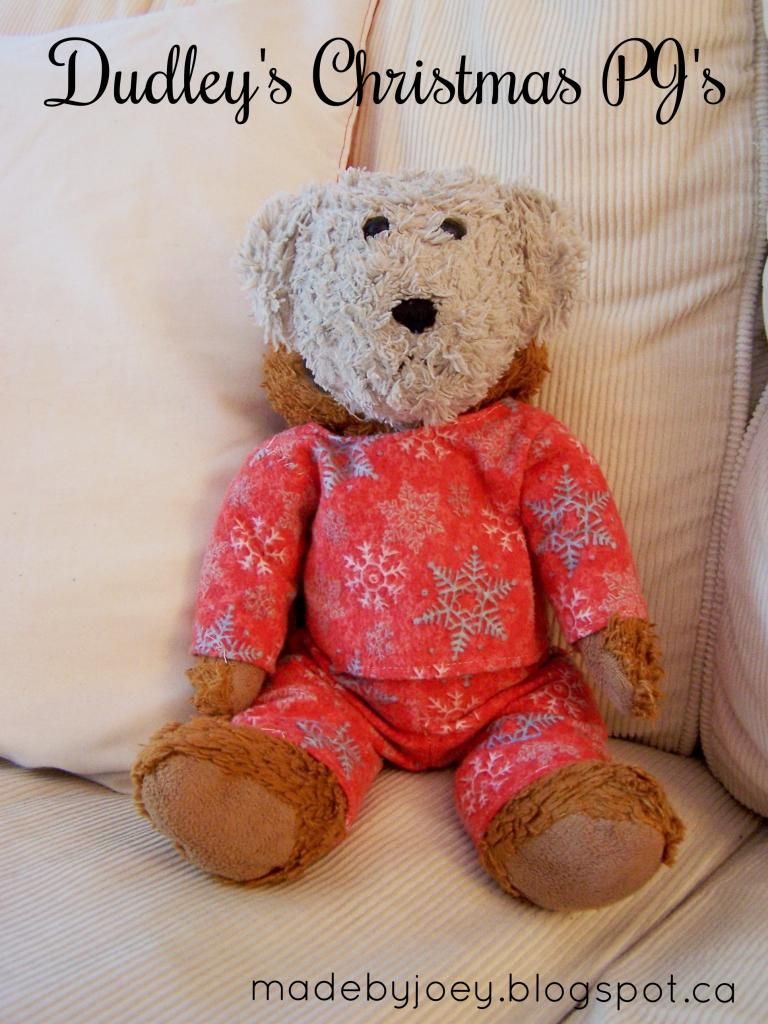
This is my son's bear Dudley.  He needed a pair of PJ's so I made him a pair with a pattern from the book Kinder Dolls.
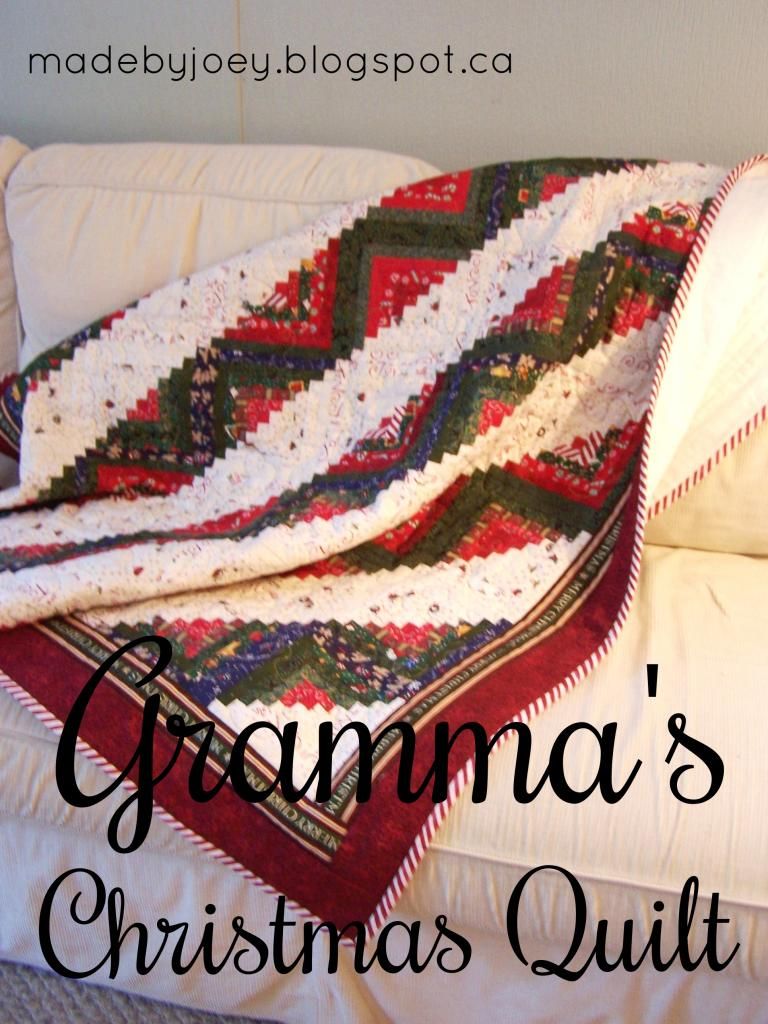

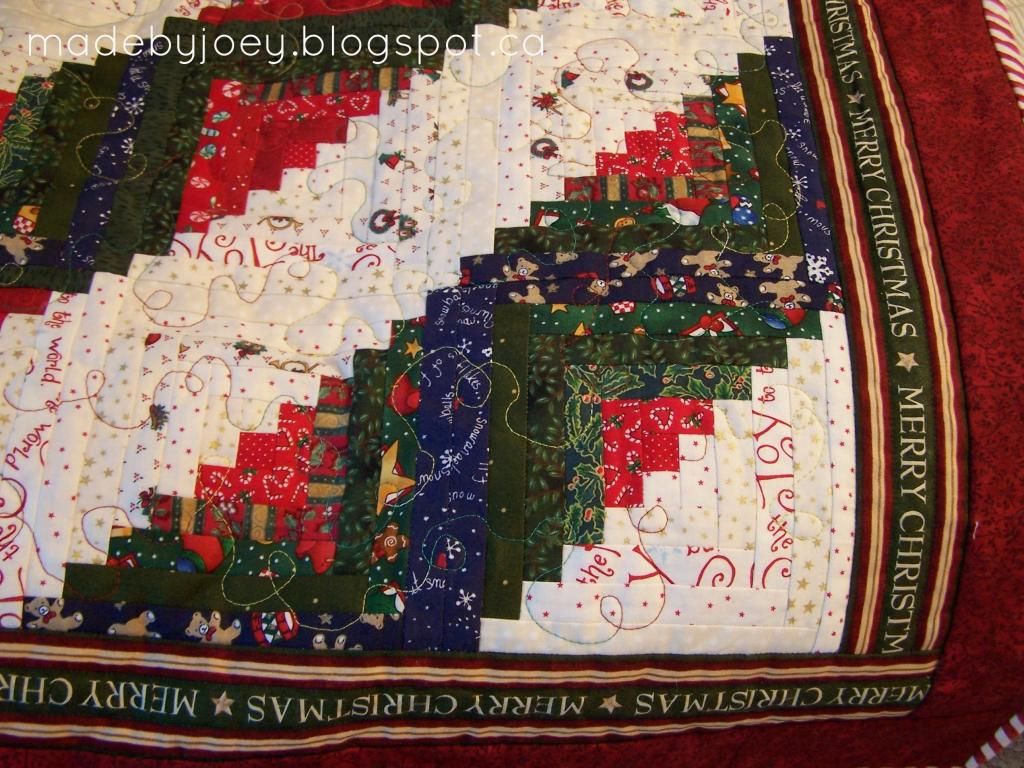
These are two of the quilts sewn by my Mom this holiday.  They are absolutely amazing!  Narrow strips of Christmas fabrics create the first log cabin masterpiece!  I love the Merry Christmas border and the stippling she does all over the quilt.
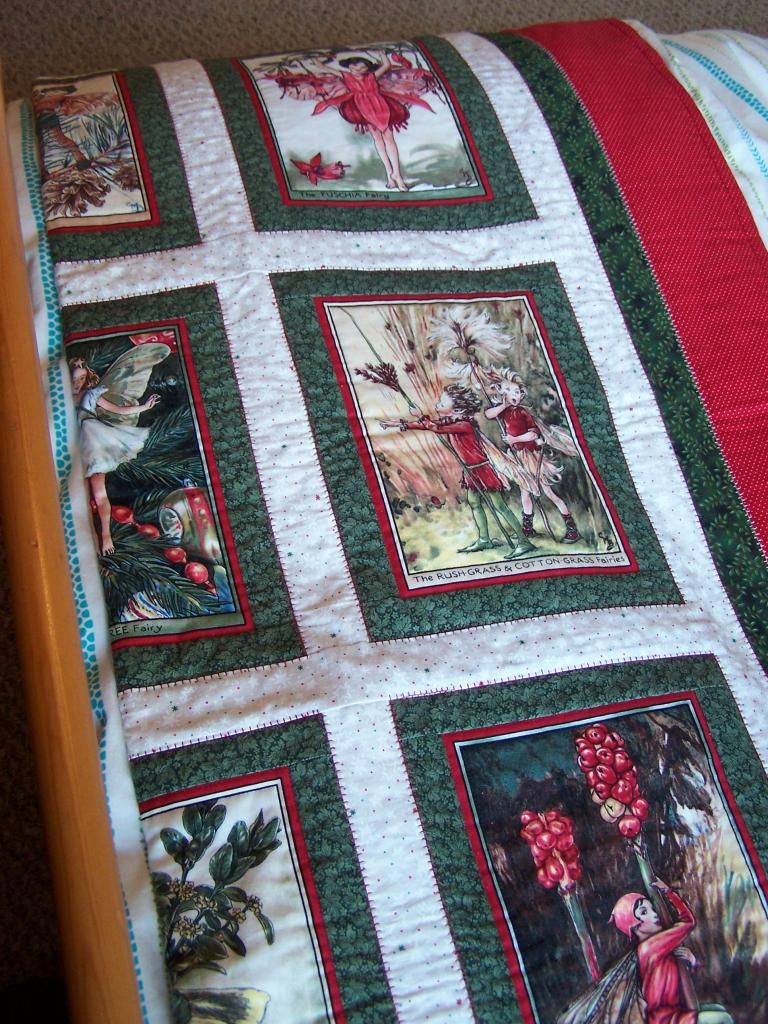
The second quilt is made with the Christmas Flower Fairies panel, beautifully bordered and stitched.
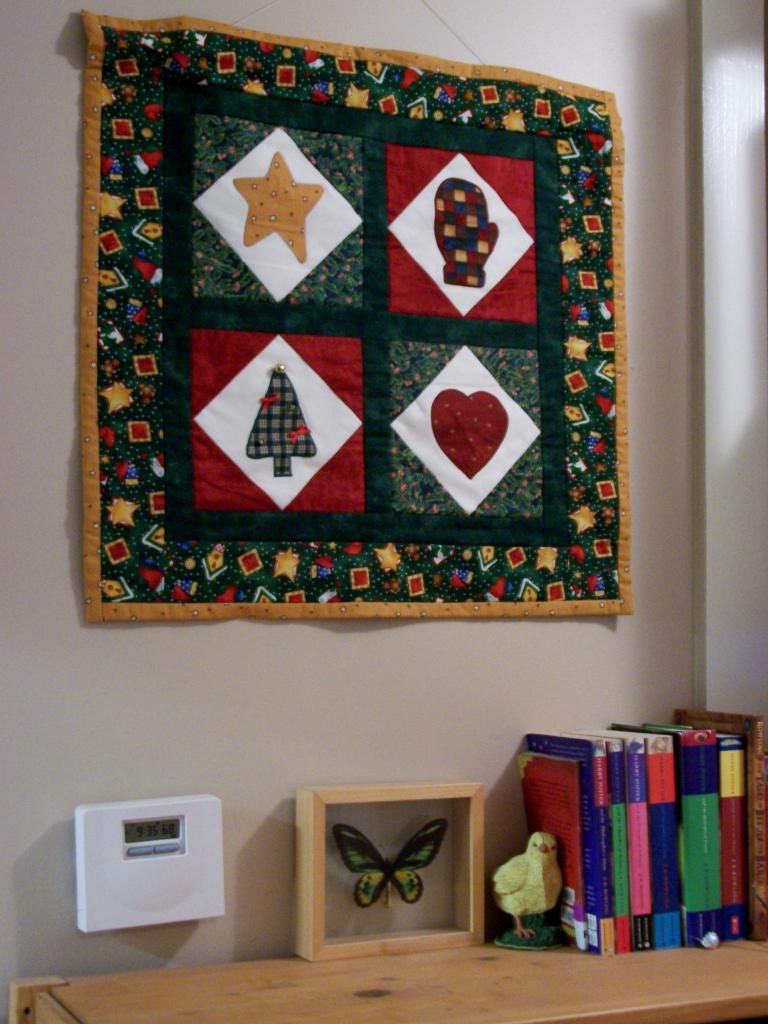
 Here's another wall hanging that my Mom made us several years ago.
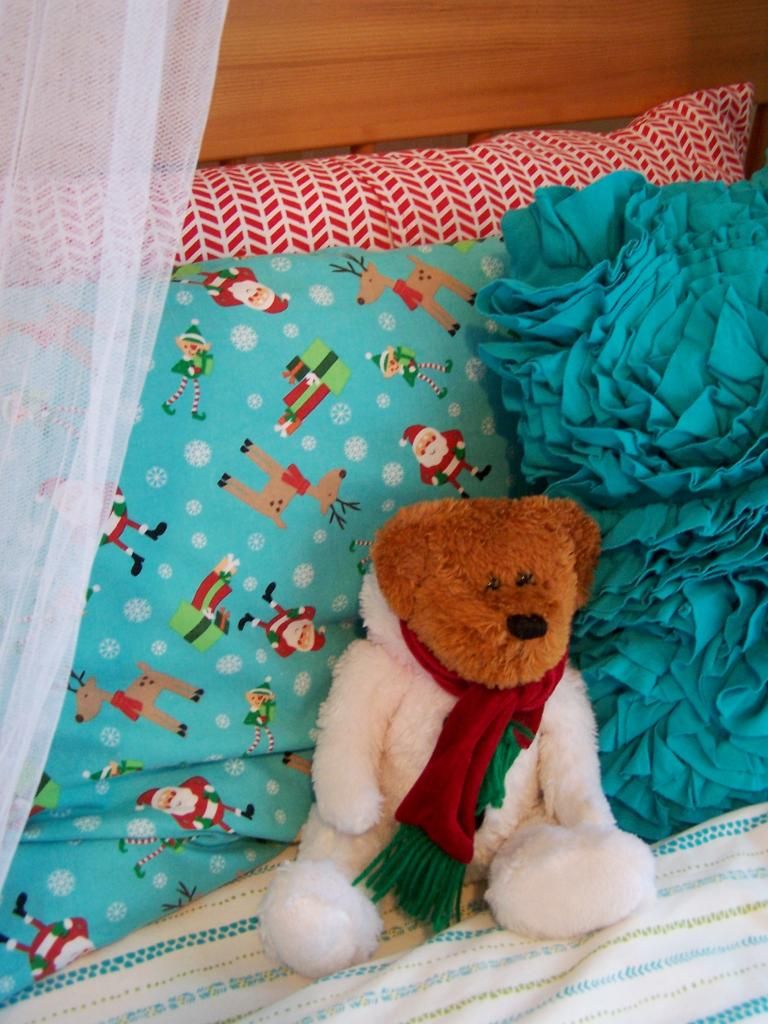
I sewed some Christmas pillowcases for my daughter's bed.  Thankfully it's easy to find Christmas fabric with turquoise in it right now!  The red and white chevron print was perfect as well, she loves chevrons and I think it looks like candy cane stripes.
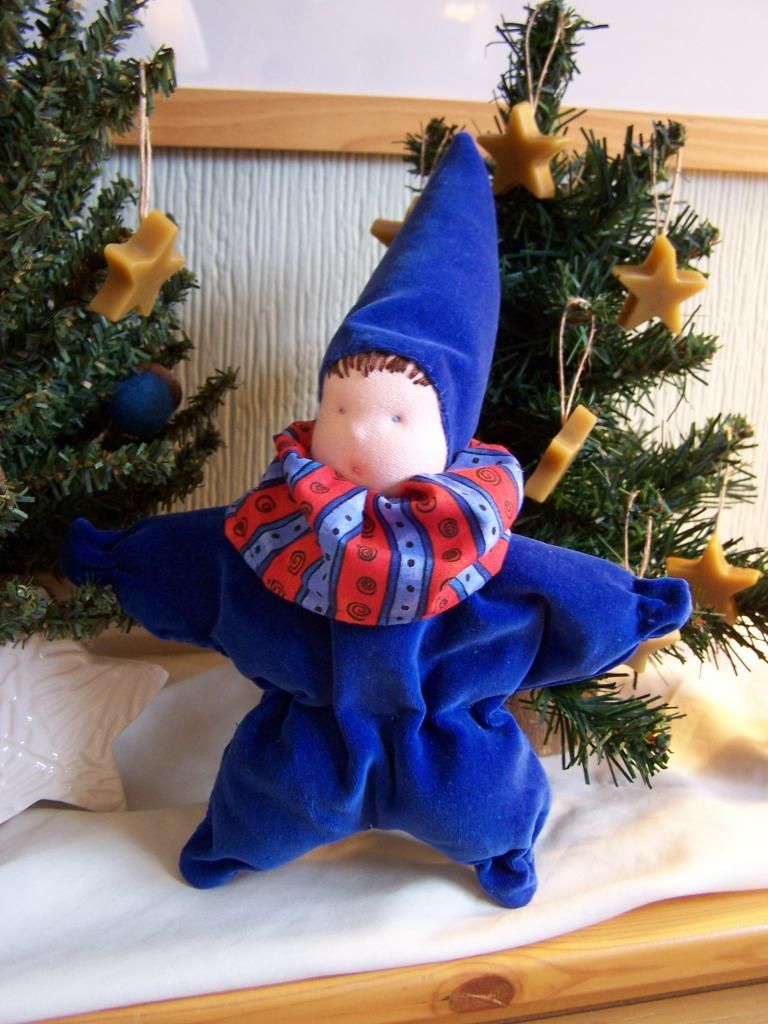
And lastly I made this cuddly little Waldorf gnome for our niece's new baby from a combination of patterns in The Gnome Craft book and the Kinder Dolls book I mentioned above.
It measures about 8" to the tip of the hat and is made of velour.  I sewed a small bell inside the hat to jingle softly.  The patterned "neck ruff" is removable thanks to a simple ring of elastic inside.  I was surprised how quick it was to make and I thought it turned out well for my first attempt.  I'd like to try some variations so I may make some more.

Have you had a creative Holiday?
~ joey ~

Christmas creativity - drawing


We have been up to all kinds of creativity over the past month
so I have scheduled some short posts about some of the things that we have made
while I take a wee break from this blog.
(and yes, there is a tangle challenge scheduled for Monday too!)


Like most tweens, my daughter loves the colour turquoise and glitter!  These are simple Ikea frames that are perfect for her changing taste, she can swap out the photos whenever she chooses.


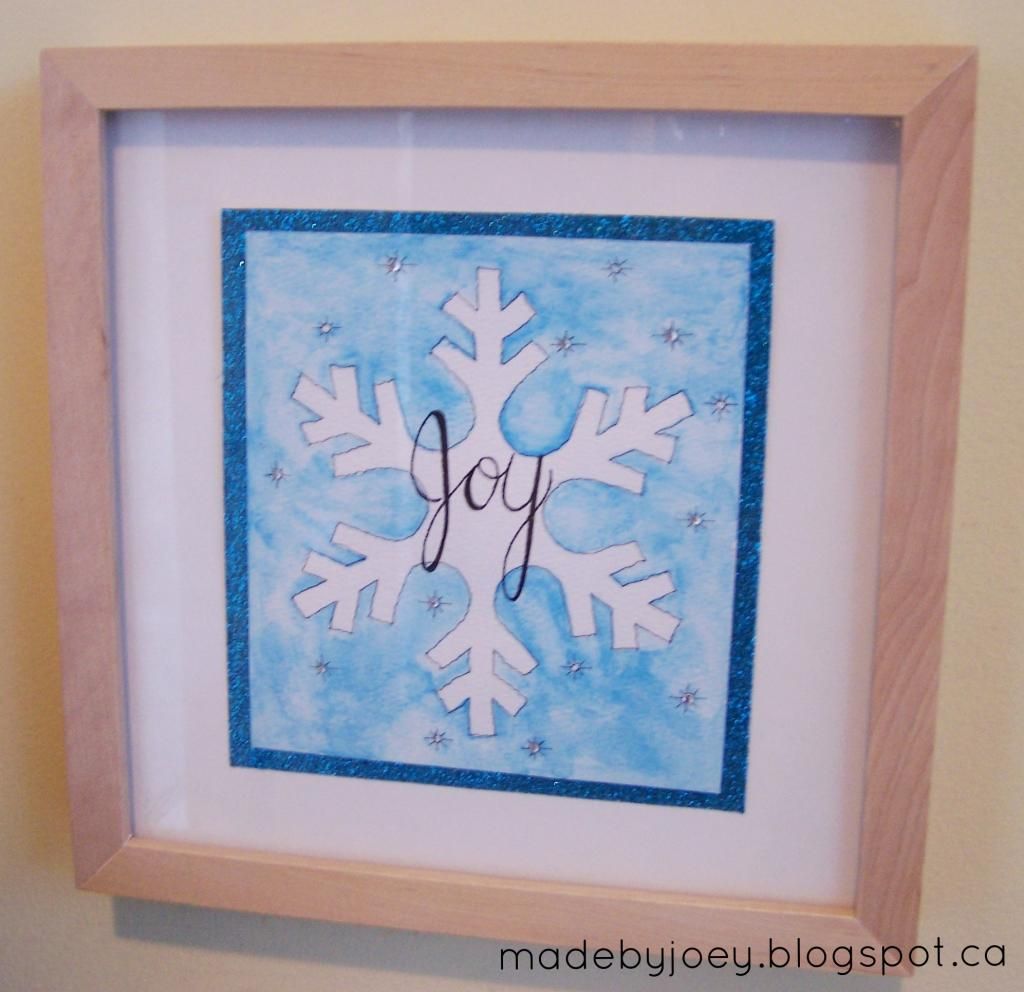
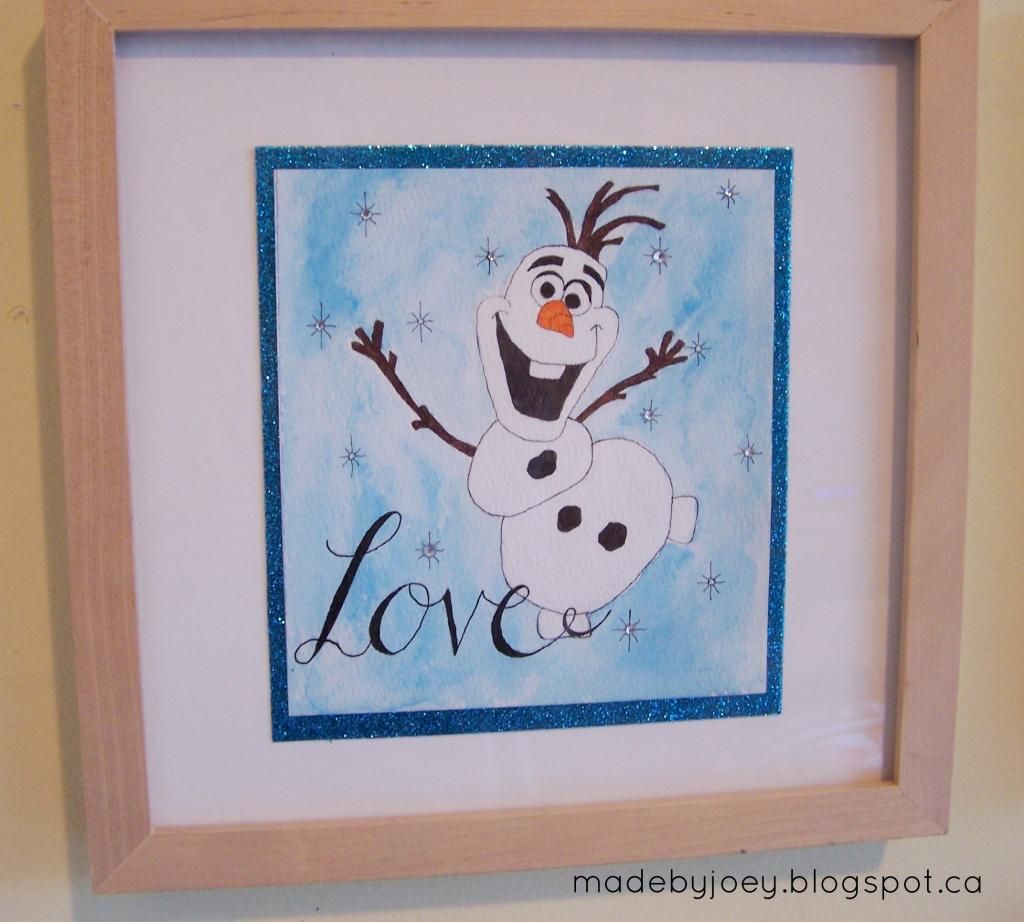
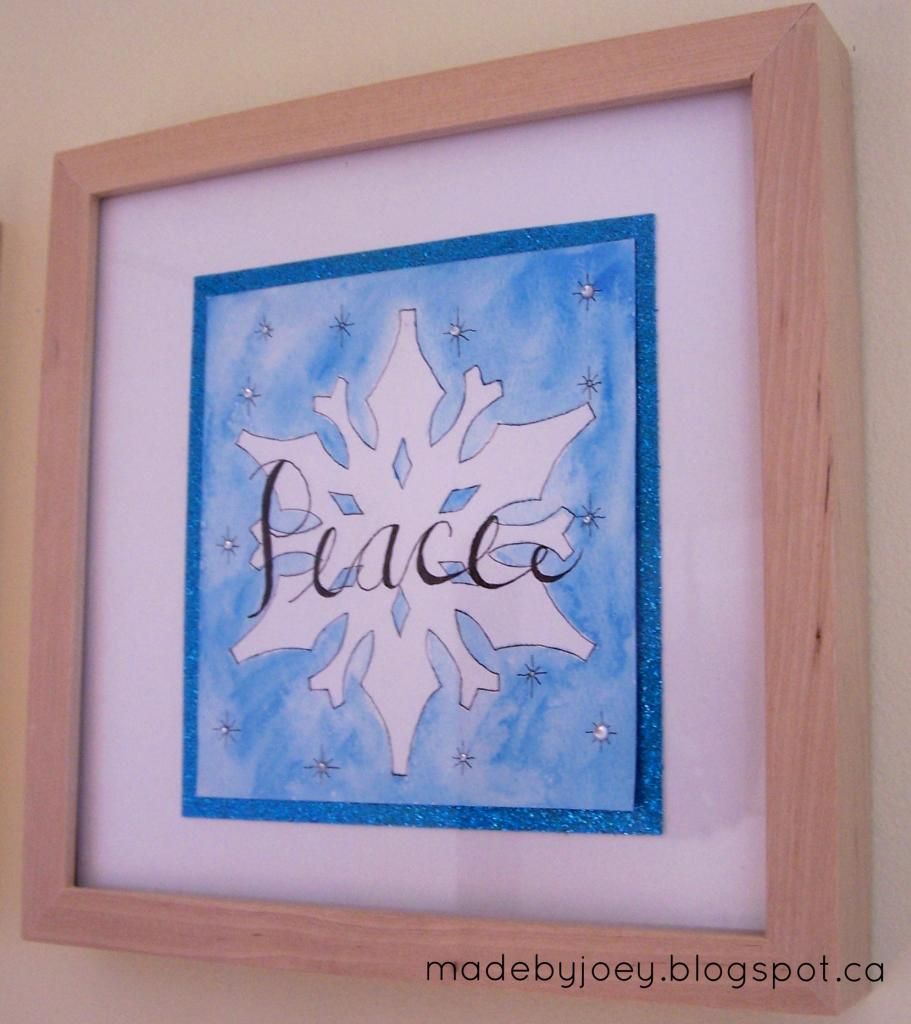
 There are quite often 3 puppy pictures in the arrangement, so for the other frames I painted 2 snowflakes and drew an Olaf snowman.  I added tiny white rhinestones to the snowflakes and wrote the words Peace, Love and Joy on the drawings.  They are each "matted" with turquoise glitter cardstock and then placed on top of the mat in the frame.


Wishing you peace this season!
~ joey ~

tips to eating healthy this holiday

http://playfullearning.net/healthy-eating-holidays/

I am at Playful Learning today with some tips to help your child to eat healthy foods this holiday...yes it is possible!
Wishing you and your family a very happy healthy holiday!
~ joey ~

Christmas crafting

Happy Winter Solstice!
I thought I would share a few examples of some of
the creativity that has been happening in our home lately...

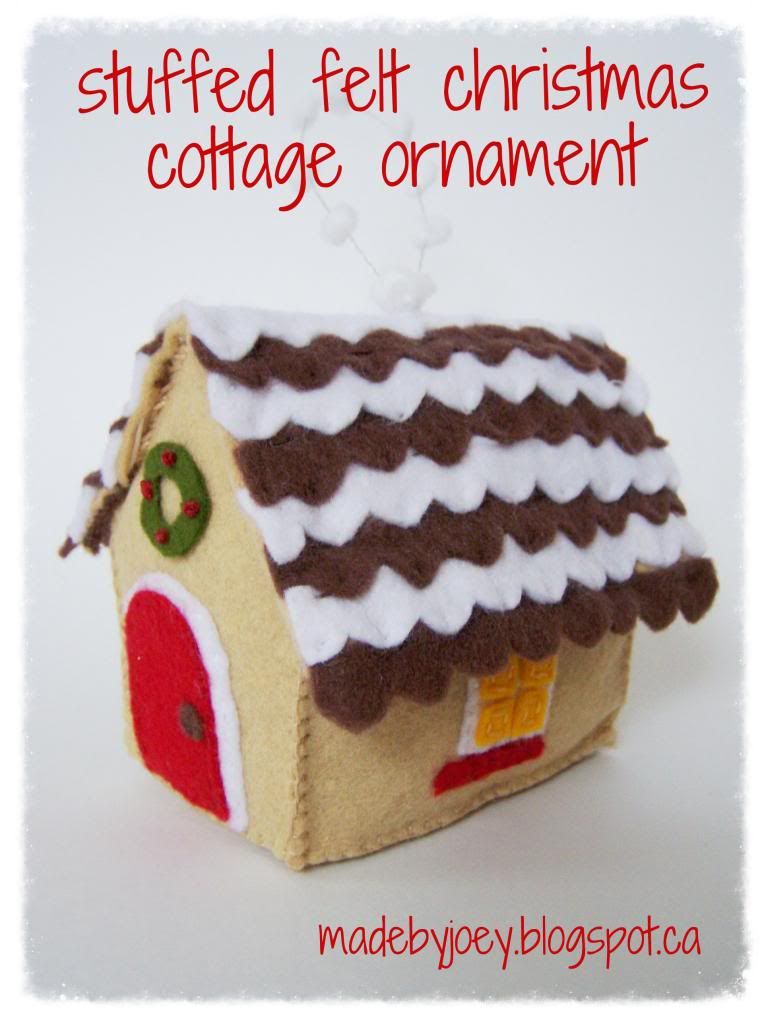
 a gift for an ornament swap

homemade recycled crafts

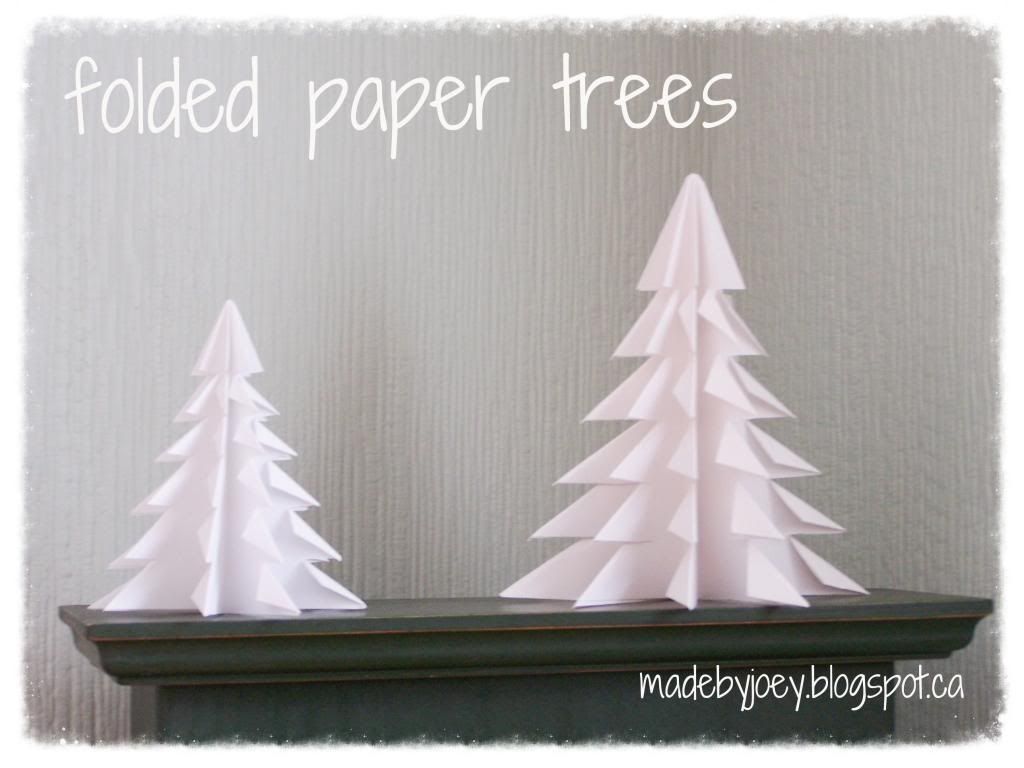
paper crafts are always popular in our home
instructions in this book
 
another ornament swap

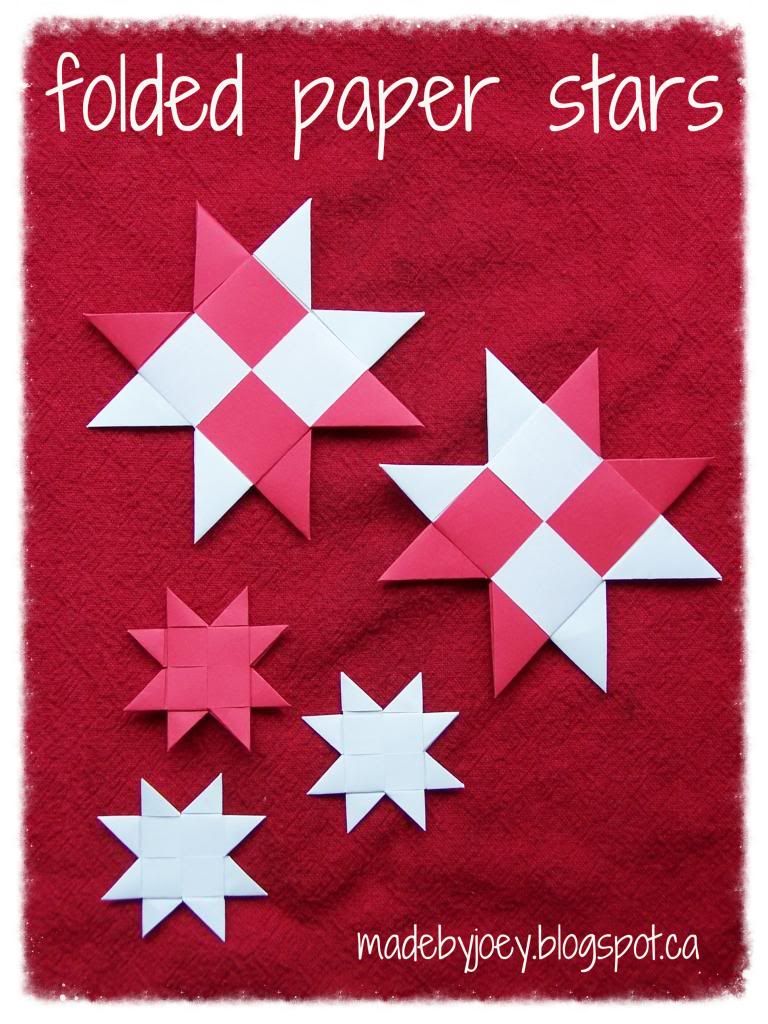
more paper folding crafts

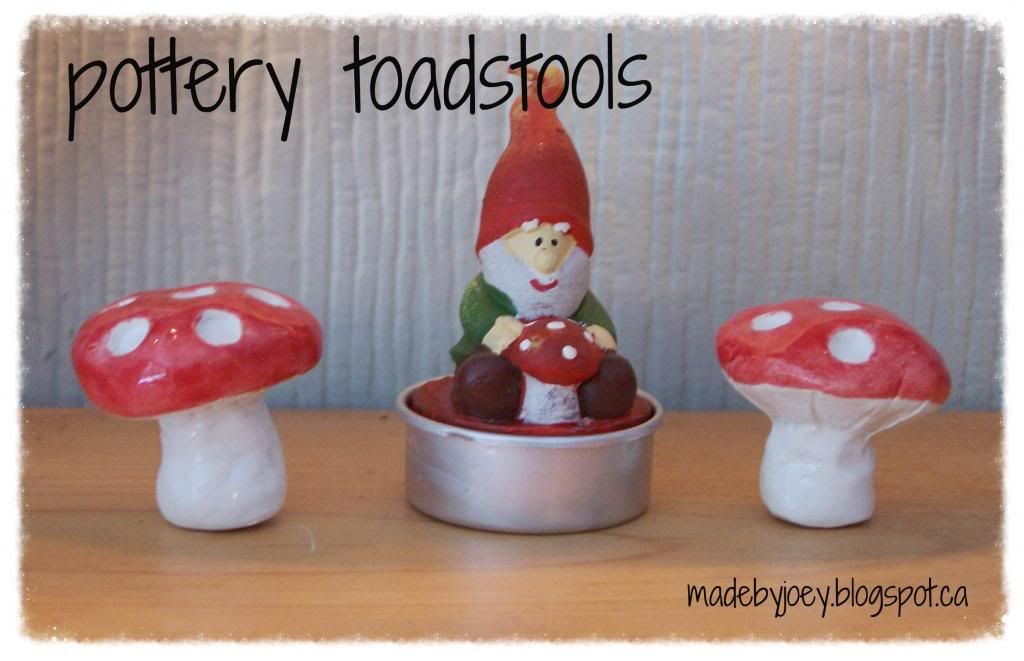
pottery miniatures I made in a pottery class
similar gnome candle source here and here

and even more paper folding crafts!

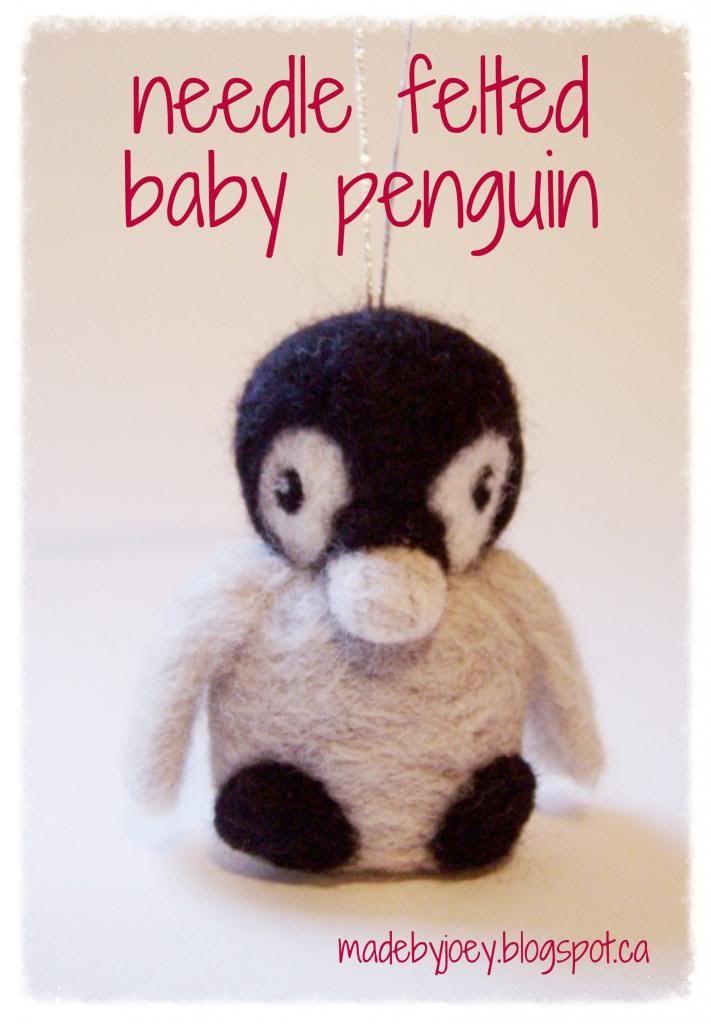
 a needle felted gift made by my daughter

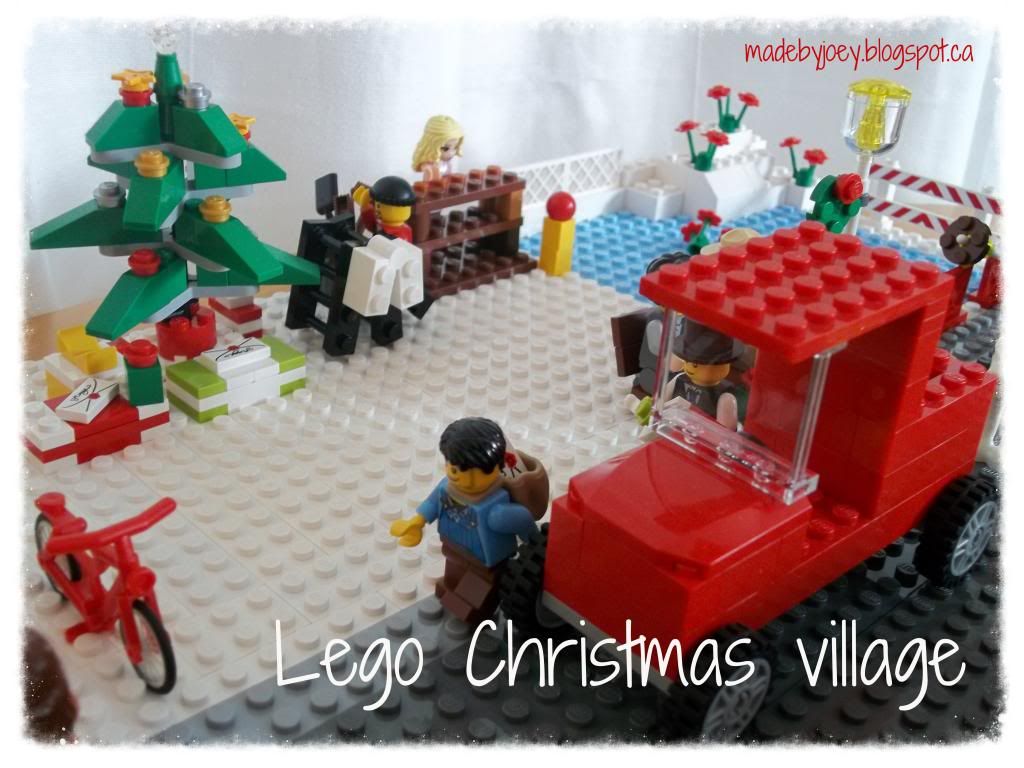
a Lego Christmas village built by our family

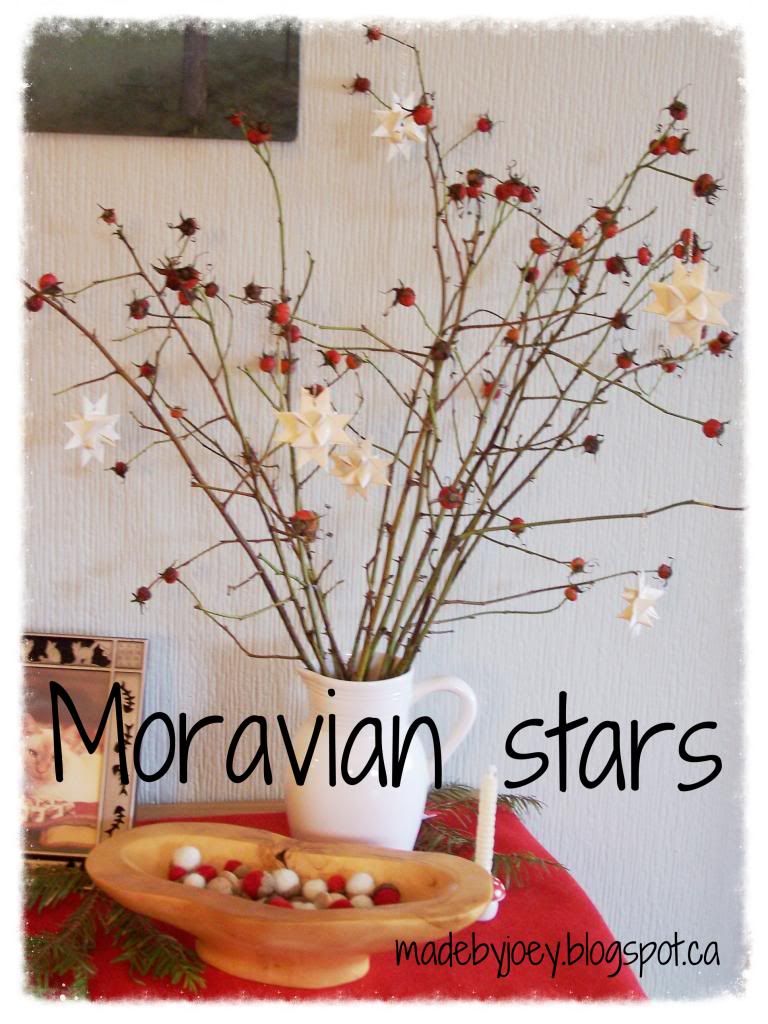
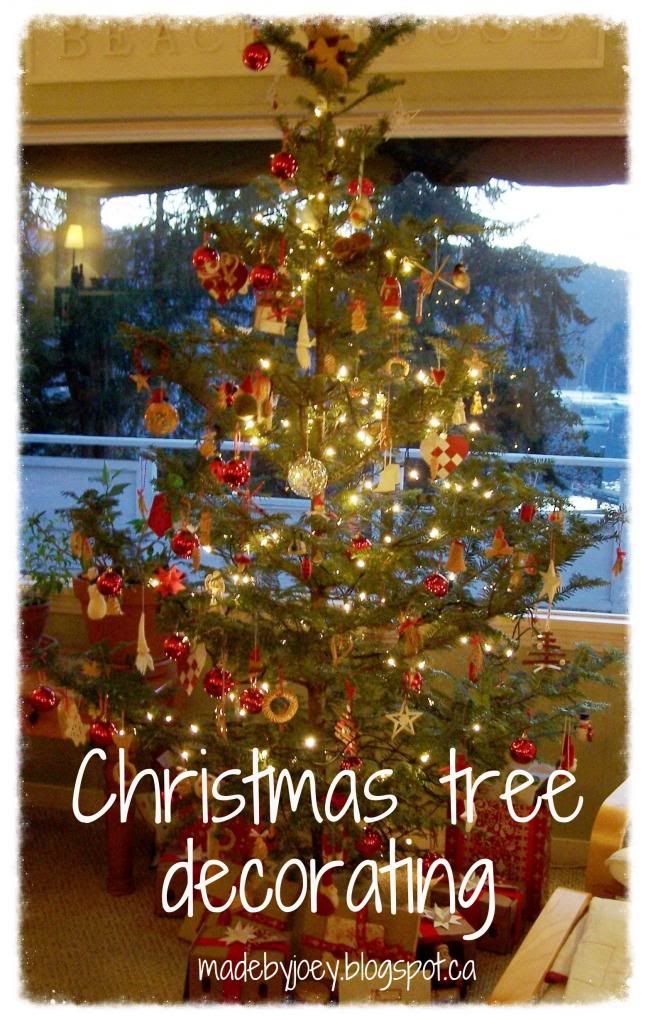
 and lastly some holiday decorating!

I have a post scheduled for next week at Playful Learning
and then wow, it will be Christmas!
I'd like to take this opportunity to thank all of you
that stop in and read this little blog.
I hope to continue to offer inspiration
throughout 2014!

Be well my friends and take care of one another.
~ joey ~

8 things to do together this holiday season

http://playfullearning.net/8-things-together-holiday-season/

Good day!
I have not been in this space very much lately
but I am still around and doing well!
Today you will find me at Playful Learning 
with a list of 8 fun things to do with
your family to make this a most memorable Season!
Happy Holidays!
~ joey ~

Celebrating the Season: St. Nicholas Day

http://playfullearning.net/2013/11/celebrating-season-st-nicholas-day/

Season Greetings!
Please join me over at Playful Learning with a post I have written about Sinterklaas!
Hope to see you there!
~ joey ~

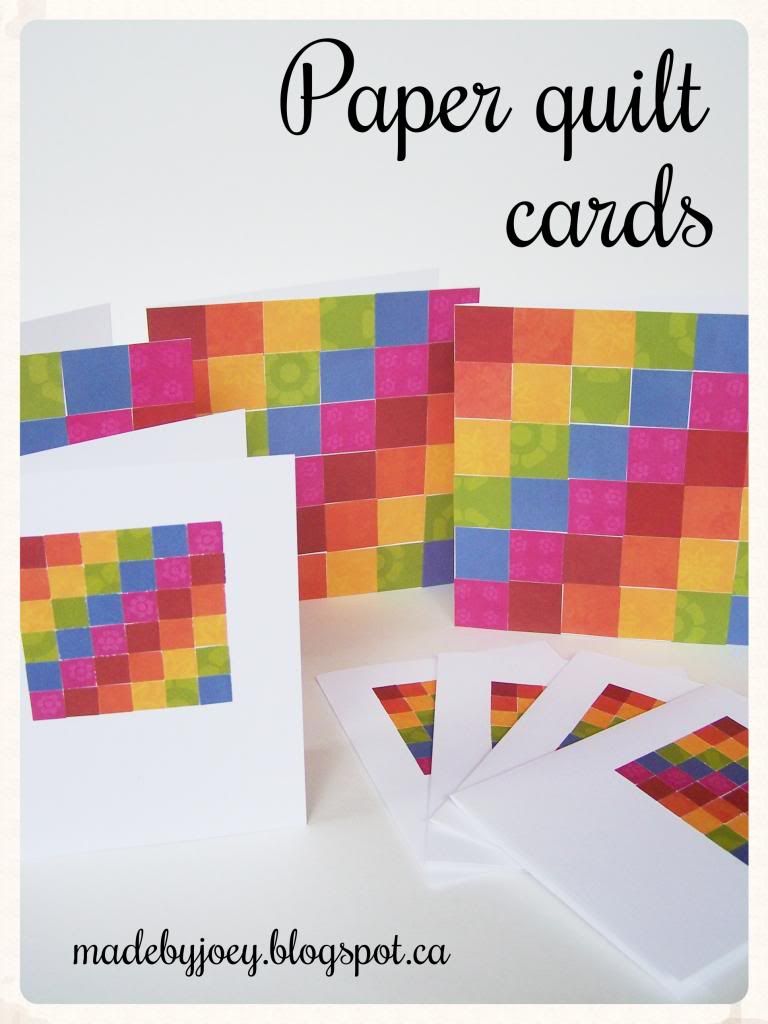
paper quilt cards


For my birthday last year I received a huge packet of printed cardstock (8 sheets of 25 designs... doublesided ...oh be still my heart!)  A few days ago I pulled it out (yes, I was hoarding it to only use on 'good' projects!) so I decided it was time to have some fun playing with the fun patterns.  This week I'll be sharing some of the projects that I have made using the 12"x12" sheets.

This first project is super easy can be done with any kind of paper, even old magazines work great (eco-art!)  It's a great rainy day activity for kids and perfect for teachers with limited Art budgets!

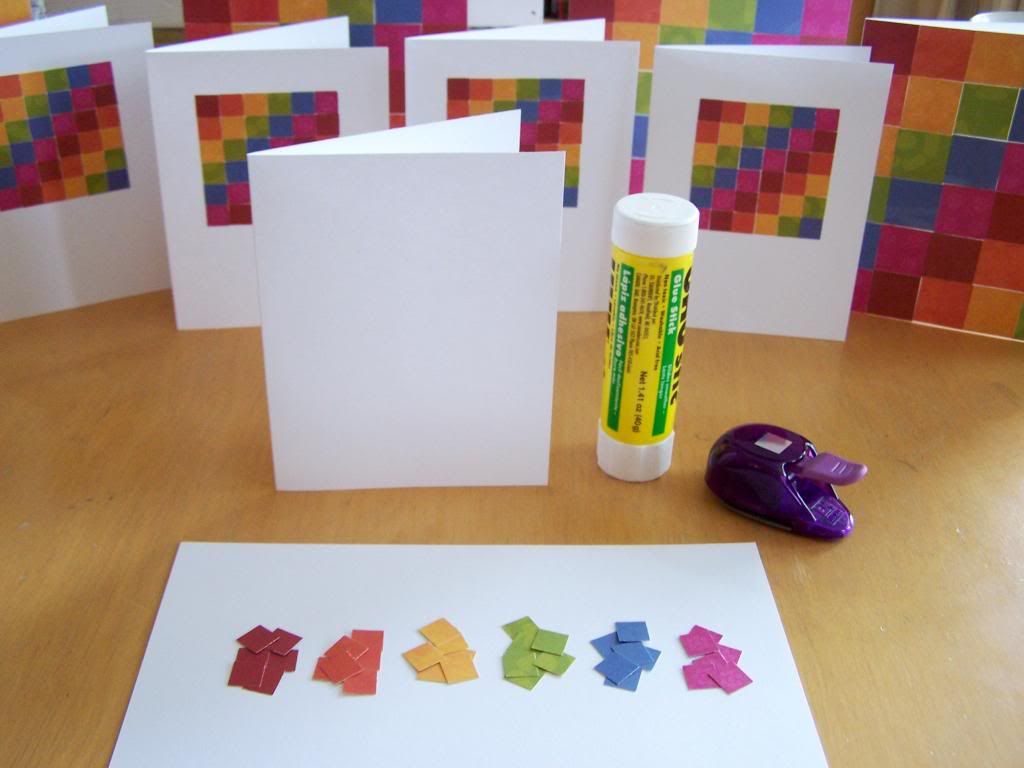
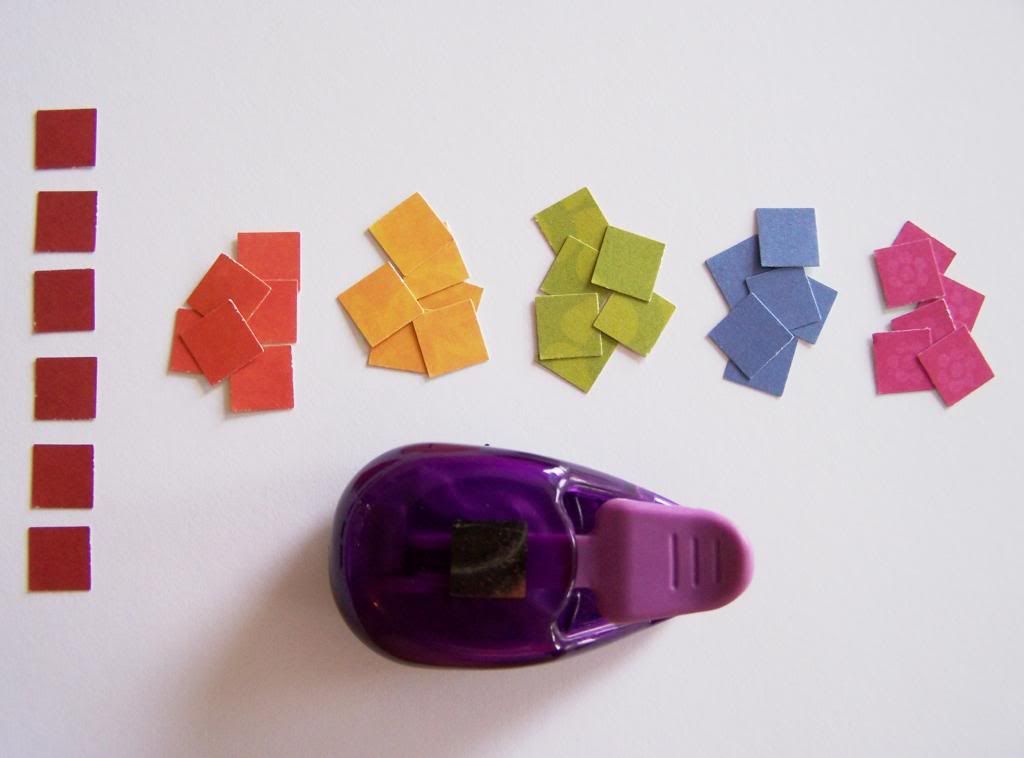
 You need:
paper scraps in rainbow colours
 white card stock 8.5" x 5.5"
1/2" square paper punch*
glue stick

Cut 6 squares in each colour with the square punch.
*a paper cutter or scissors work too.

 Fold your white cardstock in half so your card is 4.25"x5.5".
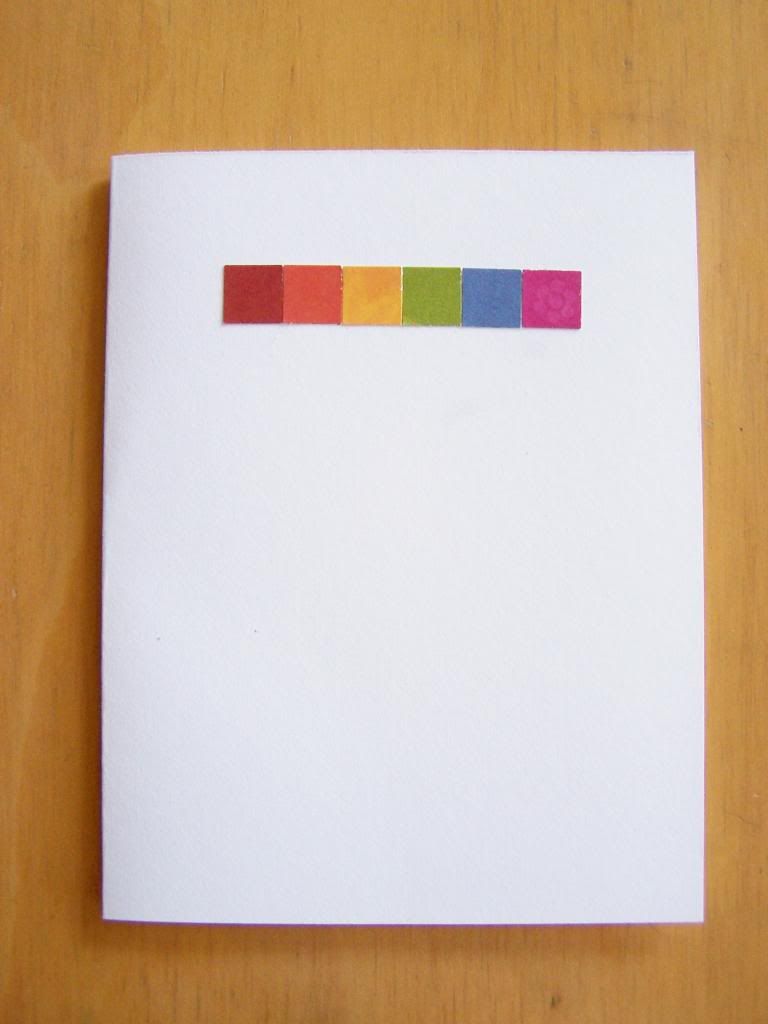
Starting about 3/4" down from the top of the card, place your first line of squares (starting with red) so they are centred on the card.  Glue down with your glue stick.

 Continue glueing the next row of squares starting with orange and finishing with red.
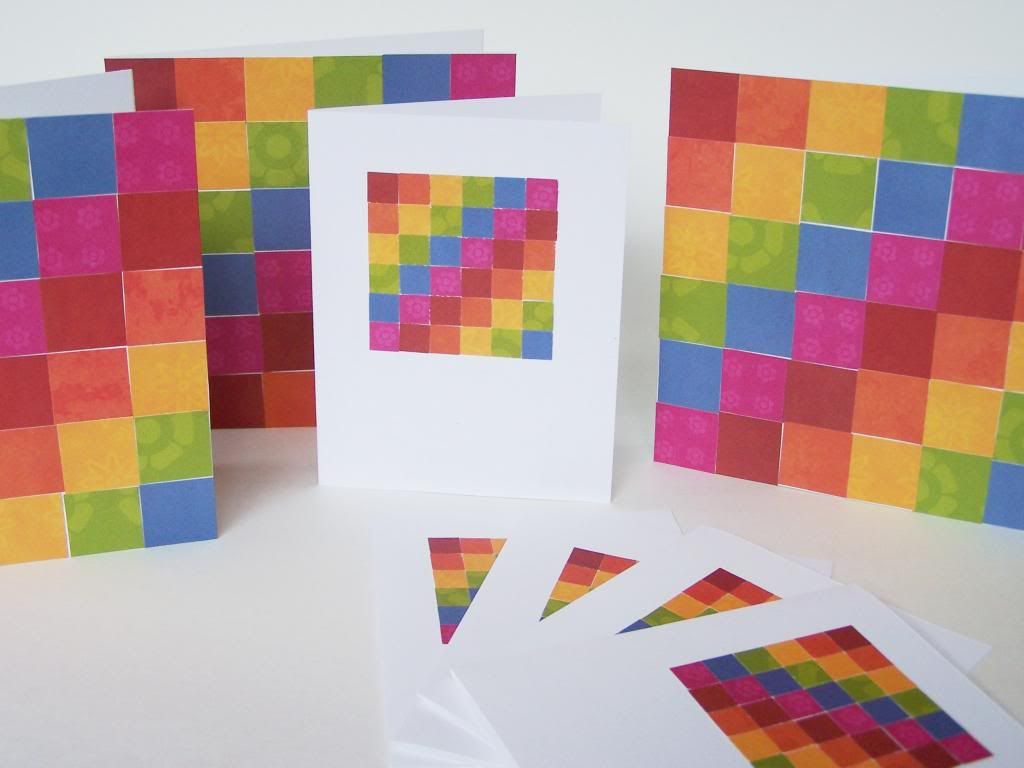
You will see the diagonal pattern forming as you continue to glue on each row.


I also made 6"x6" cards using 1" coloured squares.

I love the bright rainbow colours and the fact that it looks like a quilt.  I can't wait to make some more with other colours, maybe even experiment with triangles!?
Cards fo Autumn, Christmas, Spring, the possibilities are endless!

Have fun!
~ joey ~ 

Sharing with:
Natural Suburbia - Creative Friday
Teaching Mama - Tender Moments
 Sun Scholars - For the Kids Friday

Merry Christmas!

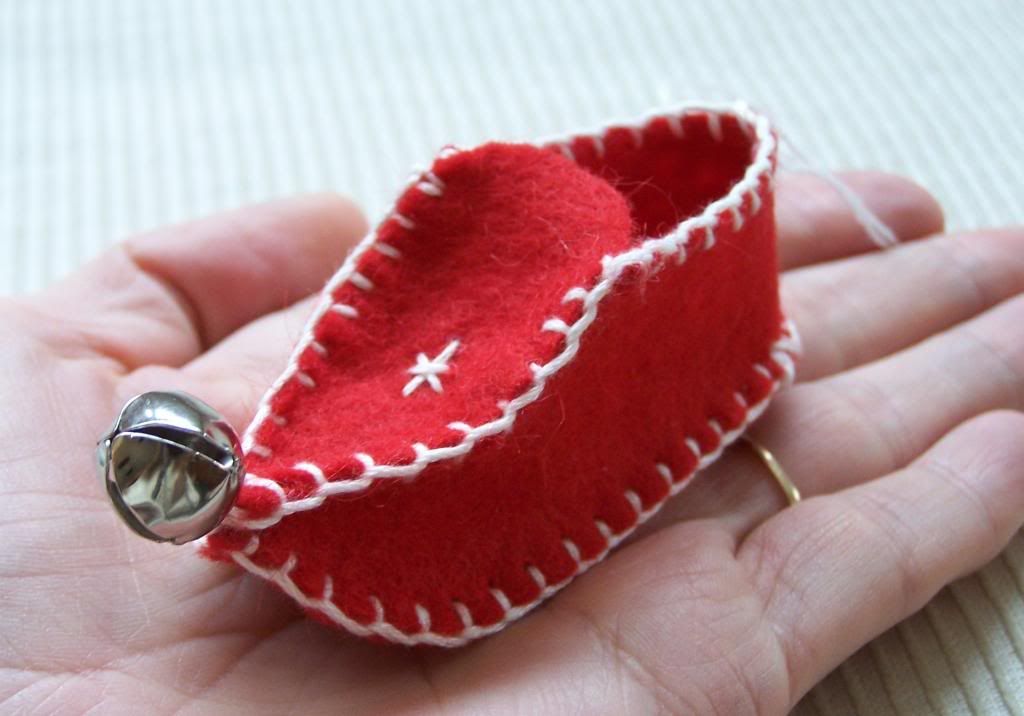
felt elf shoe

With the last of our Christmas crafting
now wrapped and ready
I wanted to take this opportunity
to wish you and your loved ones
a very magical Christmas!

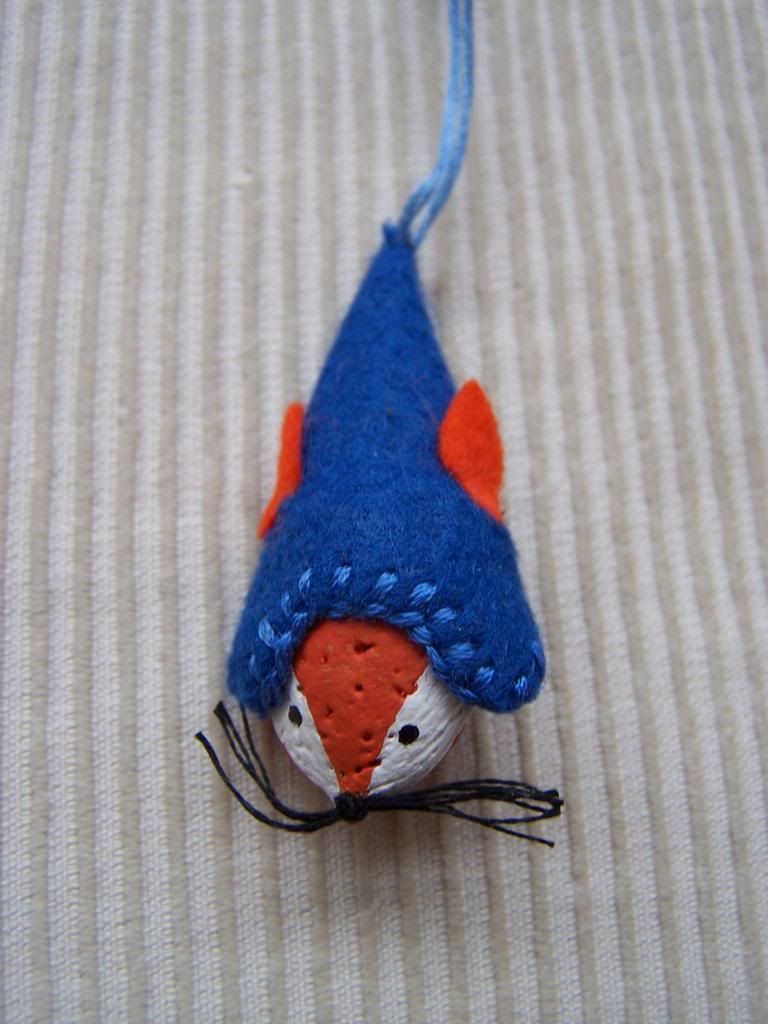
crafting with friends - almond and felt fox

I truly appreciate that you come to this space to see our creativity and to share yours every weekend on the Sharing Creative Ideas Link Up.

felt and pipe cleaner gnome

 I have met some wonderful online friends that have been so supportive and encouraging, I feel so lucky to know you all.

teeny tiny German star made by B and me

I will be spending the next few days celebrating with my family and friends but will be back soon with some new ideas for the New Year!

handrolling beeswax candles with the kids

Until then, have a safe and happy Christmas season my friends!
xoxo
~ joey ~ 

creative days

stitched wool ornaments made with B

The days are bursting with creativity but I'm afraid that I won't be able to share these last few projects with you until after Christmas; so I am posting a collection some of last year's Christmas posts which I hope will inspire you!

simple little bits of christmas

christmas bedroom


...there's nothing like visiting a Waldorf Christmas Faire
to get you in the spirit!

Tomorrow afternoon I am hosting a crafting afternoon for some of my friends.  I'll be sure to take lots of photos of the sweet little ornaments that we plan to make!
 
Happy Creating!
~ joey ~  

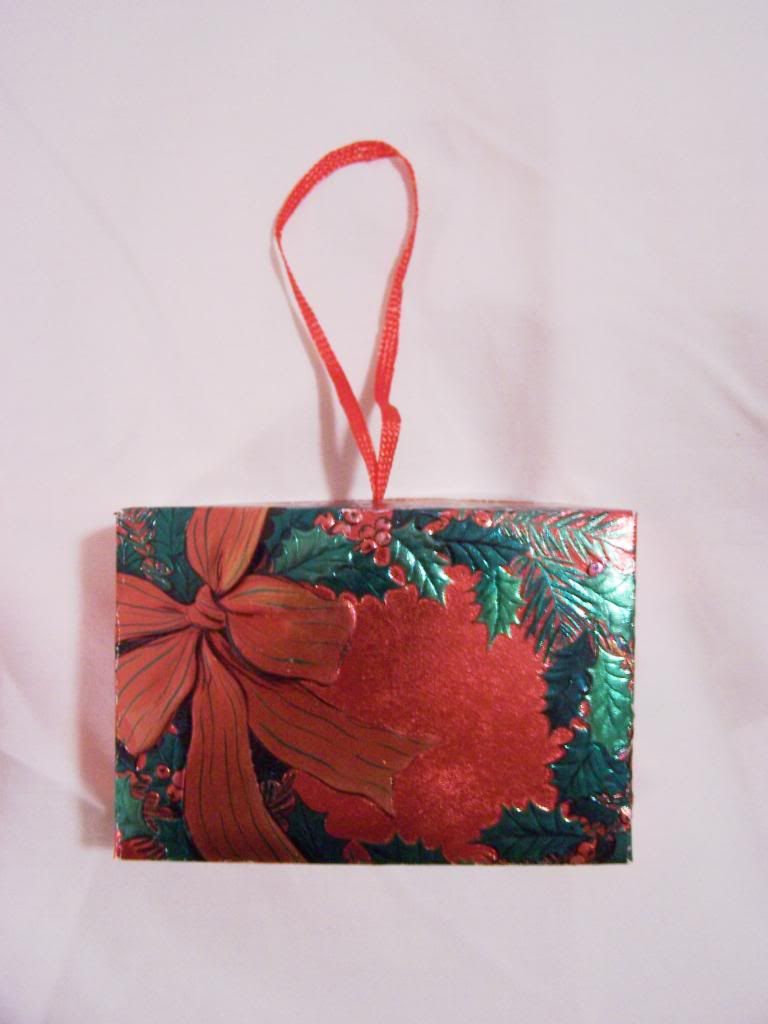
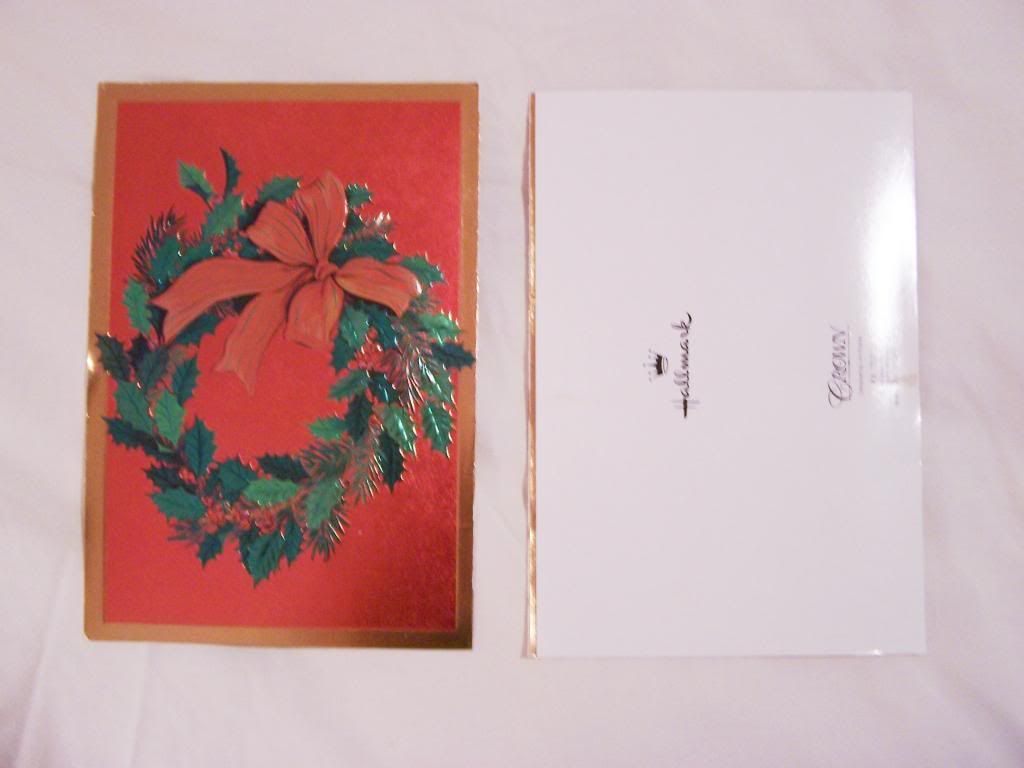
Christmas card gift box tutorial


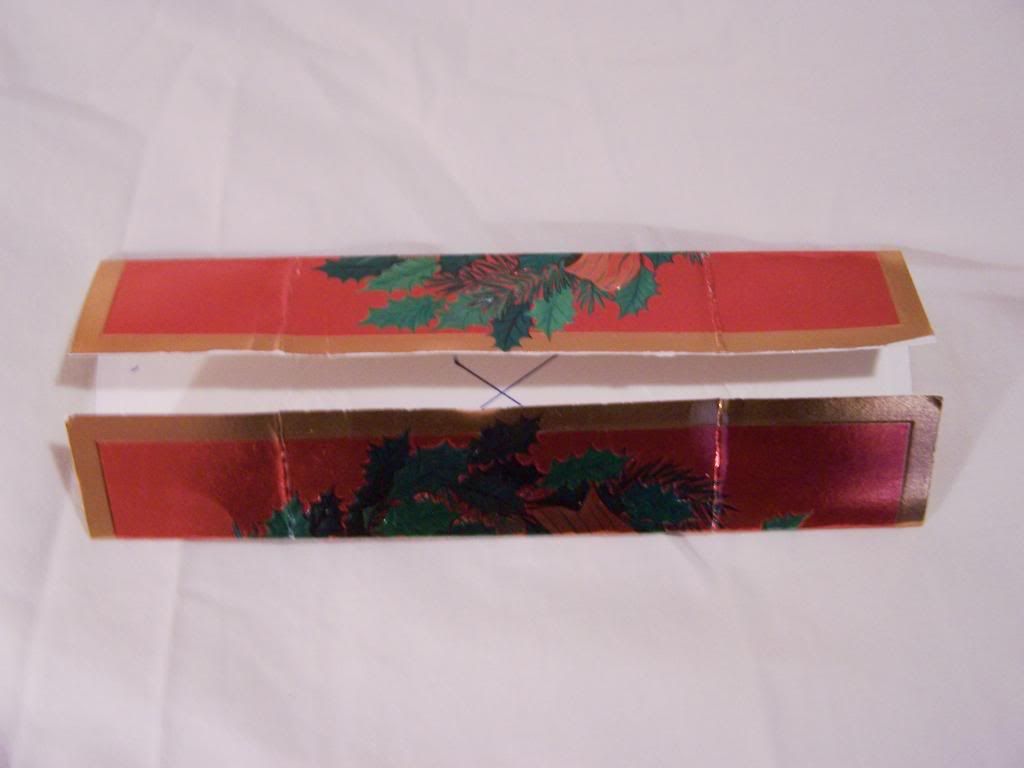
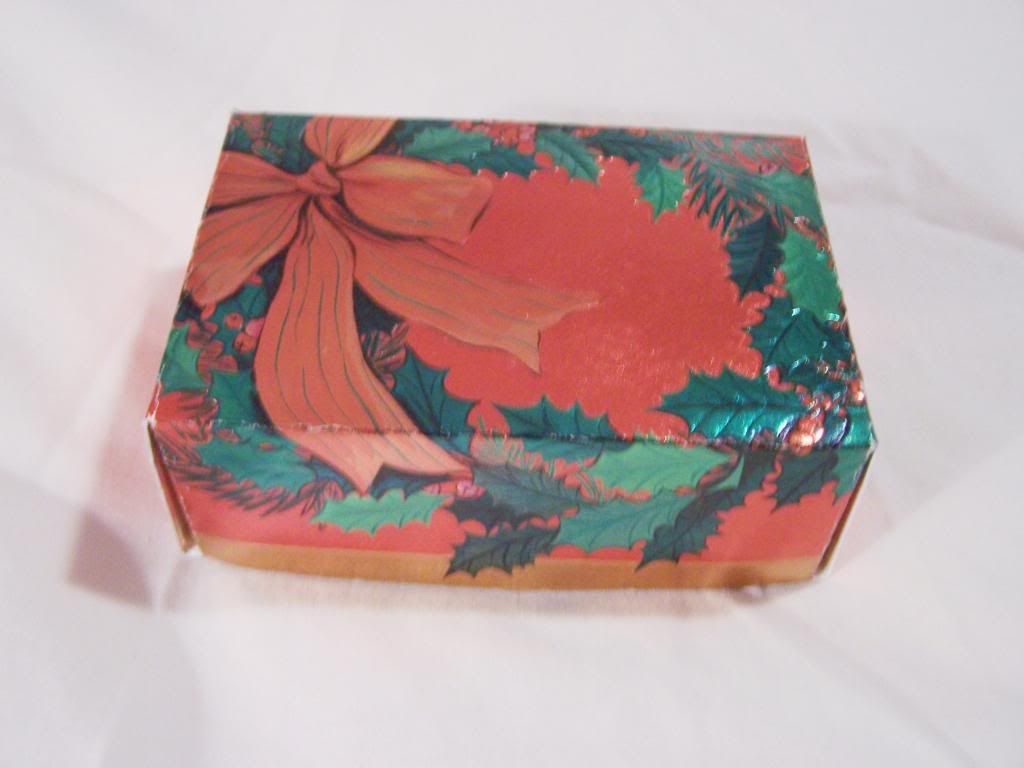
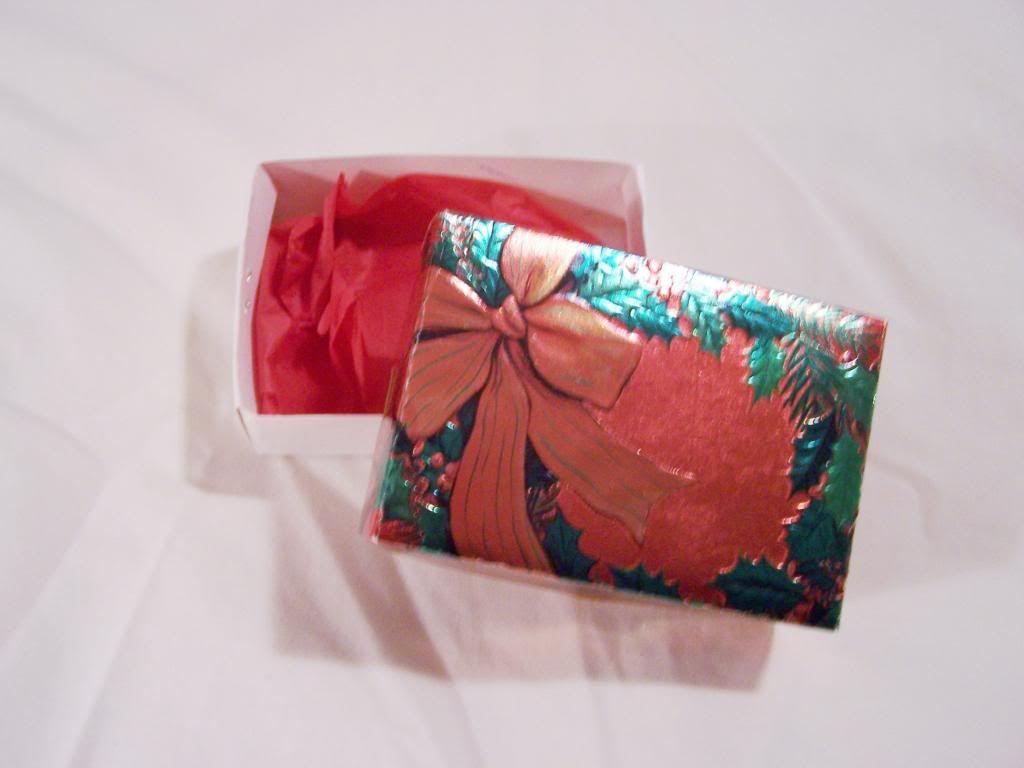
My daughter made these fun recycled Christmas card gift boxes at school so I thought I would share how they did it.

Cut a Christmas card in half along the fold.

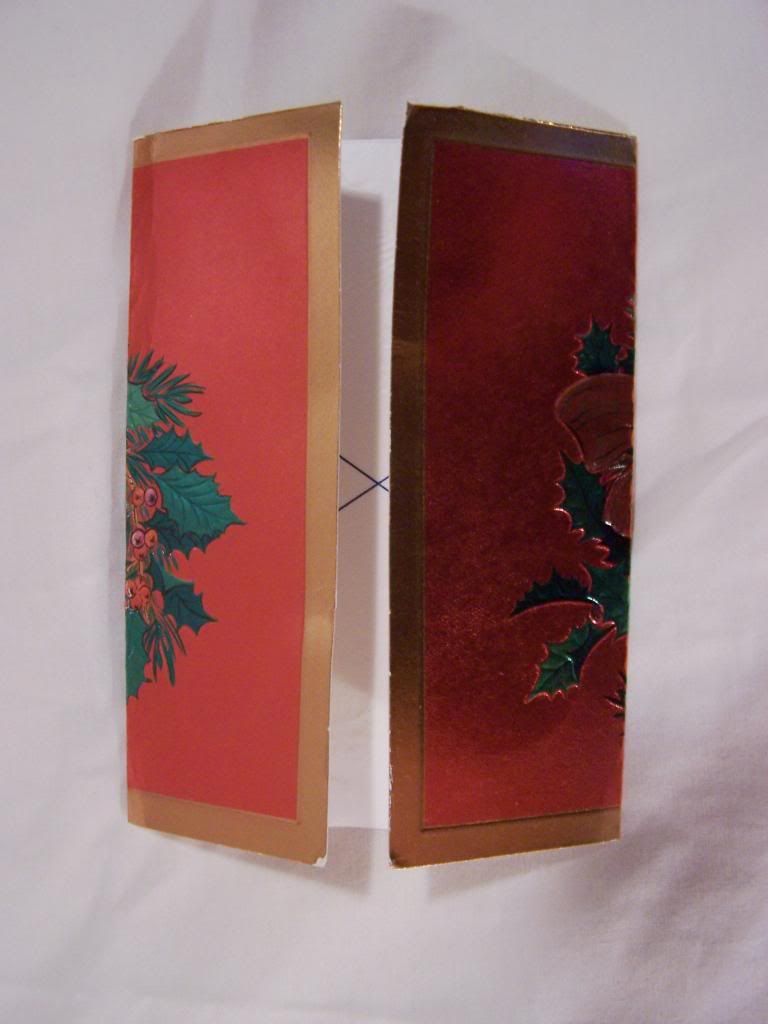
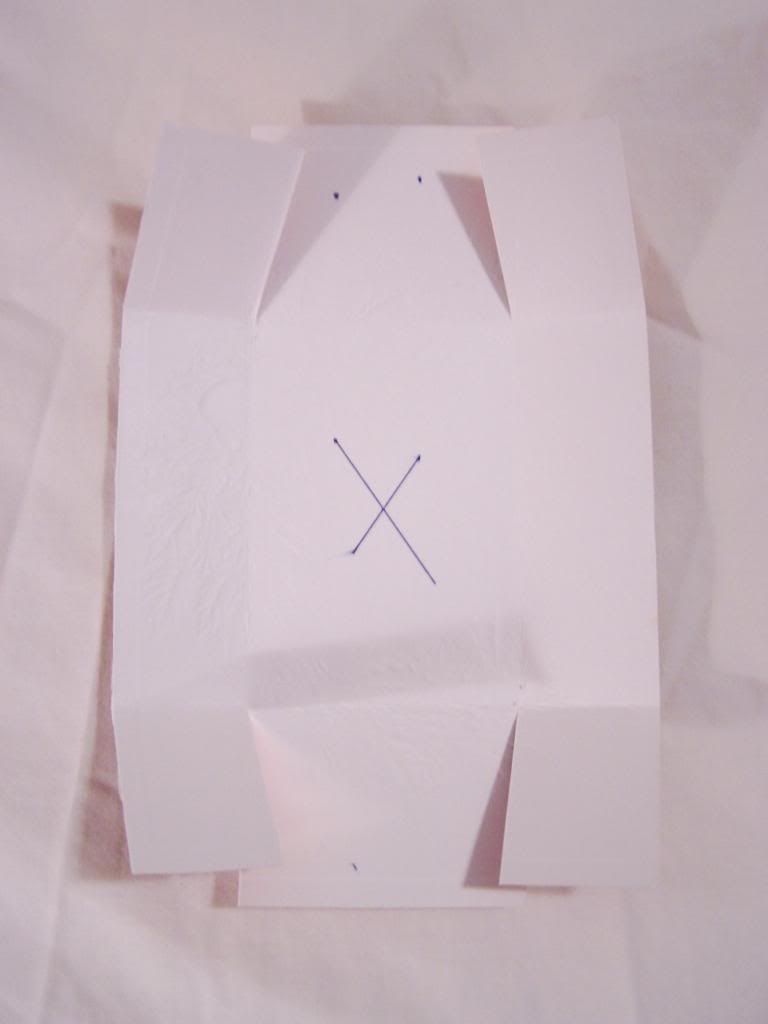
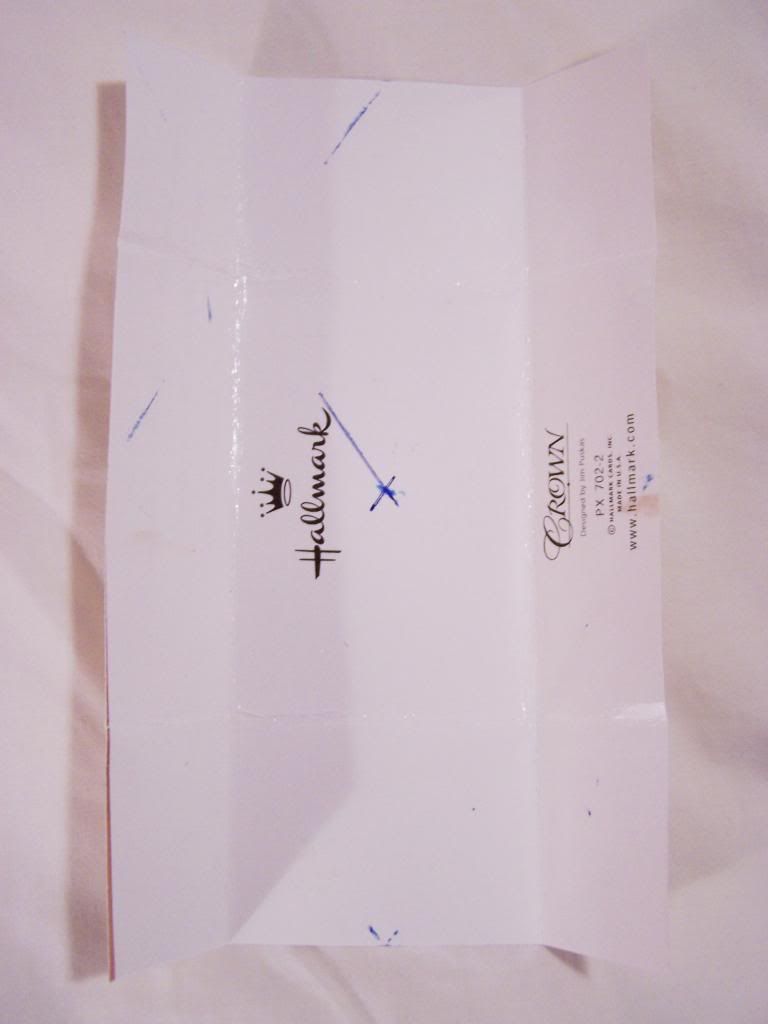
  On the back of the front of the card find the centre and make a mark.


Fold the ends to the centre mark.

 Open the card and fold the opposite ends to the centre.

 Cut on the lines as shown in the photo.

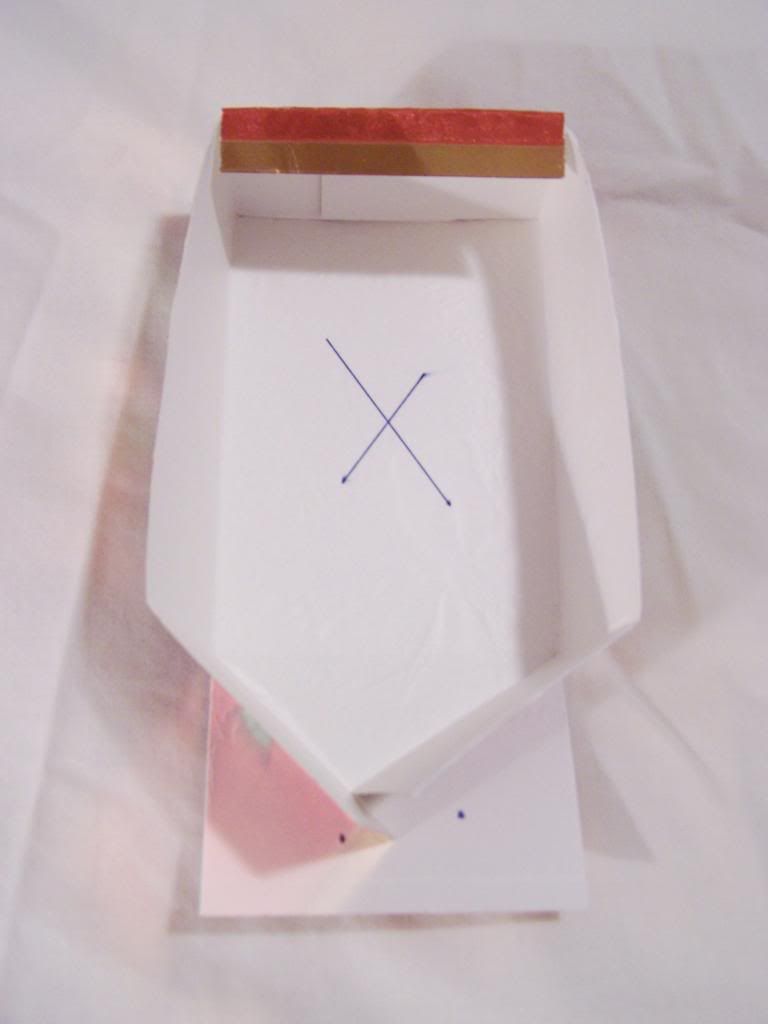
 Fold the sides in and fold the end over to secure.

 Do this on both ends and you have the box lid!

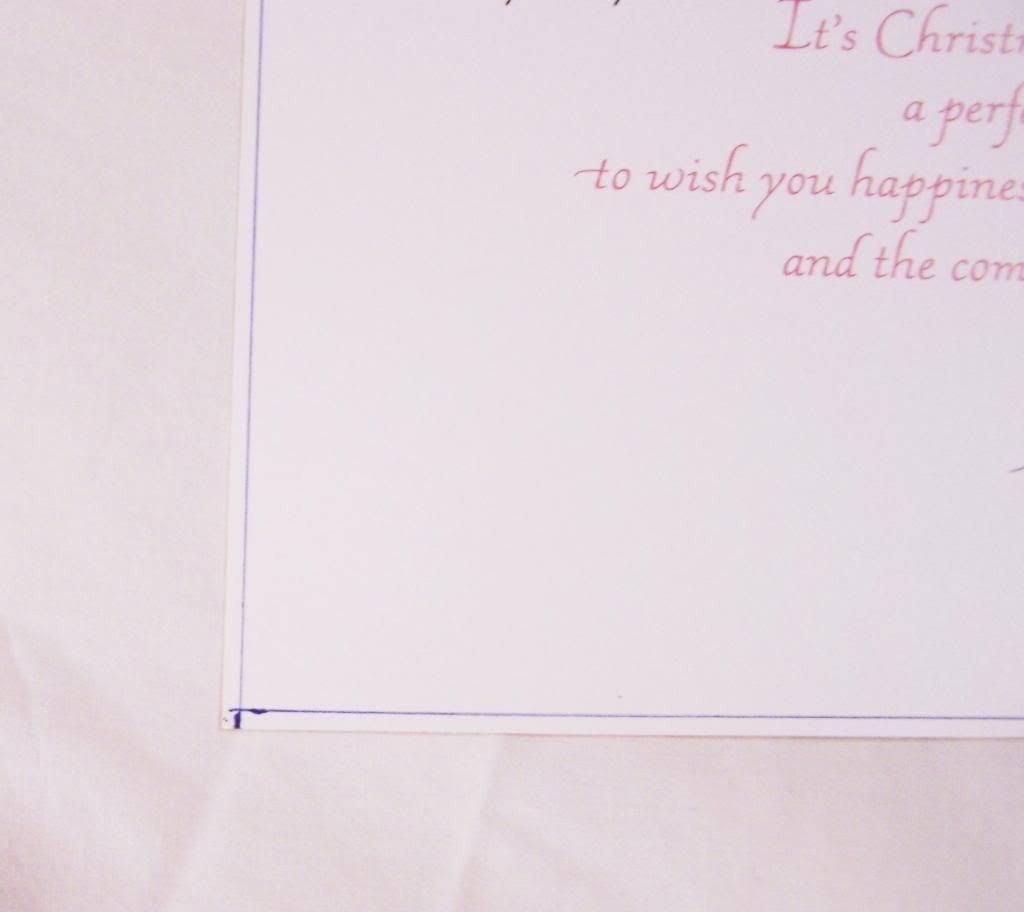
 On the other piece of card measure and mark a 2mm (1/8") border all around the perimeter.  Cut off the border.

Mark the centre again and fold as you did for the top of the box.

 You can tape or staple the end flap to hold it more securely if you choose.

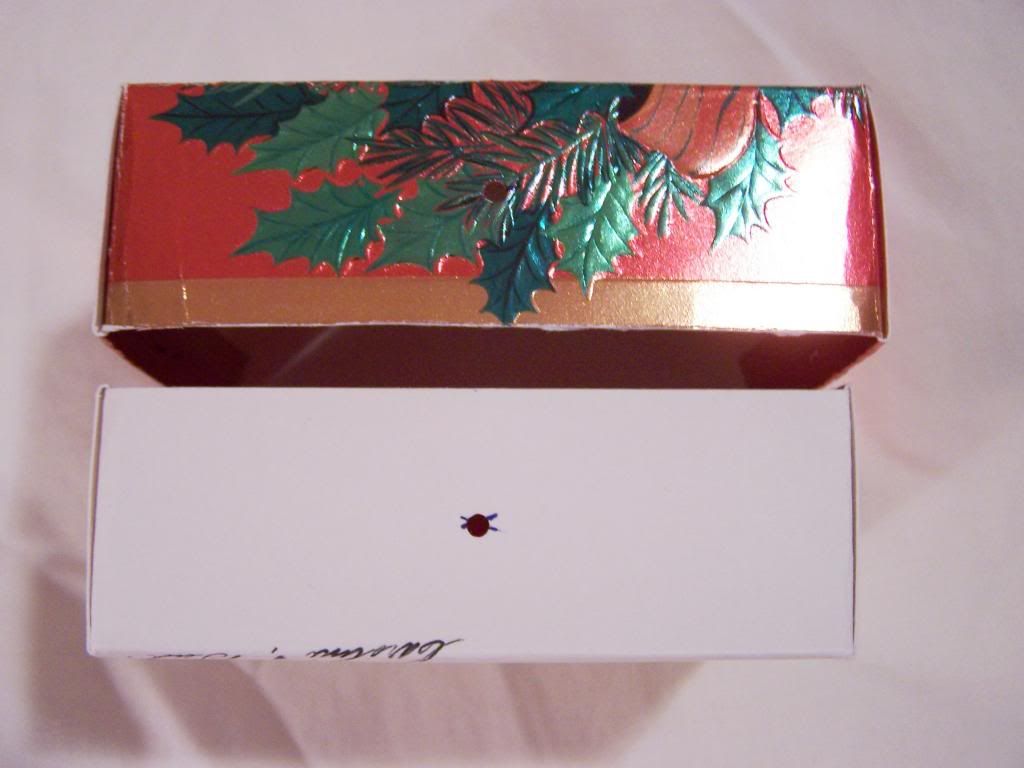
 To add a ribbon so that you can hang the box on the tree, mark the centre on the top of both boxes and punch a hole on each using a hole punch.

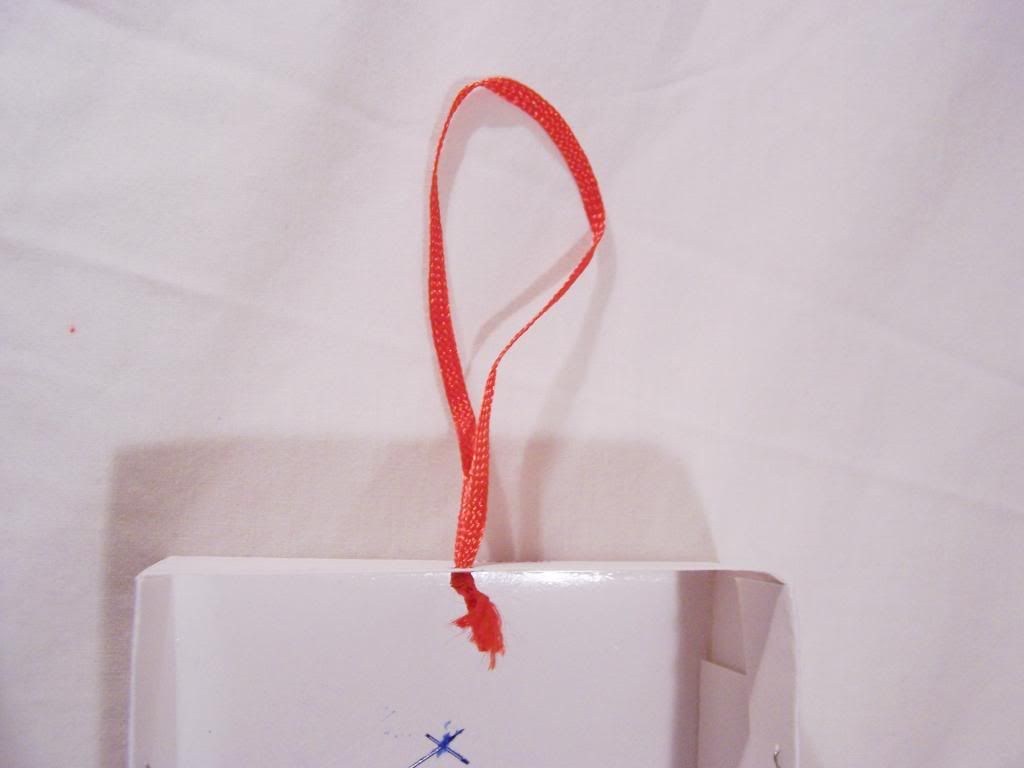
 Thread the ribbon through the bottom of the gift box and tie a knot as shown.

 Thread it through the hole in the top of the box and you are done!

I will certainly be saving our cards to reuse next year as boxes.  They are a great size for wrapping small treats or a gift card!
Have you been recycling "trash" into treasures too?
~ joey ~ 
*after thought - using a water colour painting would make a beautiful box too (if you can manage to part with one!) 

shared at:
Natural Suburbia - Creative Friday