Showing posts with label for Easter. Show all posts

Happy Easter Weekend!


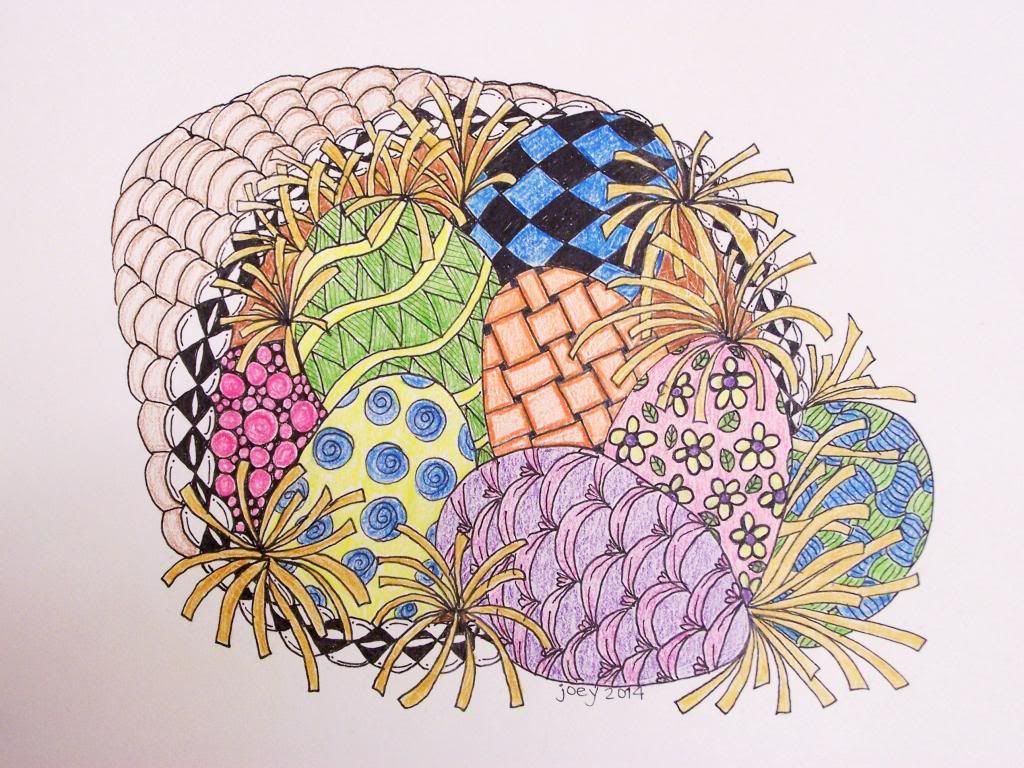
There is still time to link up to the 4th Weekly Zentangle Challenge if  you are participating.
Wishing you and your family a peaceful Easter Weekend.
~ joey ~
 

Easter home decorating

I hope you enjoyed yesterday's Easter nature table post.  Today I'll take you through the rest of the house decorations...

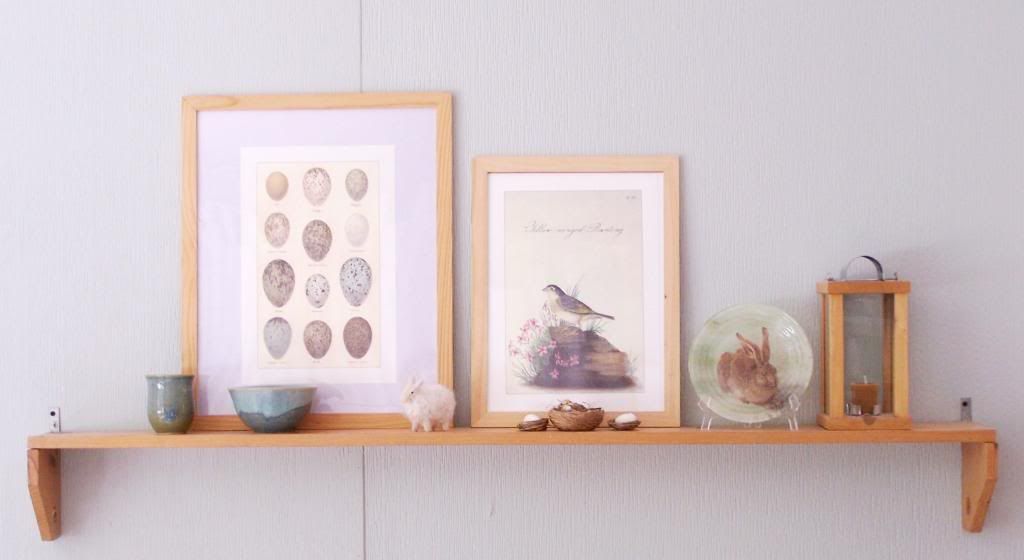
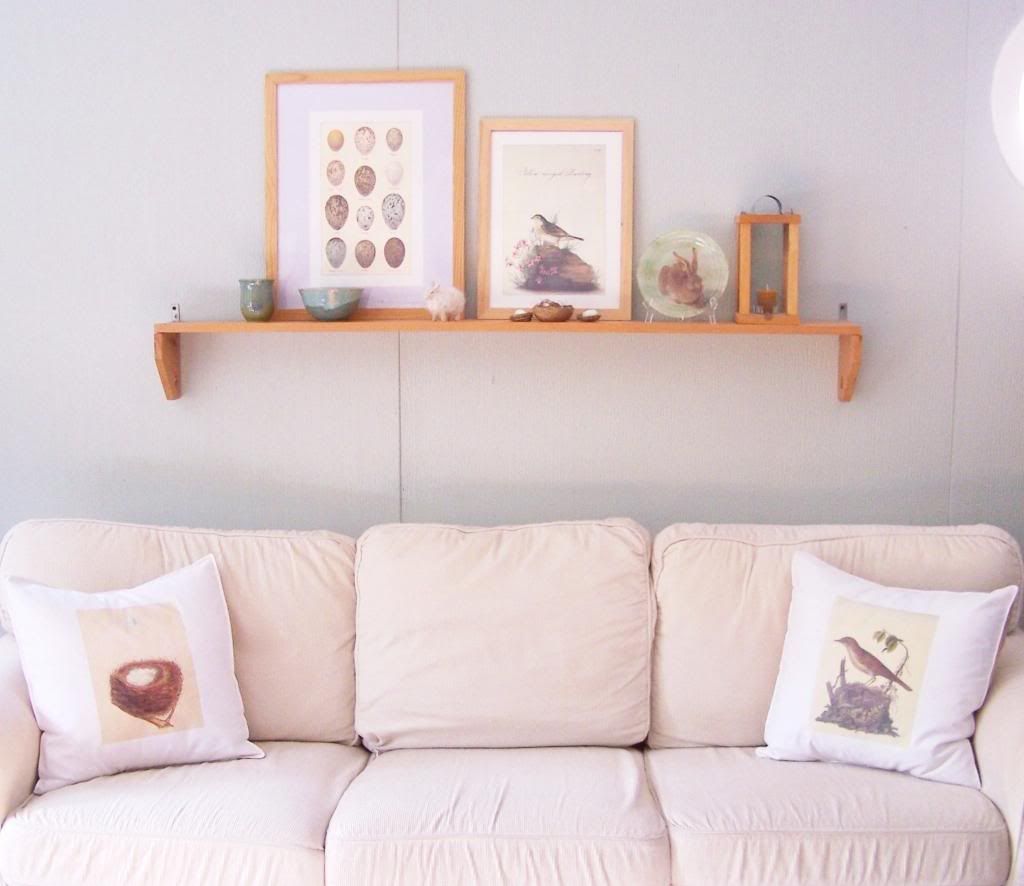
 I went with a neutral bird/nest/egg theme this year and kept the brighter coloured decorations mainly on the nature table.

Pillow tutorial here.

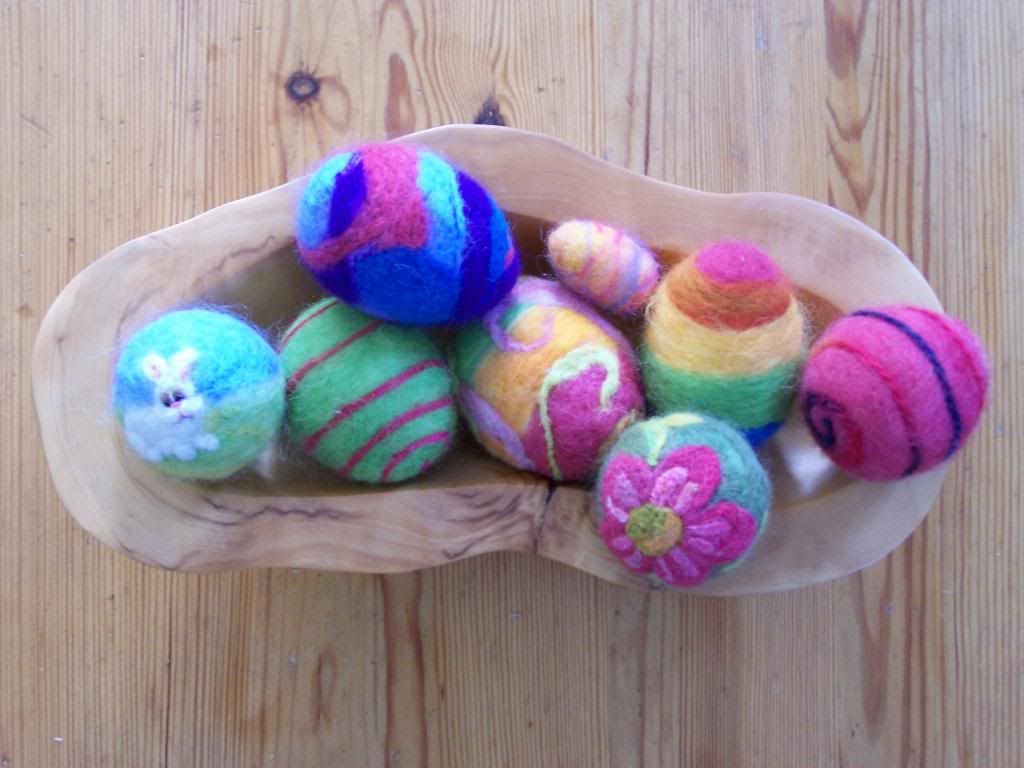
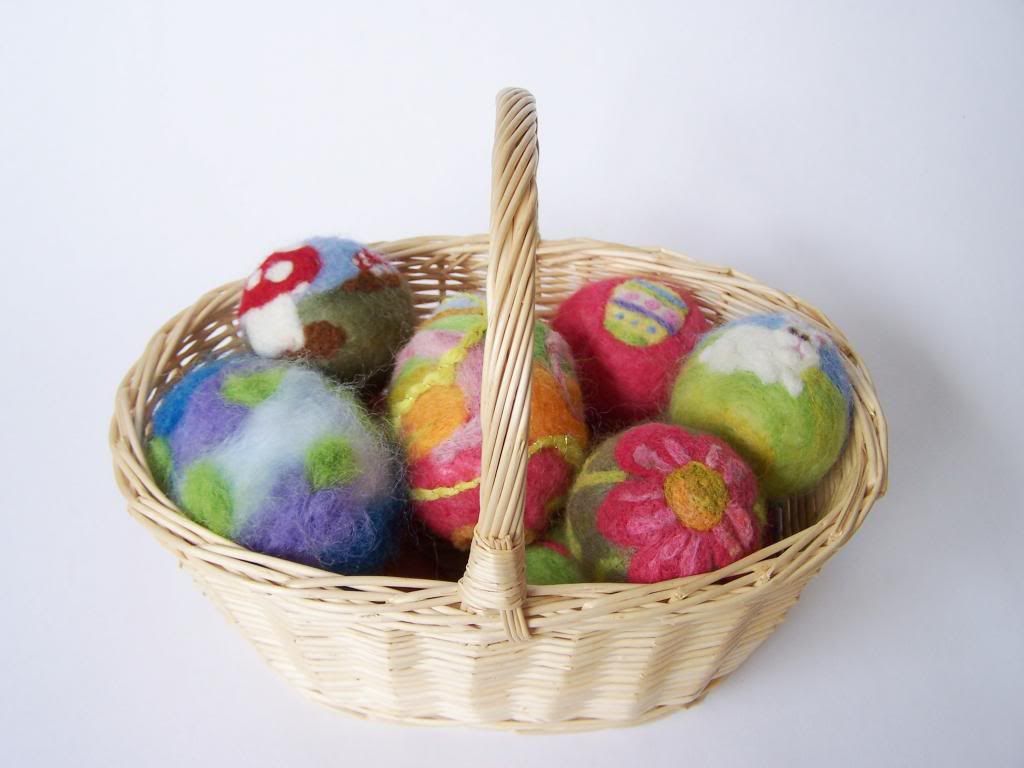
a collection of needle felted eggs and balls

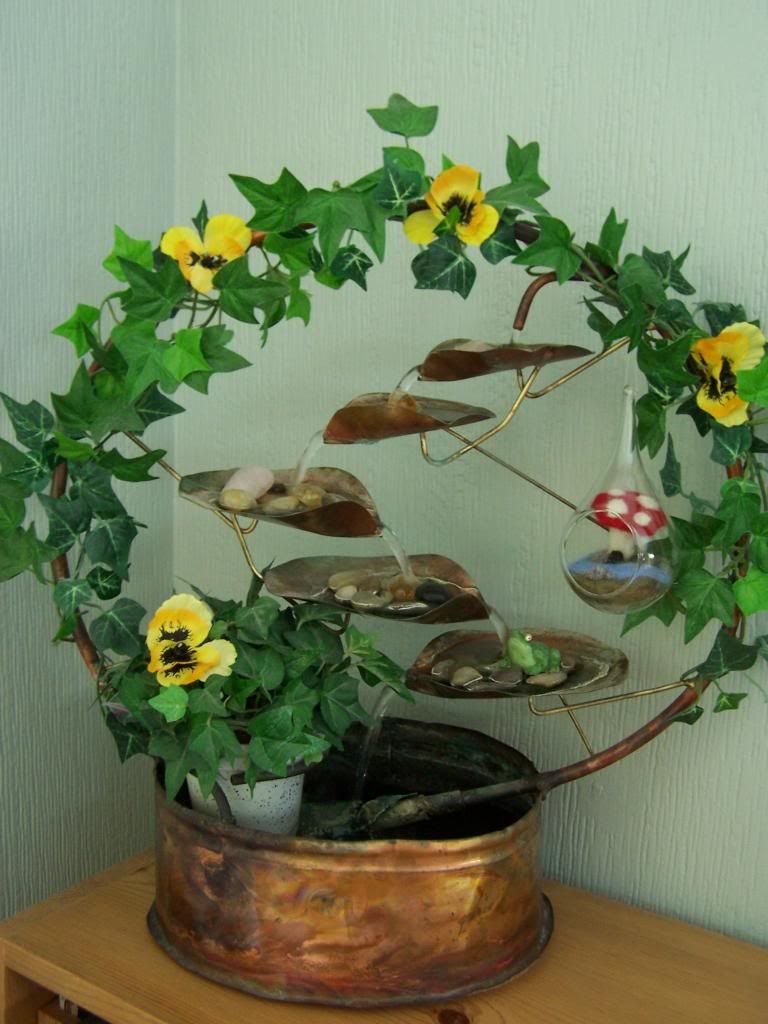
silk ivy and pansies decorate our copper water fountain

dining room
Note:  remember when hanging something from the chandelier to always check that you can still see the person on the other side of the table!
...we take the egg paper lantern down when we eat! ;o)

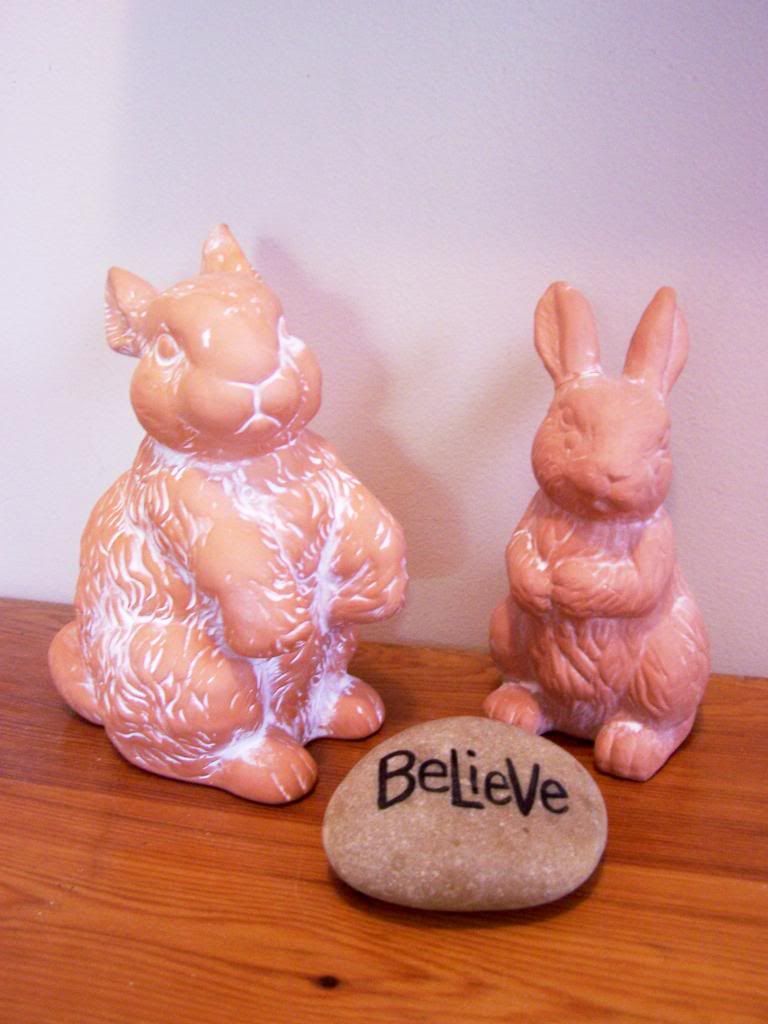
terracotta bunnies at the front door

and again the nature table

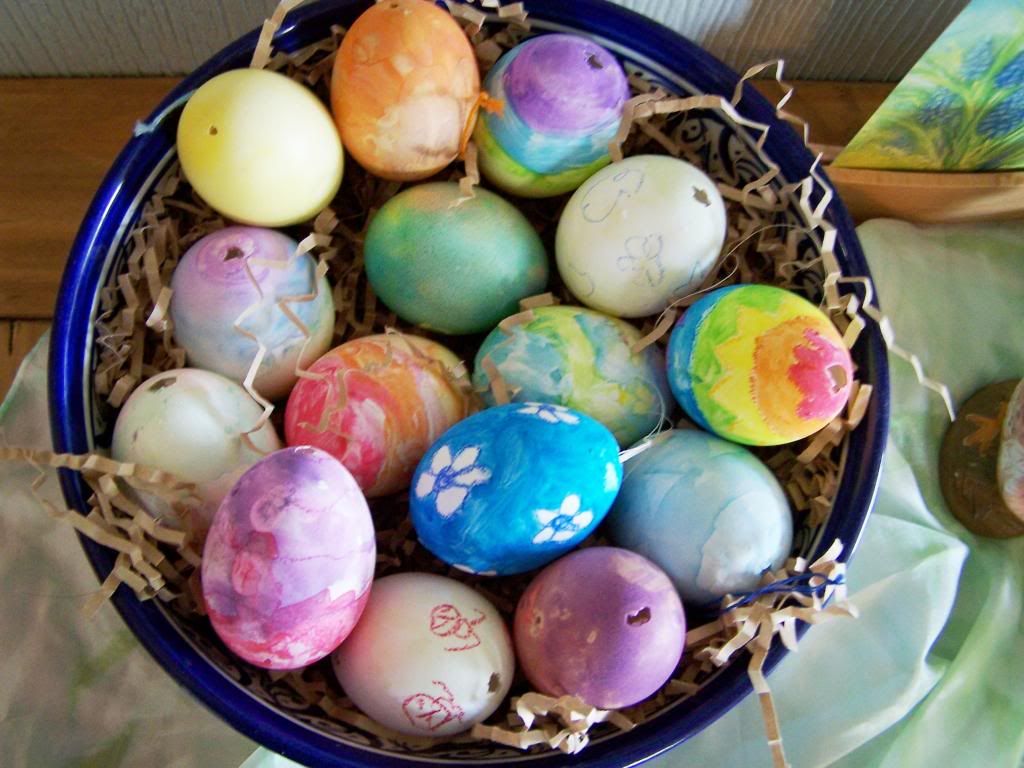
We usually hang our eggs but this year I displayed them in a bowl

What are you decorating your home with this Easter?
~ joey ~

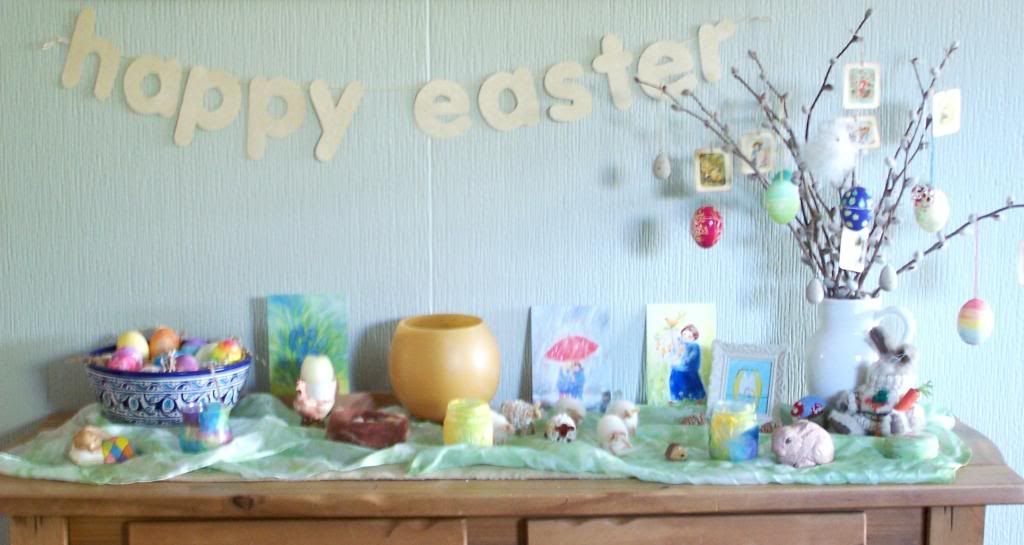
Easter nature table


I don't know about you, but I am ready for Spring!
I'm not much of a pastel colours person, but there is something about Easter that makes me want to put out all the soft Spring colours, and a nature table is the perfect place to display them.  I also love that many of the items are handmade by us or by people we know!


Here's what I have included this year...

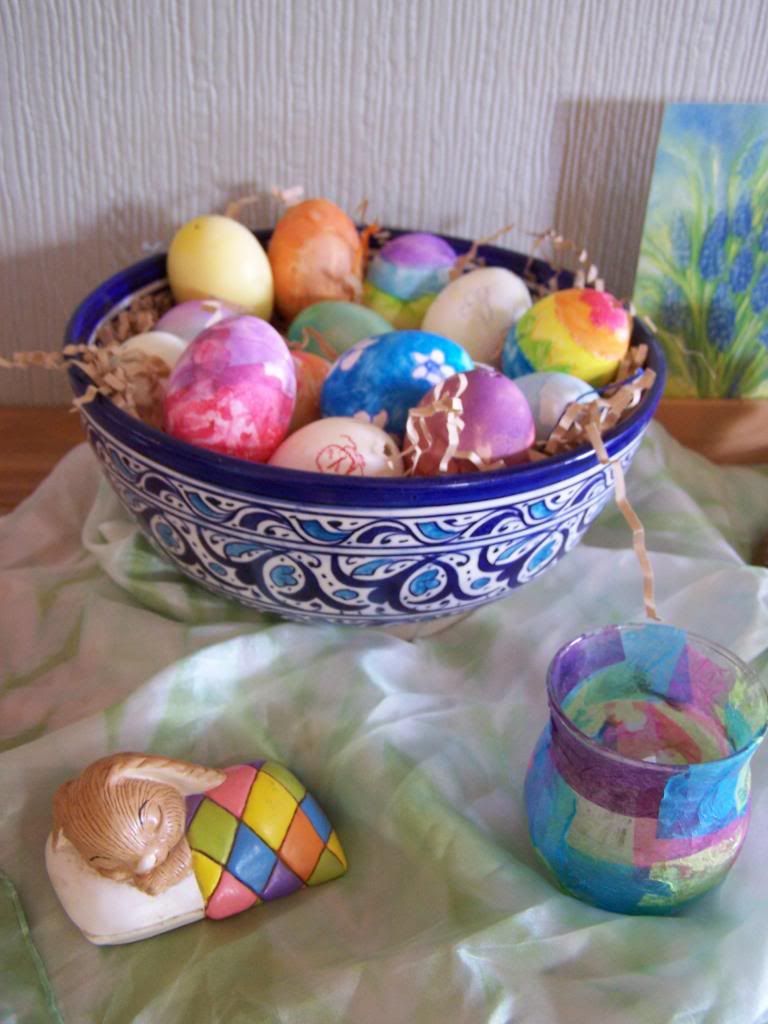
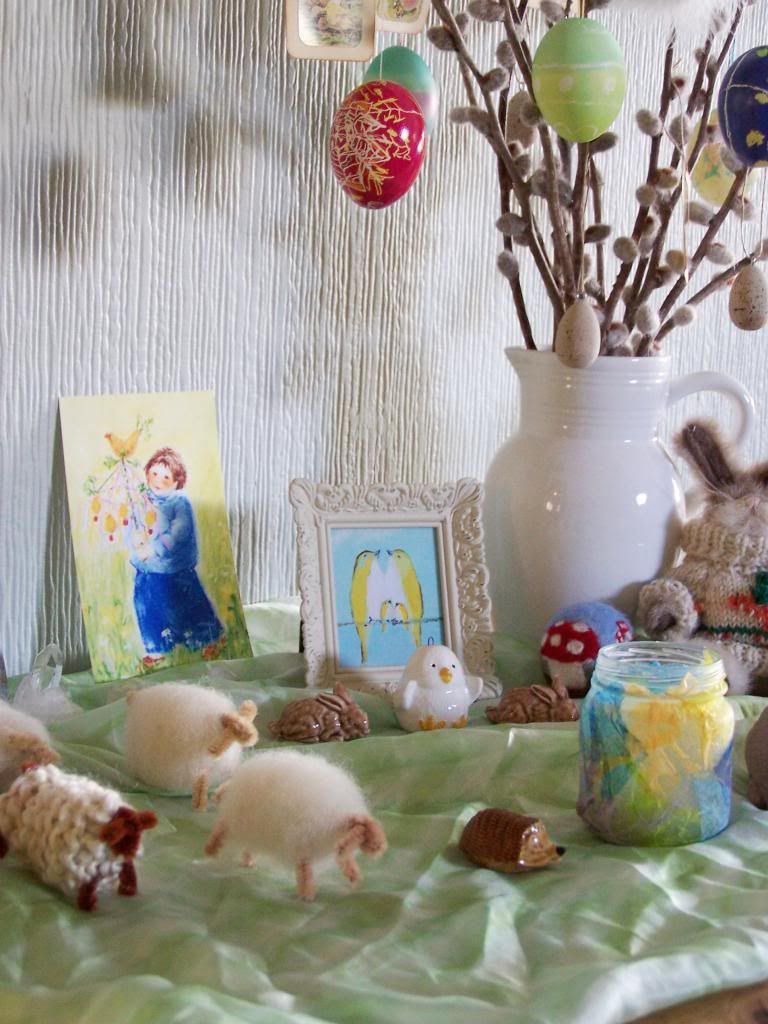
 My needle felted pussy willows are holding some of the most precious handmade eggs that we have made, including two Ukrainian Pysanky eggs that my daughter made at school.  Also included are some painted wood eggs, dyed eggs and watercolour painted eggs.  It's just not Spring without a flock of sheep and these little woolen gals were so easy to make.

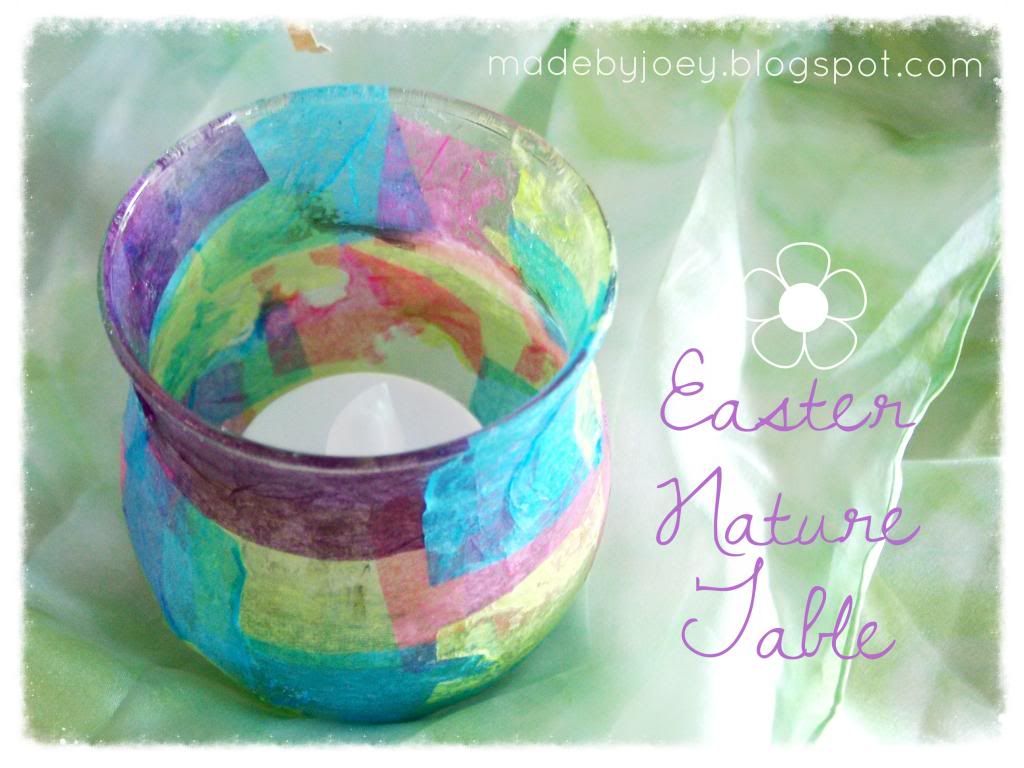
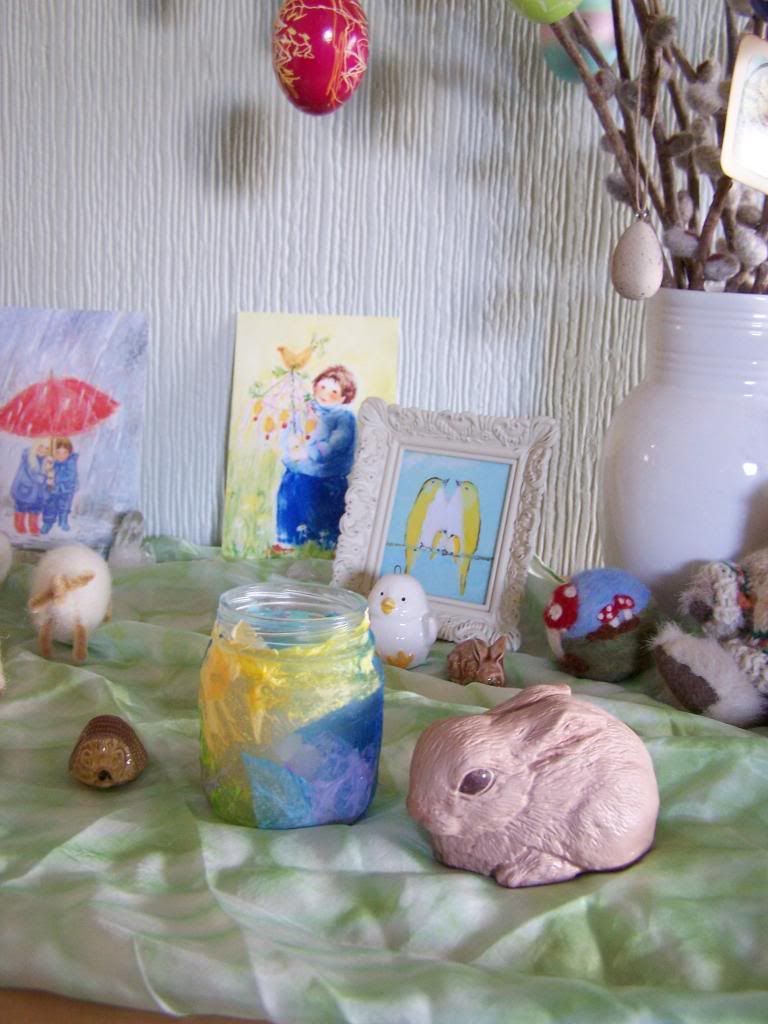
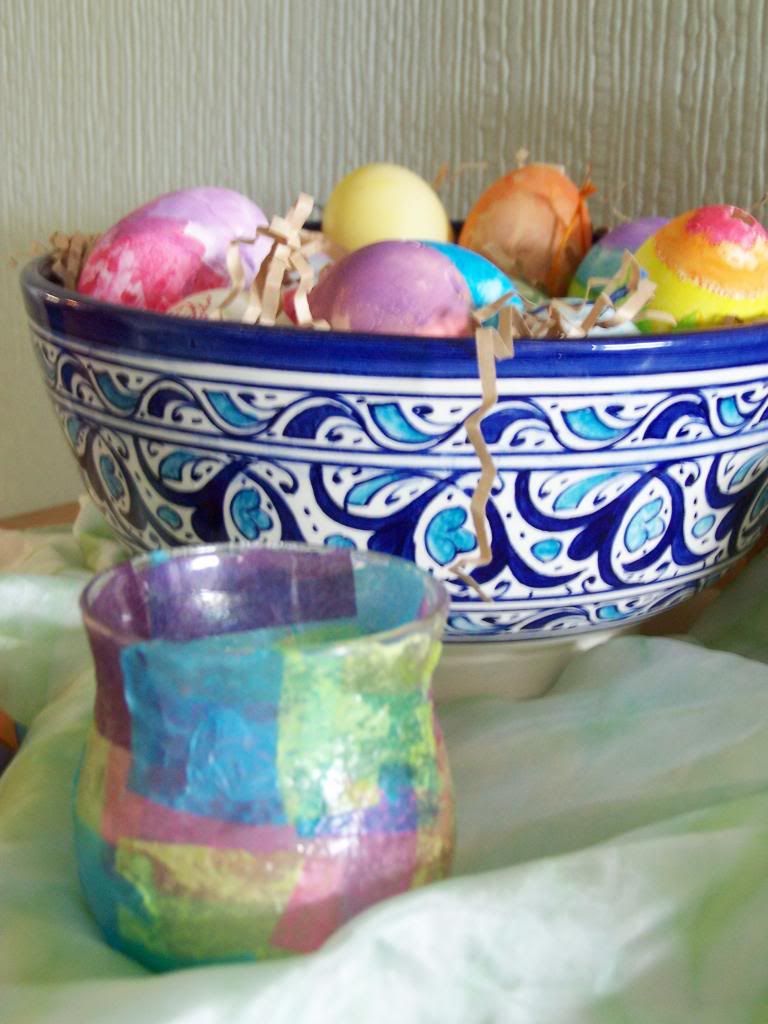
The tissue covered mini lanterns were made by my kids when they were younger and I love how colourful they are when the light shines through them.  The bunny is made of concrete and I picked it up unfinished at the Thrift Store.  A coat of paint and he's more than welcome on our table.

I absolutely adore this bowl filled with our watercolour painted eggs.  The Portuguese bowl was a gift from my mother in law.

This rooster egg cup has been in my family since the 1970's.  I'm not sure which family member painted it as they forgot to carve their initials on the bottom, but it totally takes me back to my childhood.  The egg inside is a candle.  The sleeping bunny  (shown on the end of the table in the first photo) was painted by my Great Aunt when I was young and is very treasured.  I have always loved the colours that she chose for the bunny's quilt!

I'll be back tomorrow with some of the decorating that I have done around our home,
I hope you will stop by.

Do you decorate a special place in your home for the holidays?
I'd love to see your photos!
~ joey ~

needle felted eggs for Easter

We have been playing with wool so I thought I would share our needle felted eggs today.  My children are 8 and 10 years old and enjoy this activity as much as I do.
Supplies needed:
styrofoam egg
wool roving
scrap bits of yarn
needle felting needle
How to do it:
Lay the wool roving onto the egg and poke with the needle until it sticks.  It's really just as simple as that!  The more you poke the wool the smoother and less "fuzzy" it becomes.  When the entire egg is covered and you can't see any styrofoam, you can lay scrap bits of yarn over the egg and needle felt it in place. 
 
  If you want to get fancier then you can add more detailed images.
These are done onto styrofoam balls. 

They are so fun to make I'm sure you will fill a basket in no time!
Have a wonderful Easter weekend!
xoxo

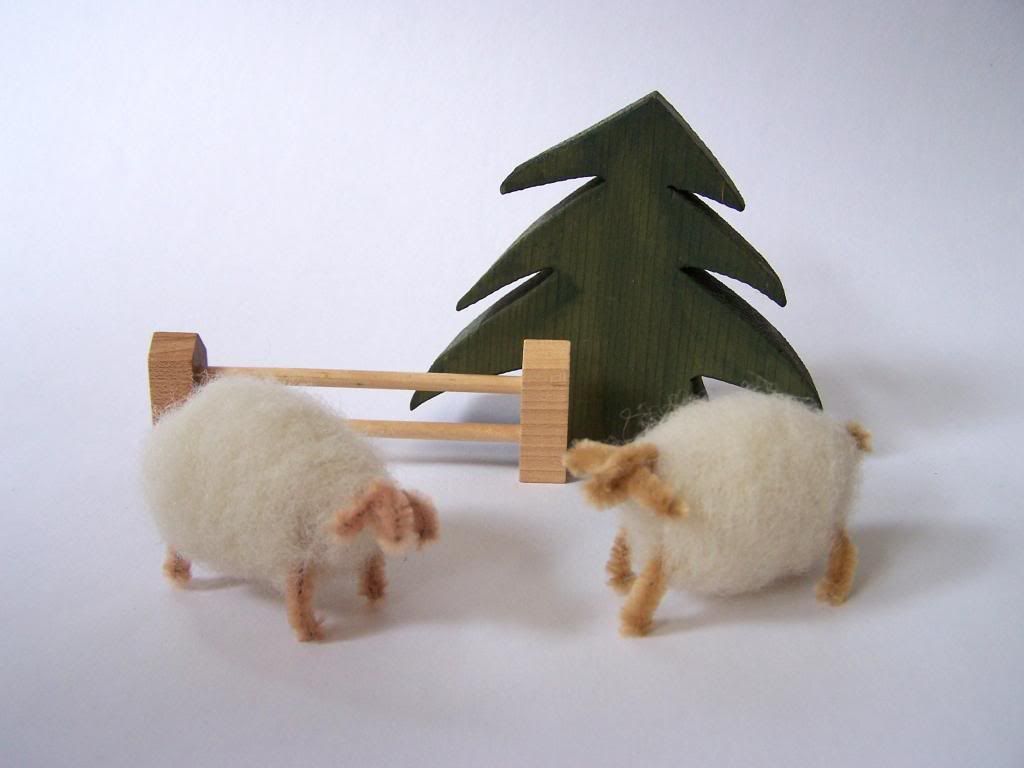
DIY woolly sheep


My kids and I first made these little woolly sheep several years ago when we saw them in a Waldorf book (that I have unfortunately forgotten the name of, if anyone knows, please leave a comment!)  I found a similar sheep here, but thankfully they are quite simple to make so I was able to remember the steps. 

To make one sheep you will need:
~ white wool roving
(grey, black or brown looks nice too!)
~ one 12" light brown pipe cleaner
(or dark brown, grey, white or black)
~ needle felting needle
~ wire cutters
~ round nosed pliers

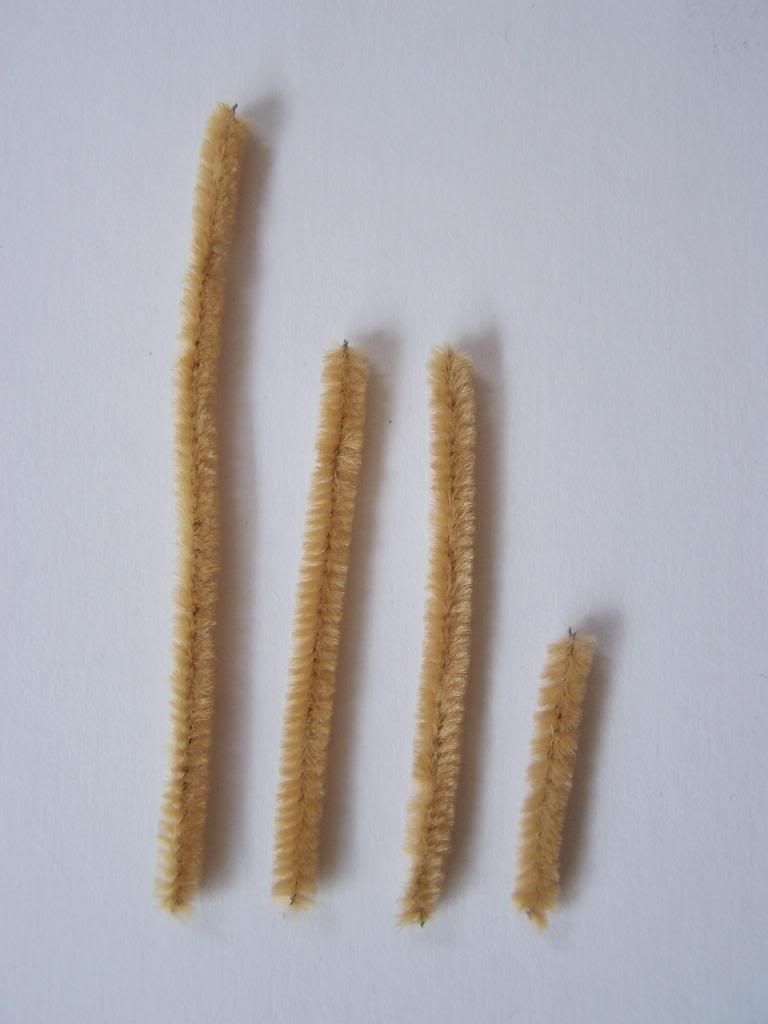
Step 1:  Cut pipe cleaner into the following lengths:  one 4.5", two 3" and one 1.5".

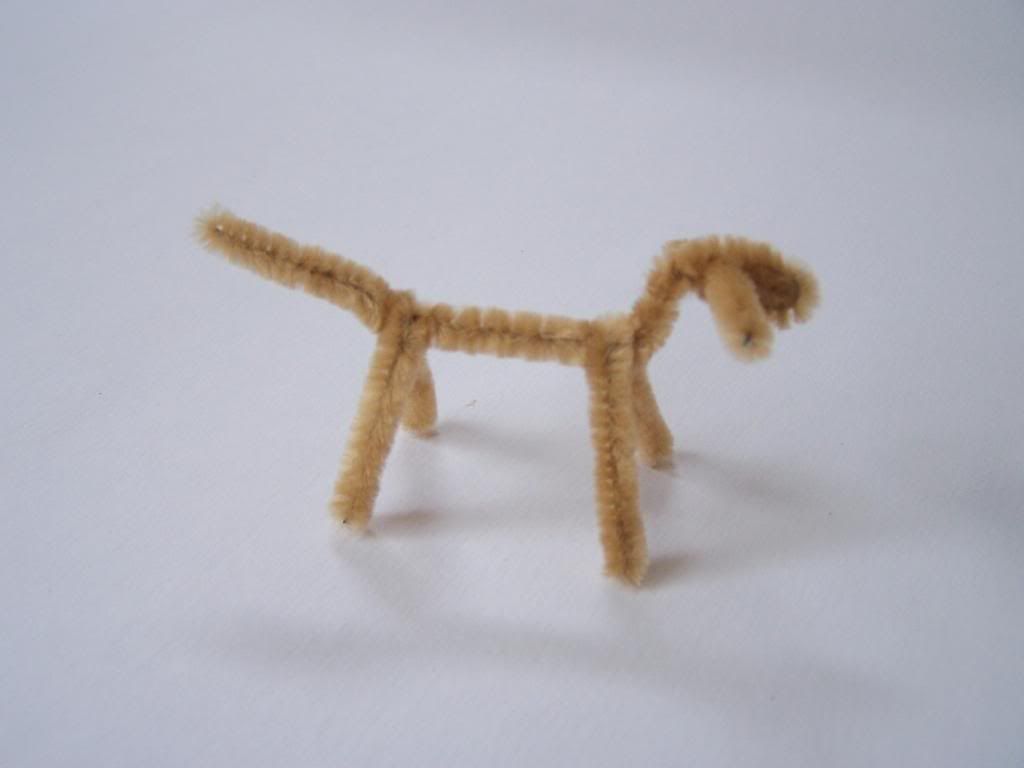
Step 2:  To make the "frame" of the sheep take the 4.5" piece and attach (by twisting) the two 3" pieces (the legs) about 1" from the tail end and 1.5" from the head end.  The 1.5" piece forms the ears by twisting them onto the head and then folding over the end to make a rounded nose.  Leave the tail long for now.

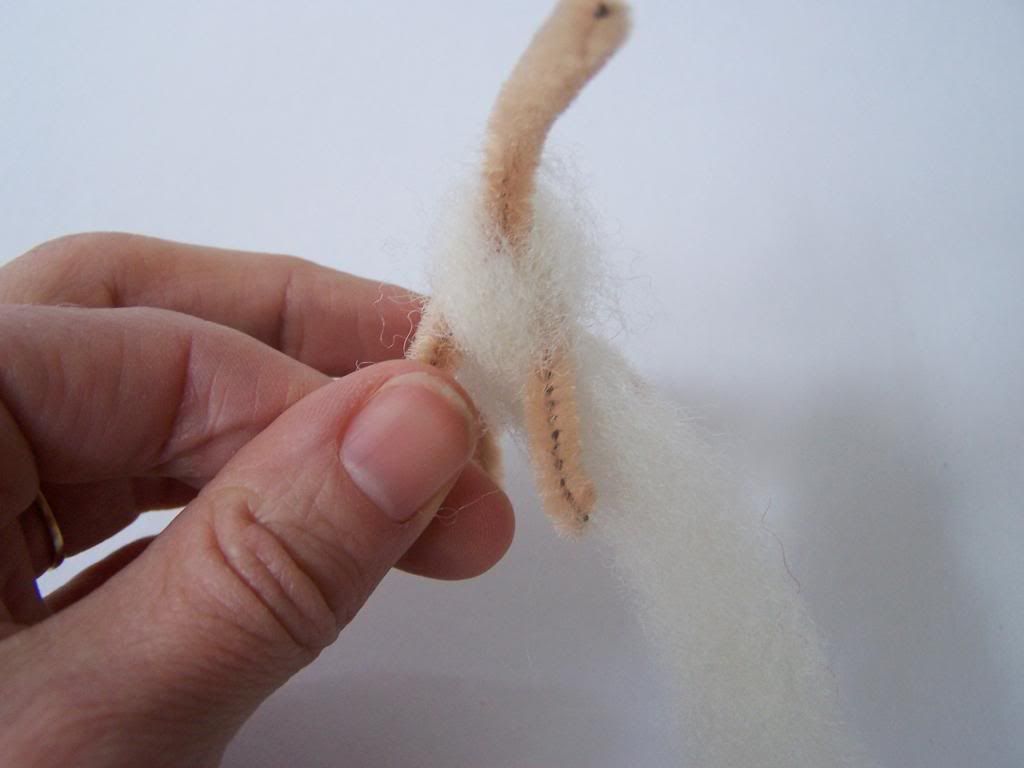
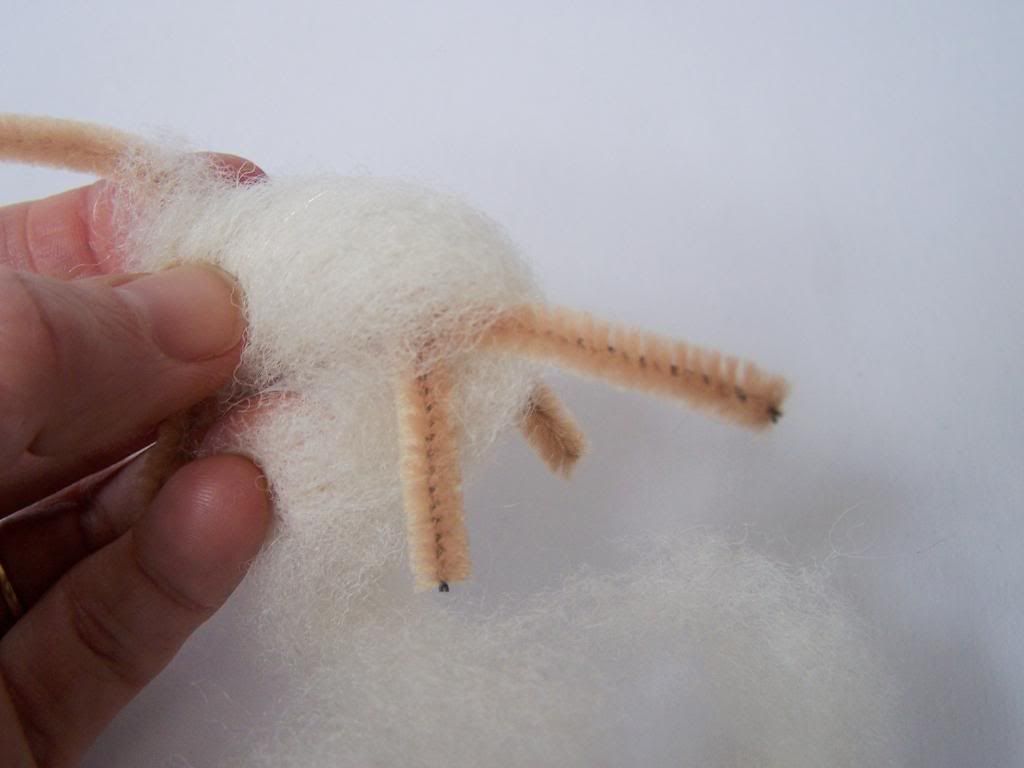
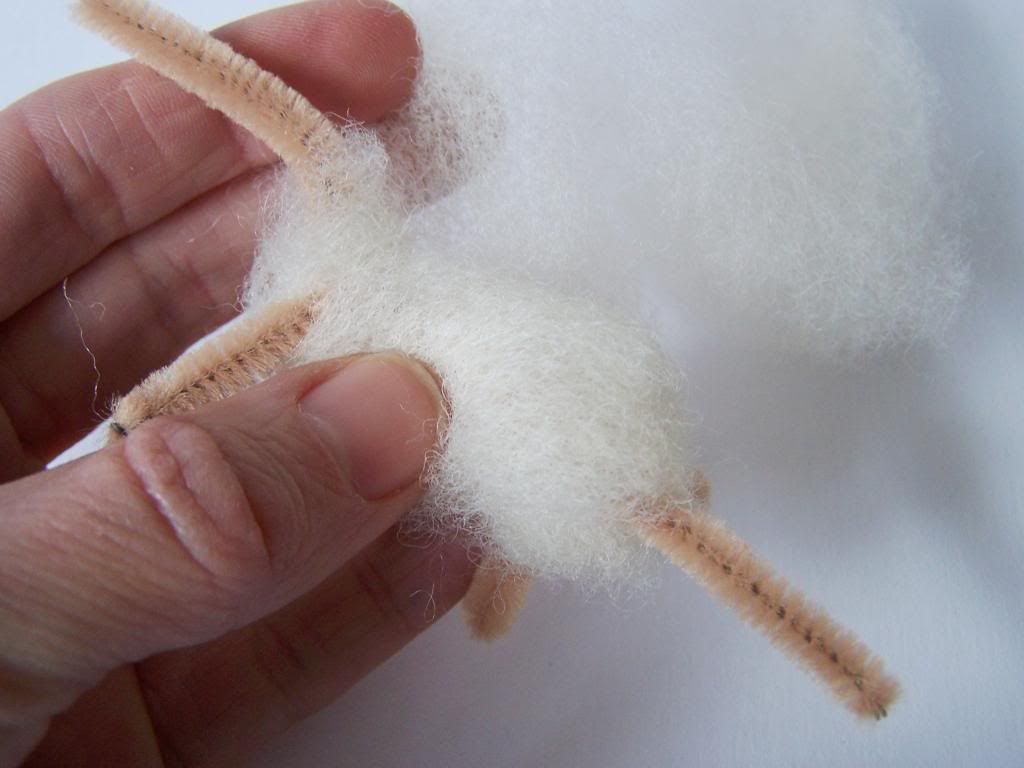
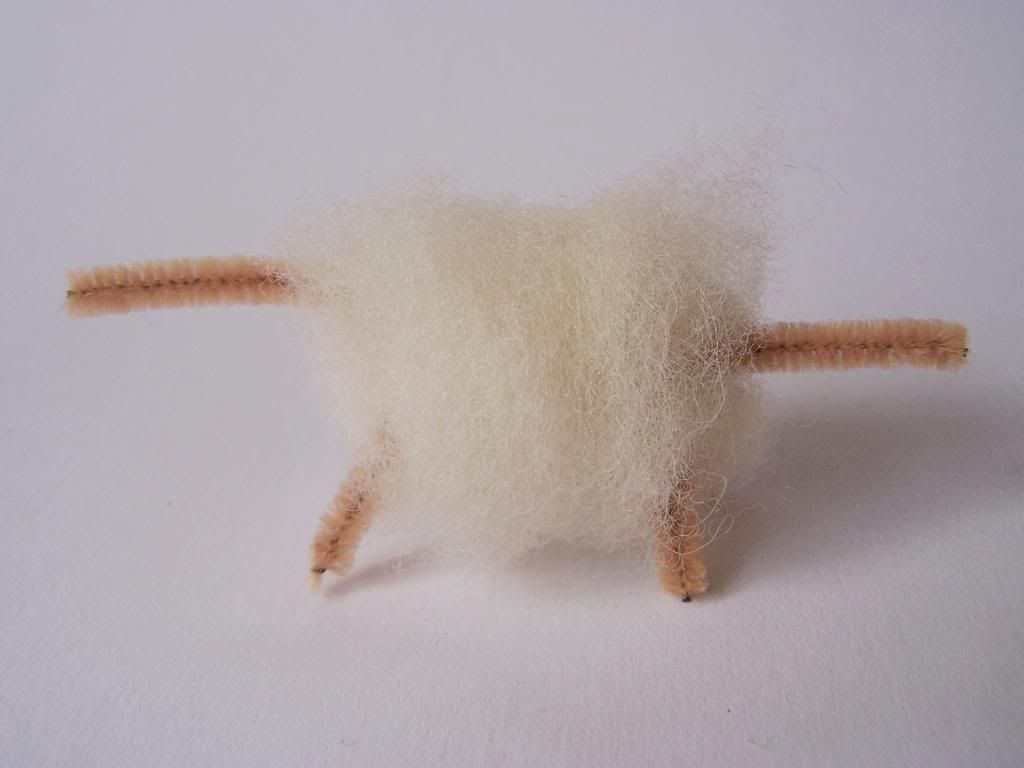
 Step 3:  Follow the photos to wrap the roving around the sheep's frame. (note:  in these photos I have not formed the head yet)
   
   
 Starting on the back, go under the front right leg, over the left shouldar, around the neck, and back under the left leg.


 Turn the sheep so that the head is on the left side and the tail on the right.  Now wrap the wool over the back, under the belly, around the left back leg, under the right back leg, back under the tail up to the back of the sheep.

Still with me?!  Now is the easiest step...

      
...wrap the rest of the roving around the belly of the sheep until he's nice and plump!

          
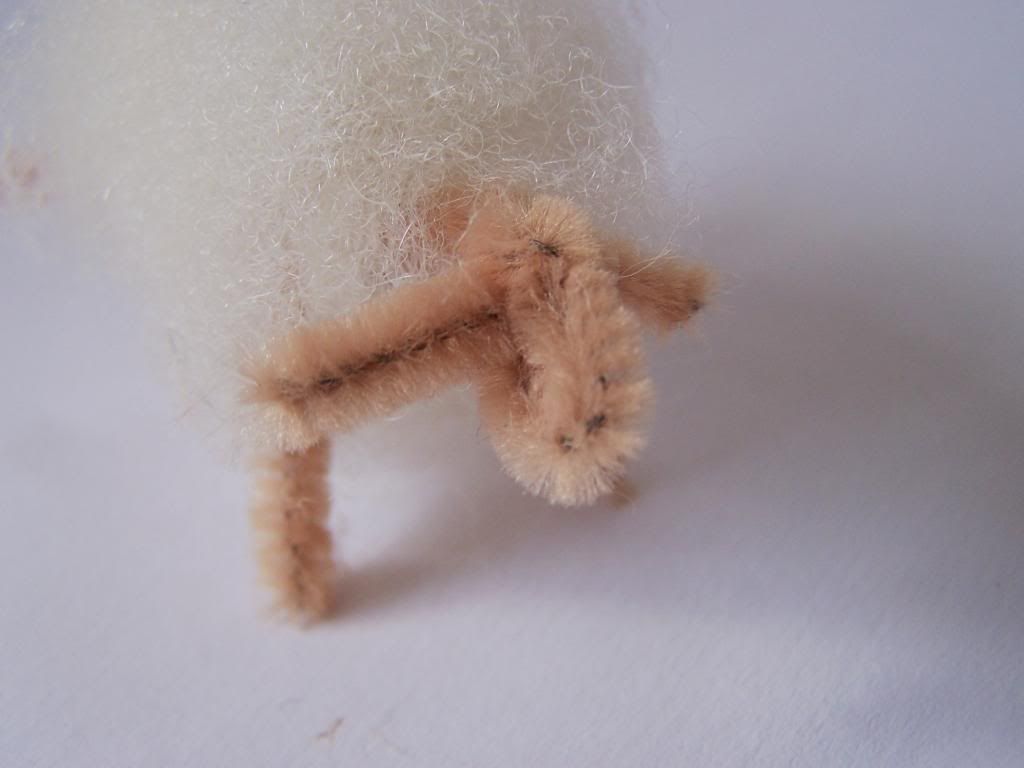
 Step 4:  If you haven't already, bend the pipe cleaner to make the head (twist on the ears) and bend the tail.  Using the round nosed pliers fold over any sharp ends of wire.

           
 Step 5:  Gently poke with a needle felting needle to shape into a fluffy sheep shape and you are done!

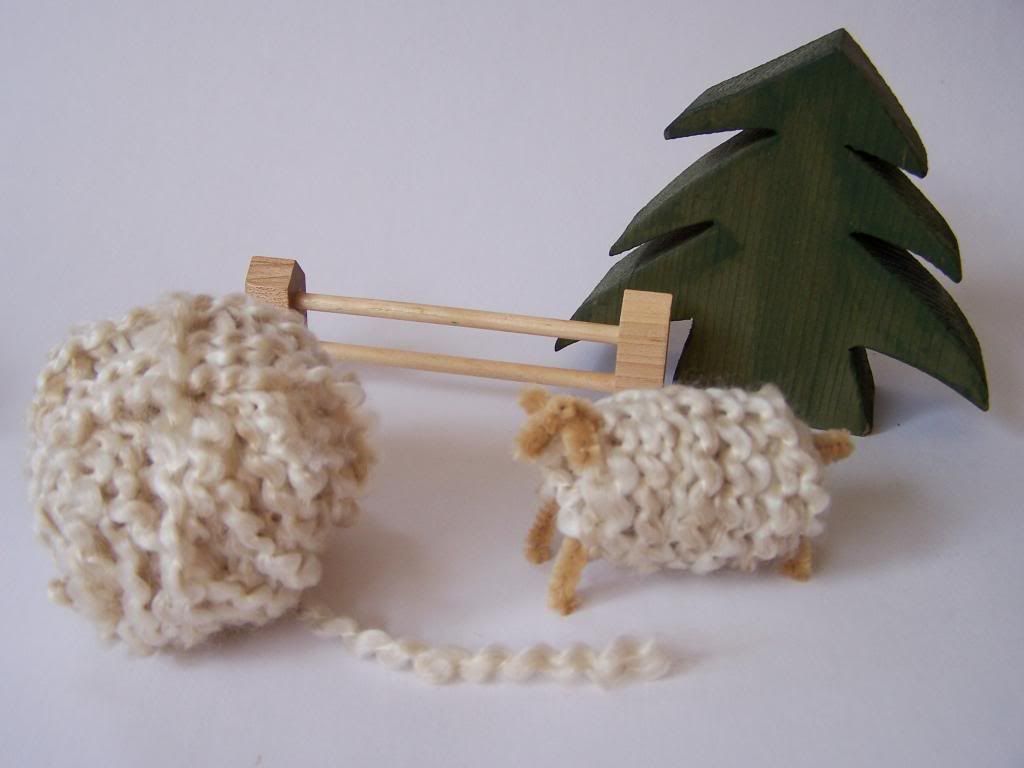
As an alternative you can use chunky wool to wrap your sheep, he'll turn out something like this...
I think they are both cute!  What do you think?
~ joey ~ 

Note:
This weekend Sharing Creative Ideas will be open from
Good Friday (Mar 29th) until Easter Monday (Apr 1st).

Shared with:
Magic Onions - Friday's Nature Table
Natural Suburbia - Creative Friday
Seasons of Joy - Waldorf Wednesday
 

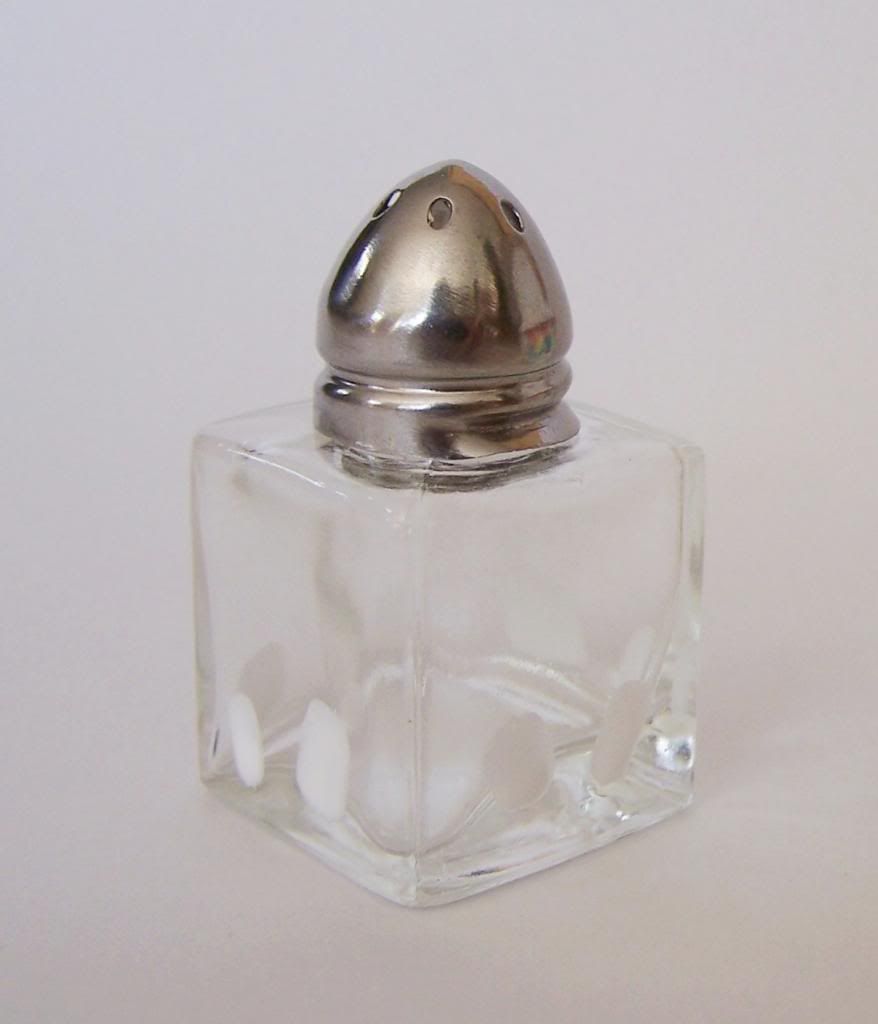
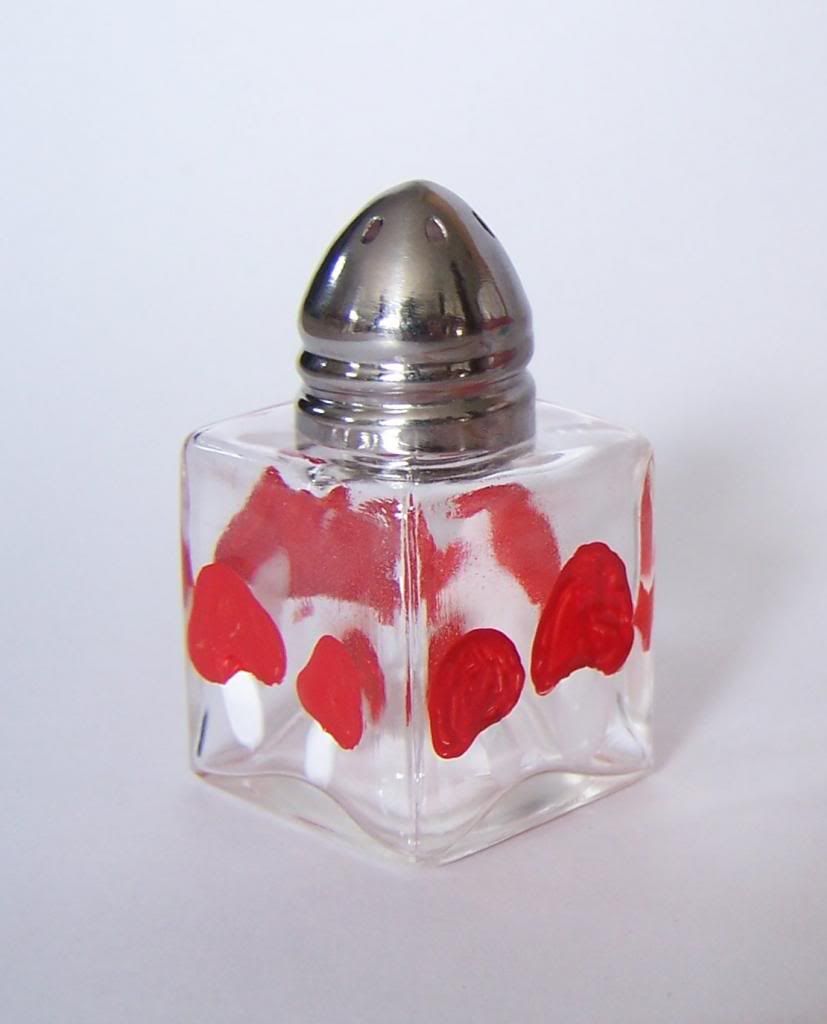
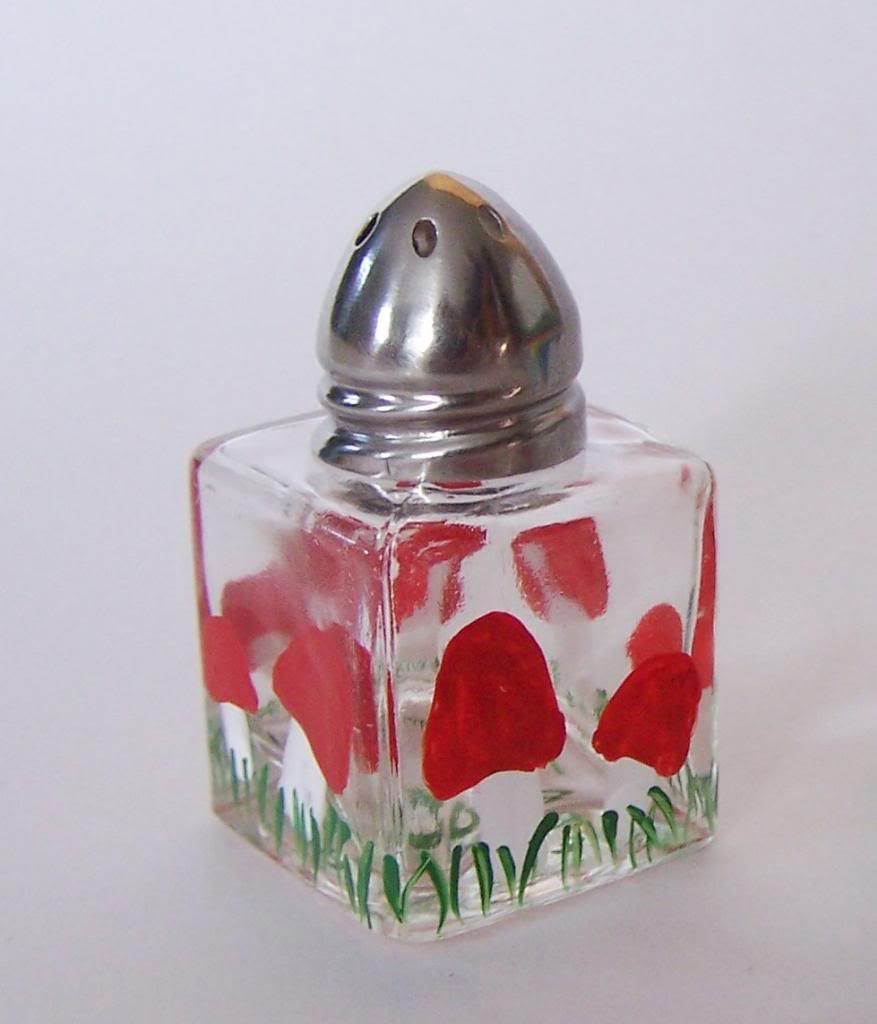
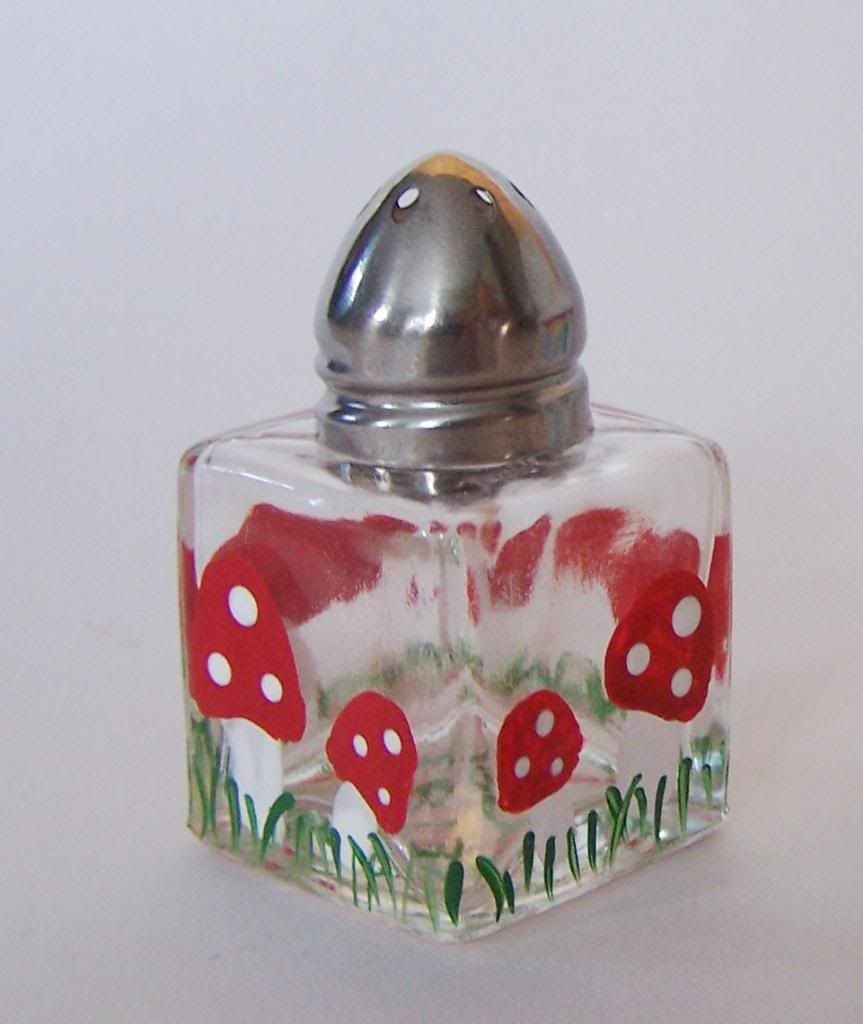
DIY mini toadstool salt & pepper shakers


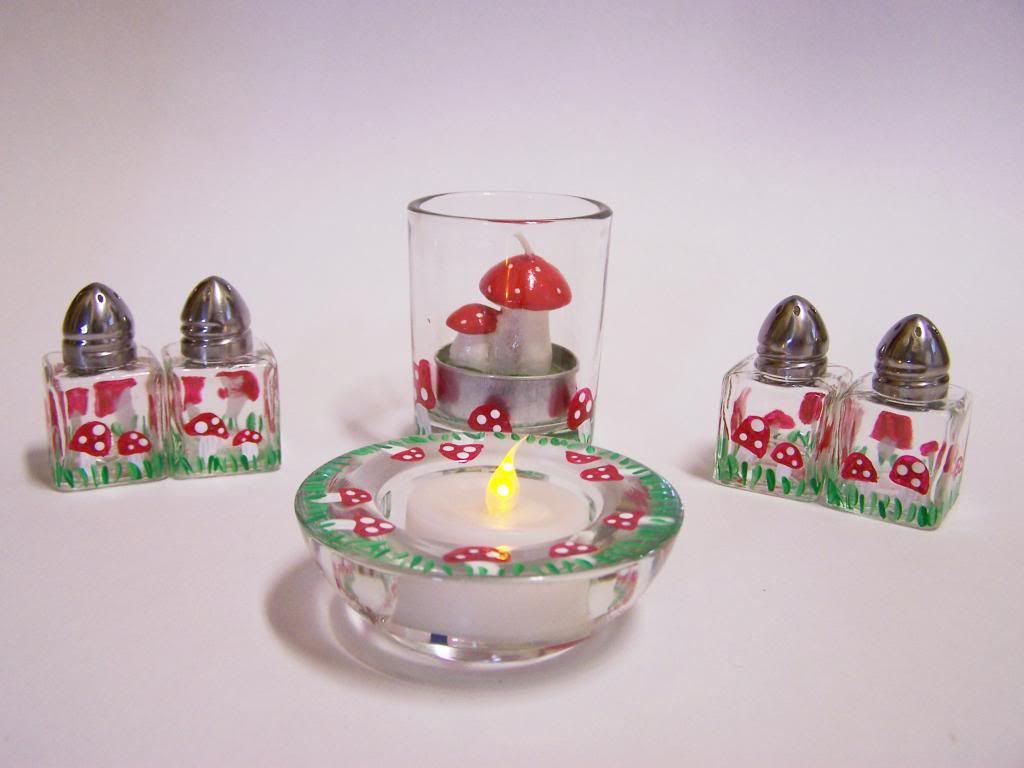
These sweet little salt and pepper shakers (or candle holders) are perfect for your Easter table!
I adore toadstools but you could paint any image on the glass - bunnies, eggs, chicks, sheep...anything that makes you think of Easter.


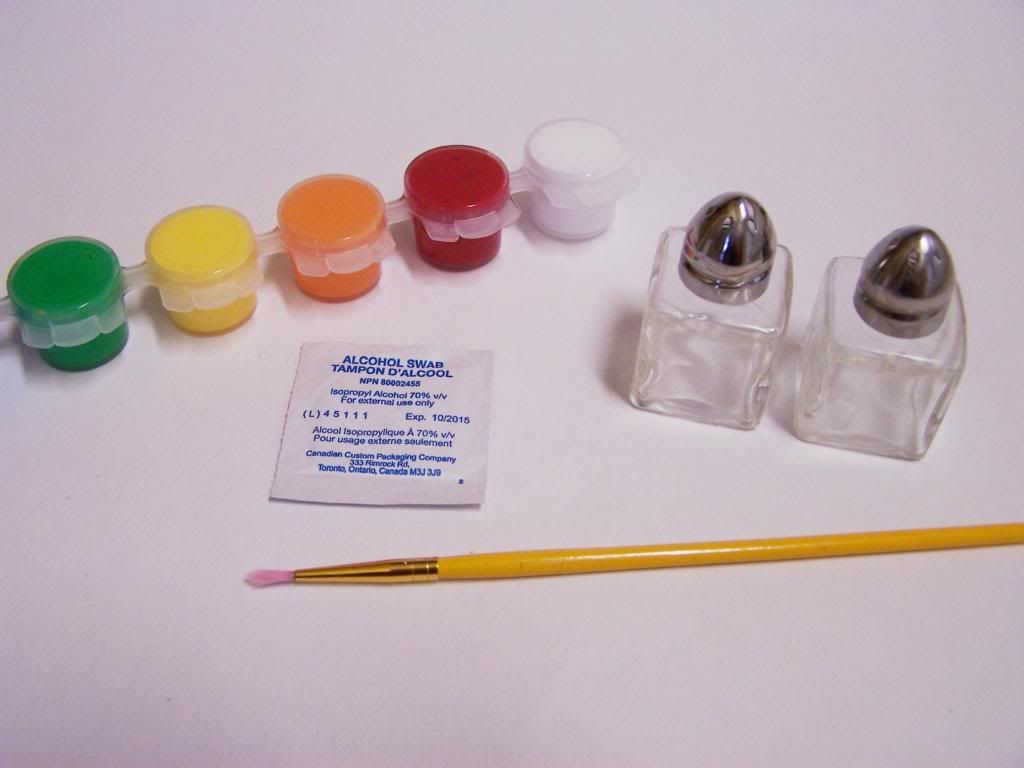
Supplies:
 1 pair glass salt and pepper shakers
Americana Gloss Enamel paint - opaque gloss acrylic
alcohol
fine paint brush

Step 1:  wipe the glass with alcohol to clean.


 Step 2:  paint toadstool stems in white and let dry.


Step 3:   paint toadstool tops in red and let dry.
 

  Step 4:  paint blades of grass with green and let dry.


 Step 5dip paint brush handle in white paint and dab different sized dots into toadstools (you may want to practice this on a scrap of paper - the first dot will be the largest, the next dot slightly smaller, etc) and let dry for several hours.

 Step 6:  Once completely dry gently wipe glass with a tissue to remove any streaks left from the alcohol wipe.

The paint will air cure in 21 days or you can follow the directions on the package for oven curing.
Note:  this paint is not food safe so should only be used on glassware that does not come in direct contact with food.

     Mini Salt & Pepper Shakers Set/12  GLIMMA Candle holder IKEA   
The possibilities are endless!
~ joey ~

Creative spaces for Easter

Last year our Easter decorating theme came from the stories of Beatrix Potter.  This year I decided to not follow a specific theme, but rather display collections of our handmades and things that have fond memories attached to them.

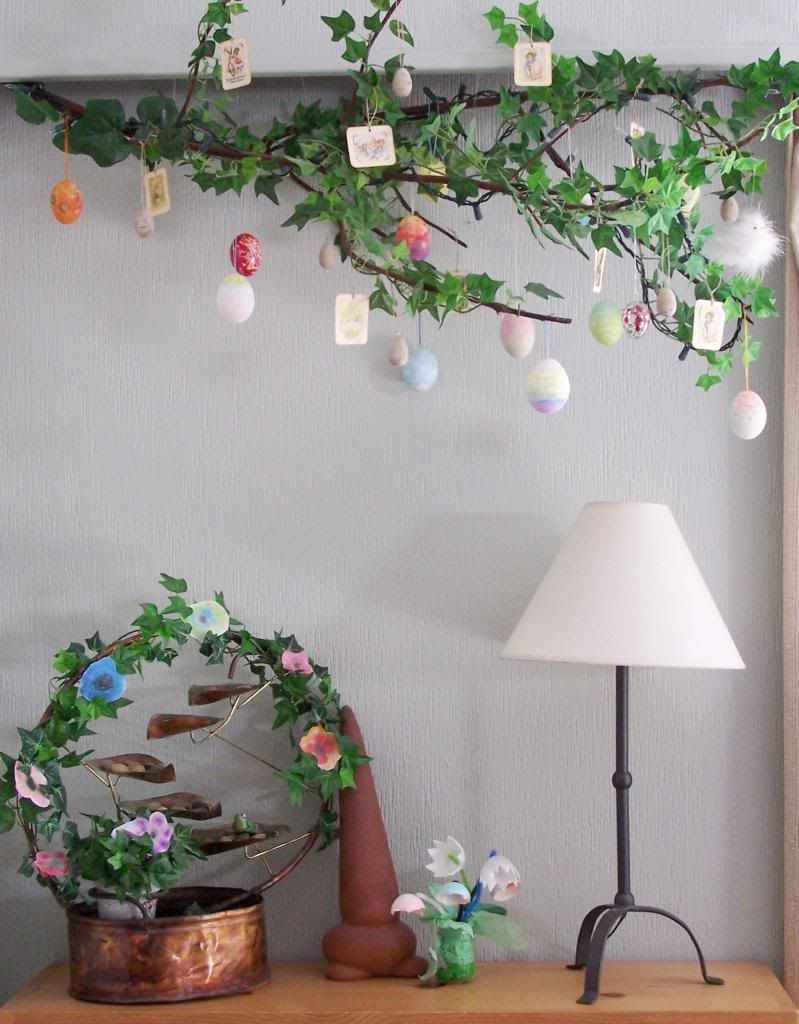
our branch decorated with dyed and painted eggs

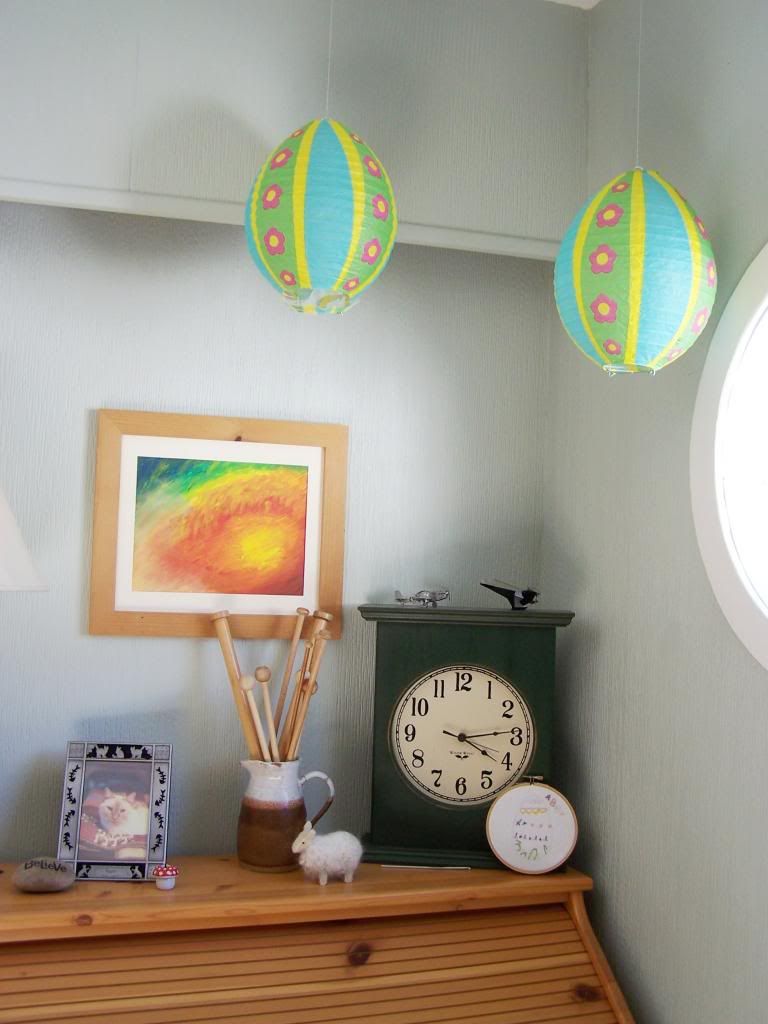
egg lanterns hung over my sewing desk

our nature shelf/table display

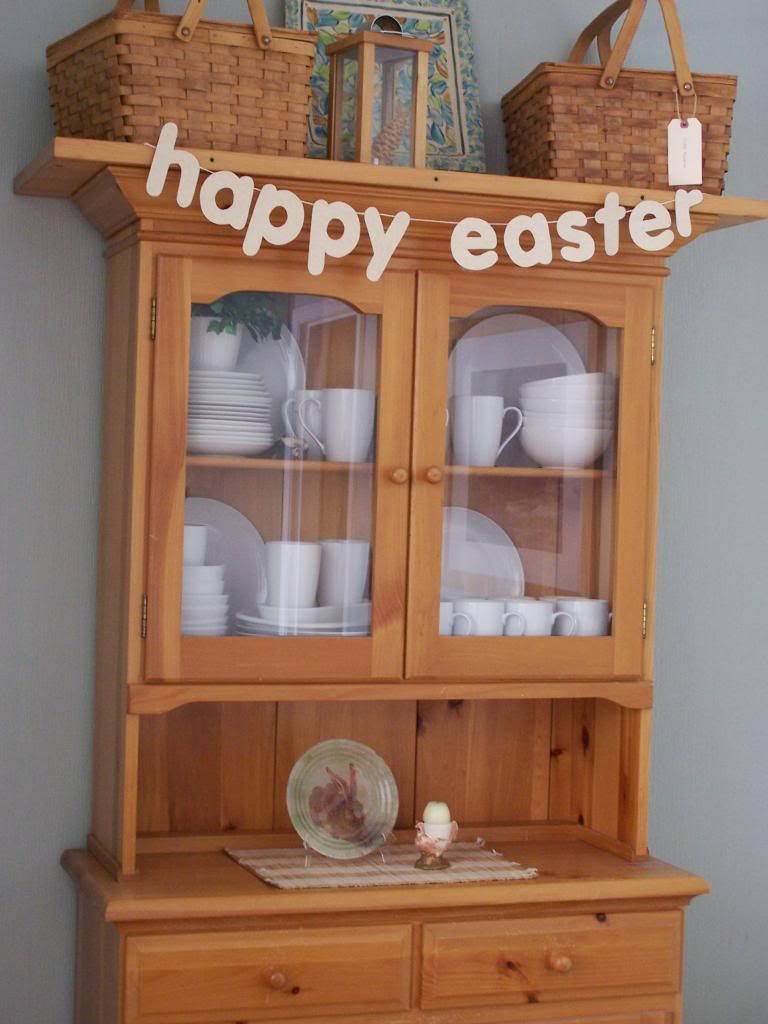
happy easter sign from last year on the hutch this year


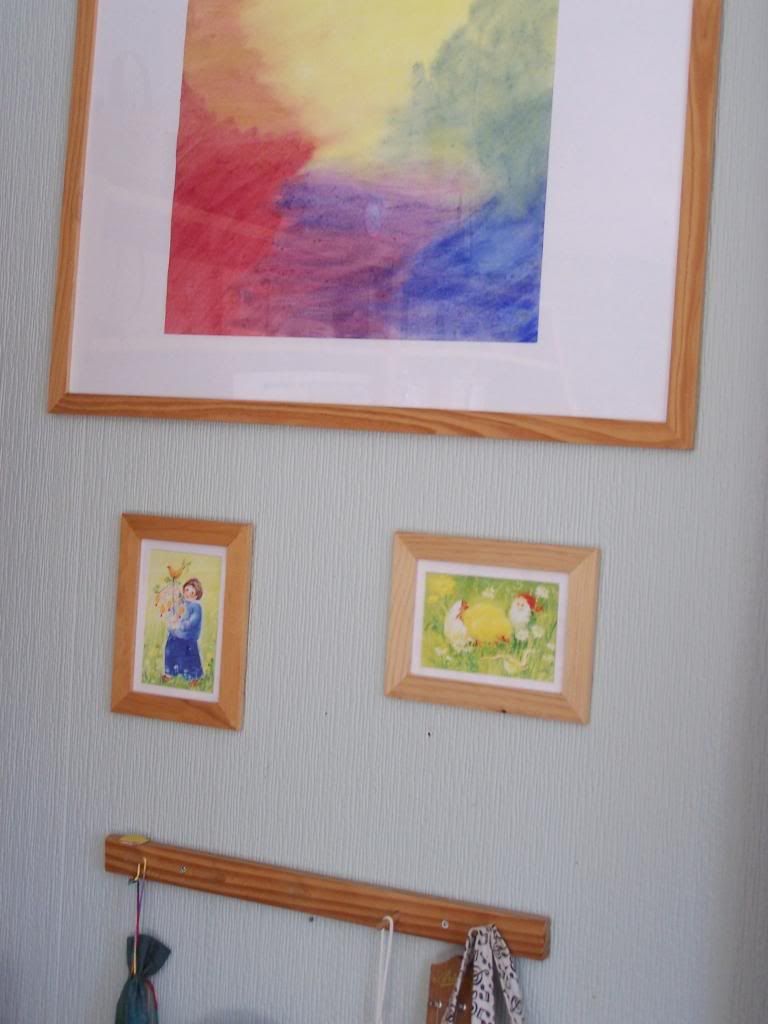
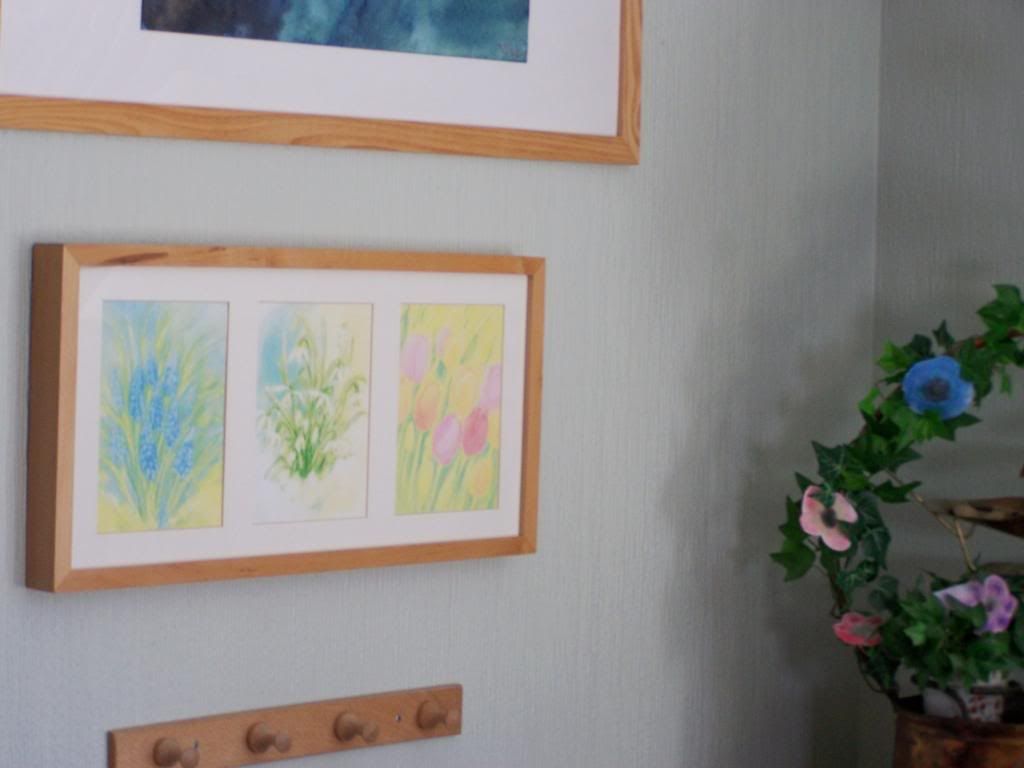
Spring prints and postcards are put into our always changing picture frames

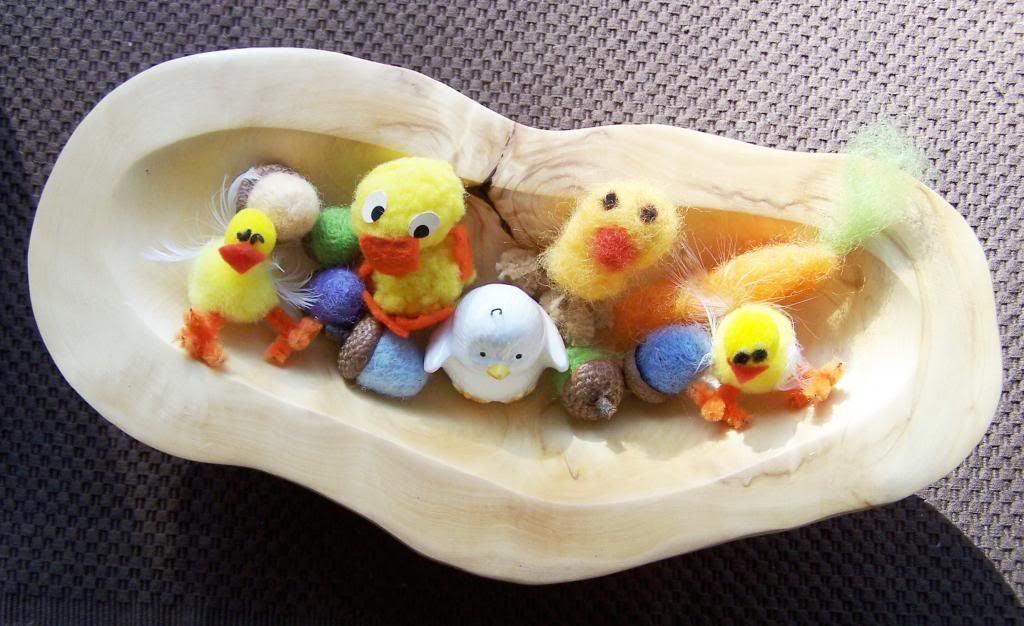
a collection of handmade chicks including one I made when I was a child

Wade Figurines - rabbits circa 1971


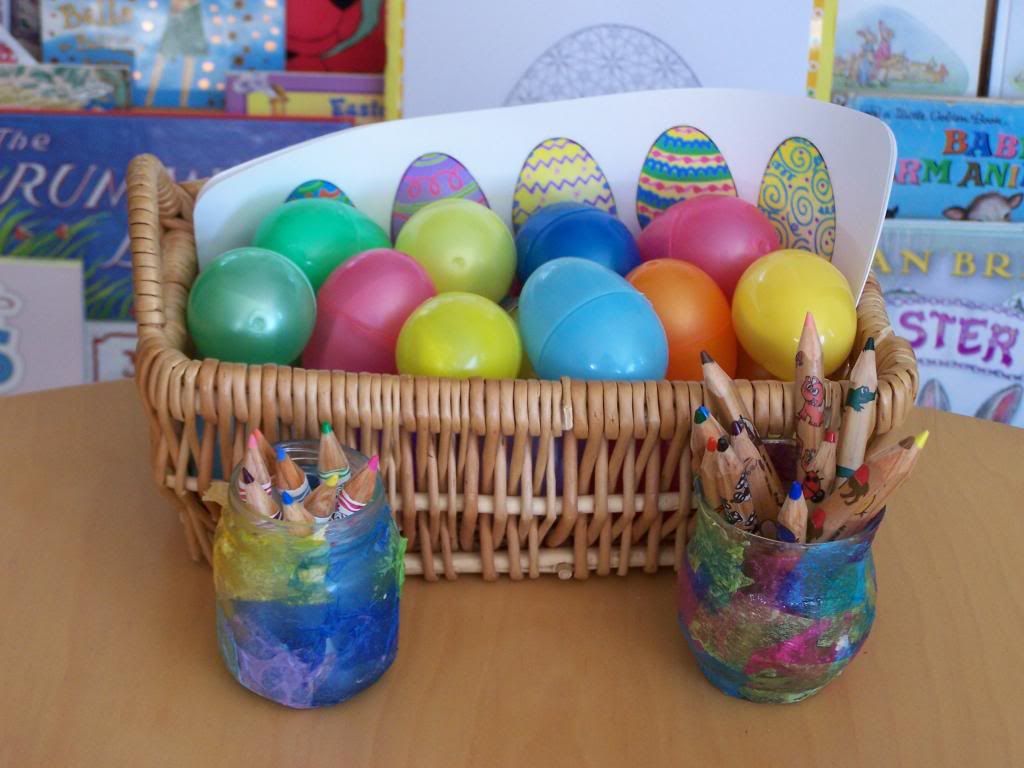
our favourite books in the background, chubby coloured pencils in tissue wrapped jars in the foreground and a homemade version of the rotten egg game in the basket

I will have a couple of Easter crafts to share with you this week before the holiday weekend.
Have you been crafting for this weekend's festivities?
~ joey ~
   
Note:
This weekend Sharing Creative Ideas will be open from