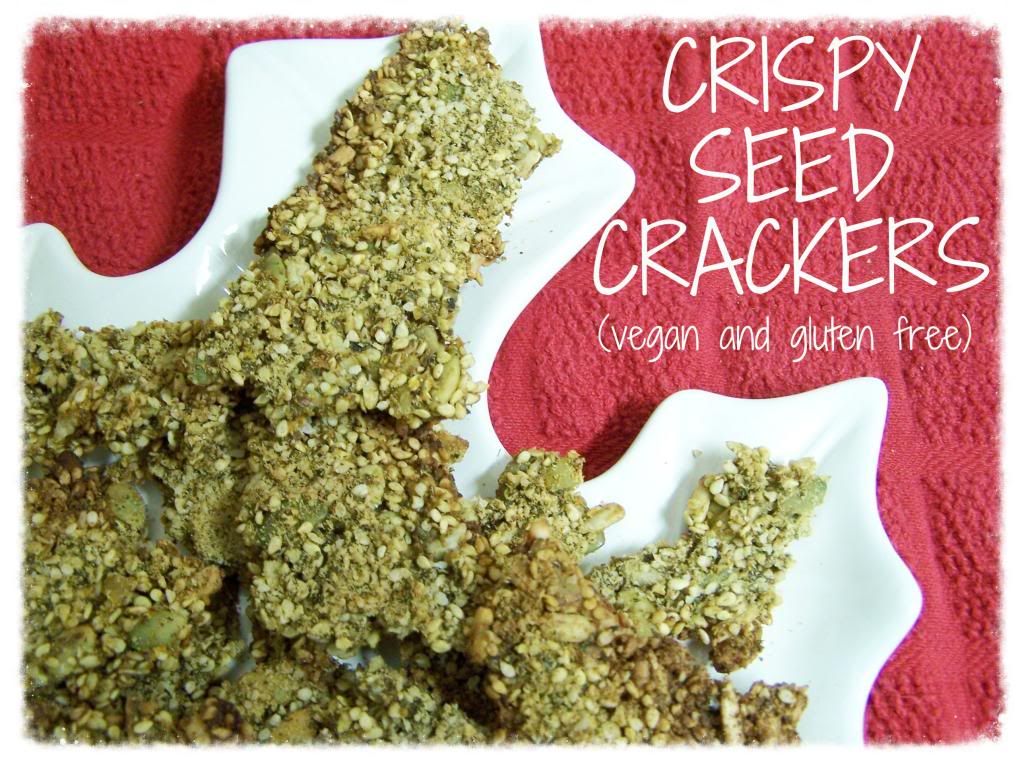
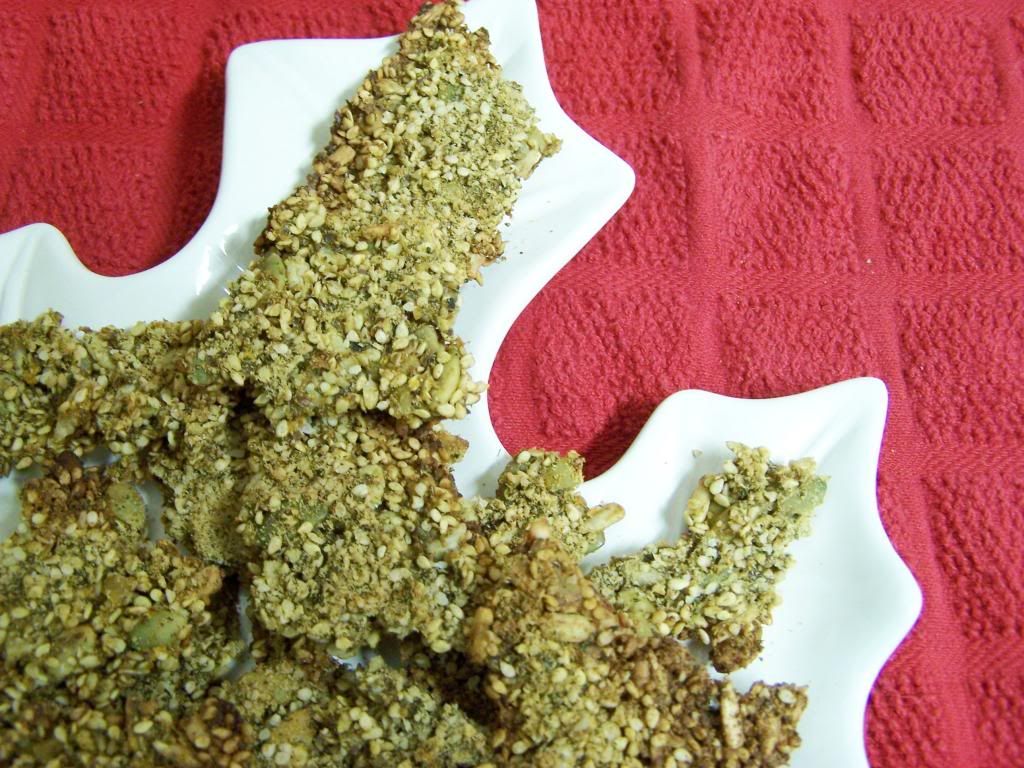
These crackers don't last long in our house, and I'm sure your family will love them too! They go great with soup, slip easily into a lunch box or make a savoury snack for a chilly Autumn day.
Crispy Seed
Crackers
1 cup raw sesame seeds
2/3
cup raw sunflower seeds
2/3
cup raw pumpkin seeds
1/2
cup ground flax seeds
2
tbsp onion powder
1
tsp sea salt
4
tsp balsamic vinegar
2
handfuls fresh basil
1 lg clove garlic
2 sweet potatoes (or yams)
8
tbsp water
Topping:
1
sheet of nori (seaweed) ripped into small pieces
1/4
cup sesame seeds
1
tsp course salt
1
tbsp onion powder
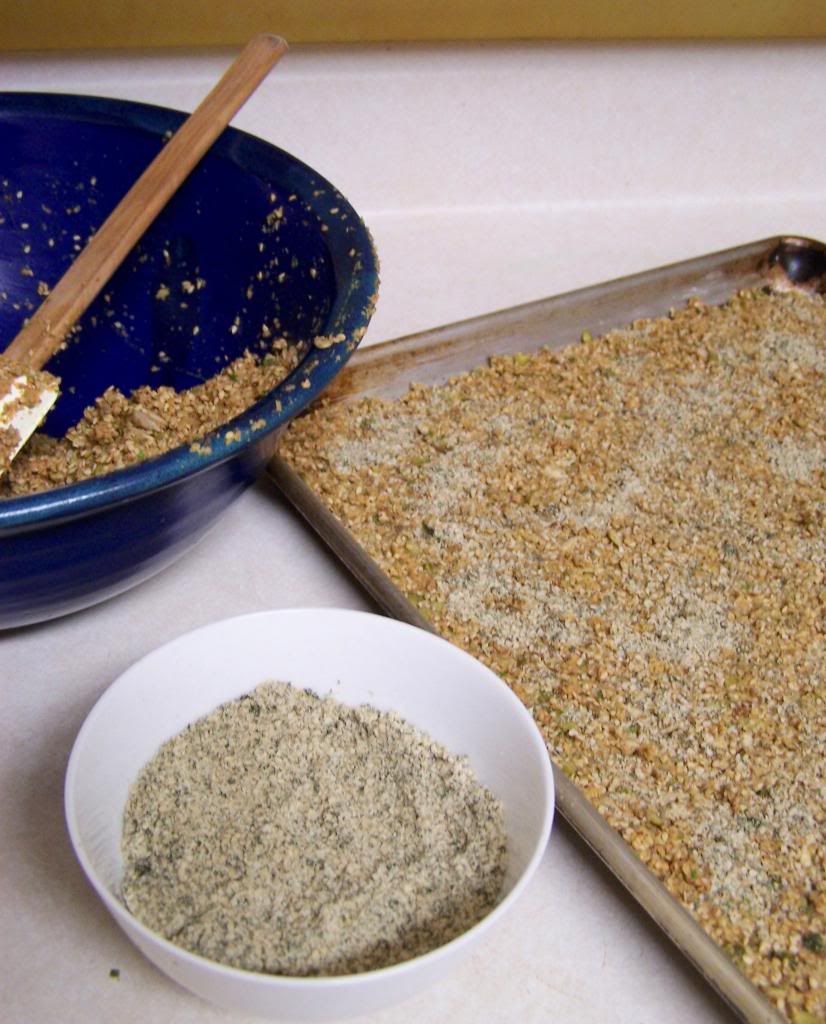
Prepare
topping first as the food processor must be totally dry. Combine all topping ingredients in the
food processor and pulse until the nori is in small pieces about the size of a
pumpkin seed. Remove and put in a small bowl.
To
make the crackers:
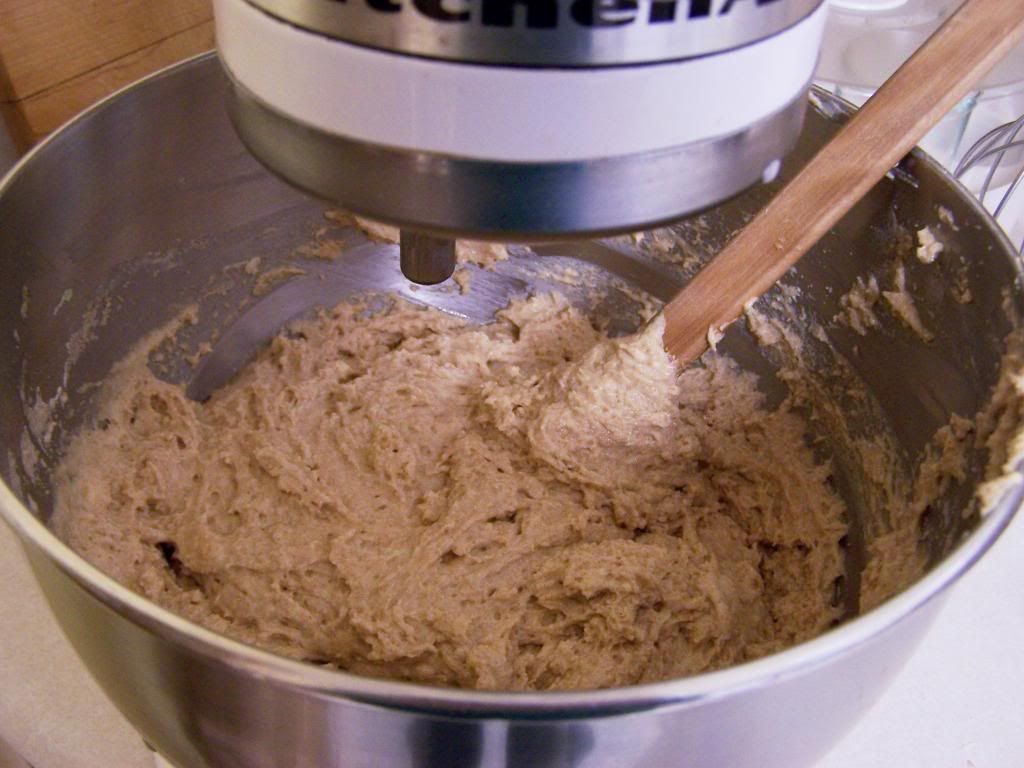
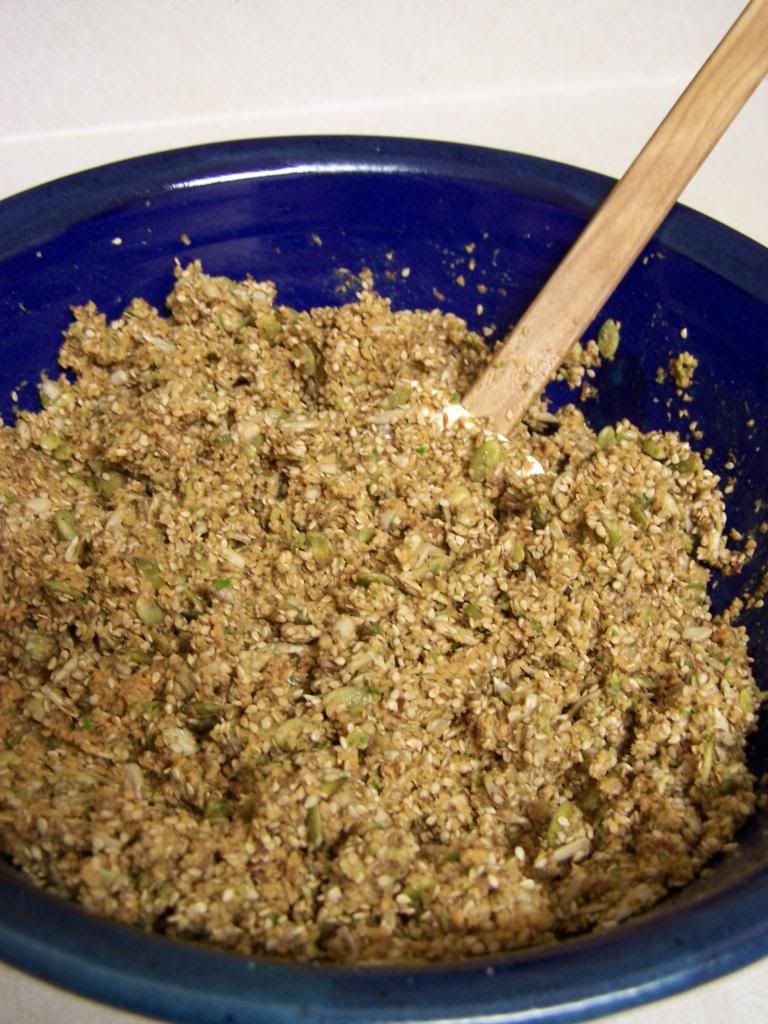
In
the food processor combine all seeds, onion powder and salt, pulse a few
seconds to chop the seeds and mix together.
Remove and put in a bowl.
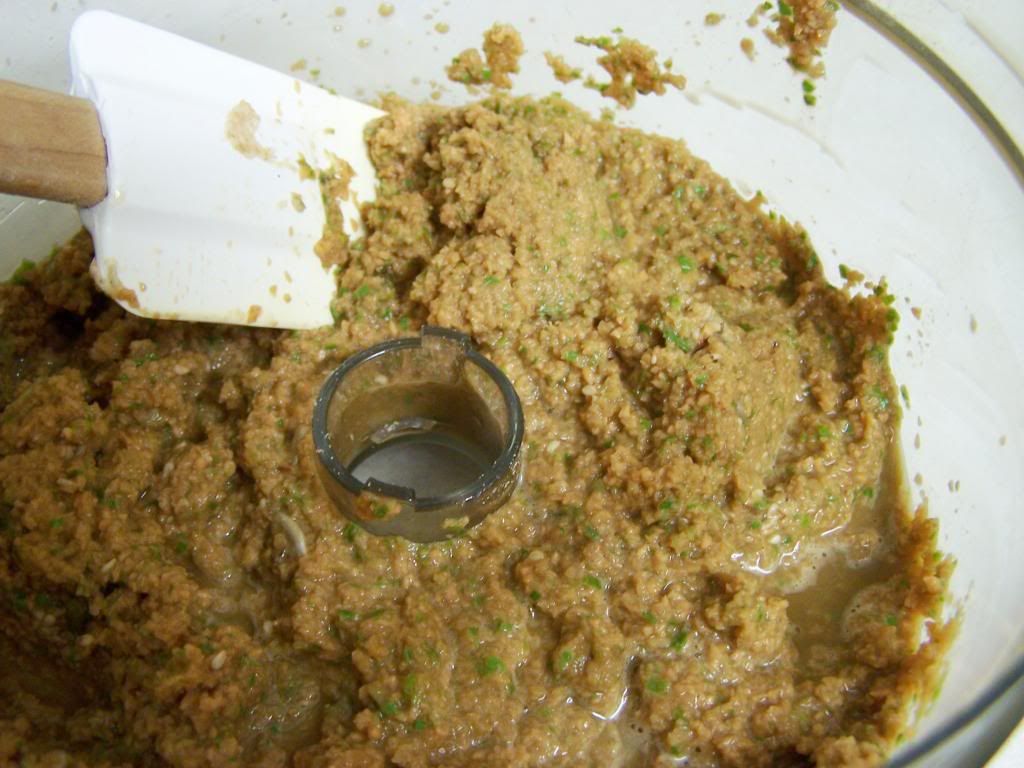
Combine
the remaining wet ingredients in the food processor and pulse until it's a
semi-thick liquid.
Pour
wet ingredients into the bowl with the seeds and stir to coat.
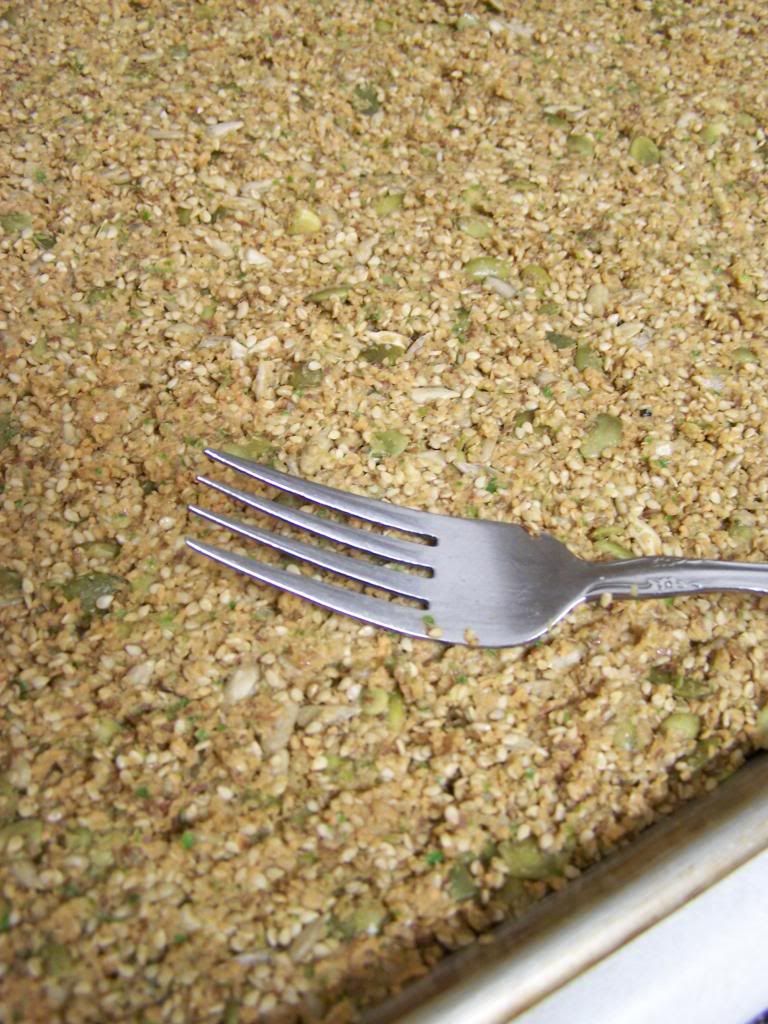
On
a lightly greased cookie sheet spread the mixture as thinly as possible. Using a fork dipped in water helps to smooth
it out.
Sprinkle
topping over crackers. (there will be more than you need, save the rest for the
next batch of crackers!)
Bake
tray at 300*F for about 45 minutes, checking after about 30 mins to make sure it's not
too brown.
Remove
from oven and slide a metal spatula under the cracker breaking it into strips
the size of the spatula. If crackers are still soft, flip each piece
over and return to oven for another 10 minutes until crackers are crisp.
Break crackers into bit sized pieces and store in an
air tight container. Makes 1 cookie
sheet of crackers.
Enjoy!
~ joey ~
I have shared this post with the Link Up Hosts found on the right sidebar.
Please visit them to see what other creative ideas have been shared.