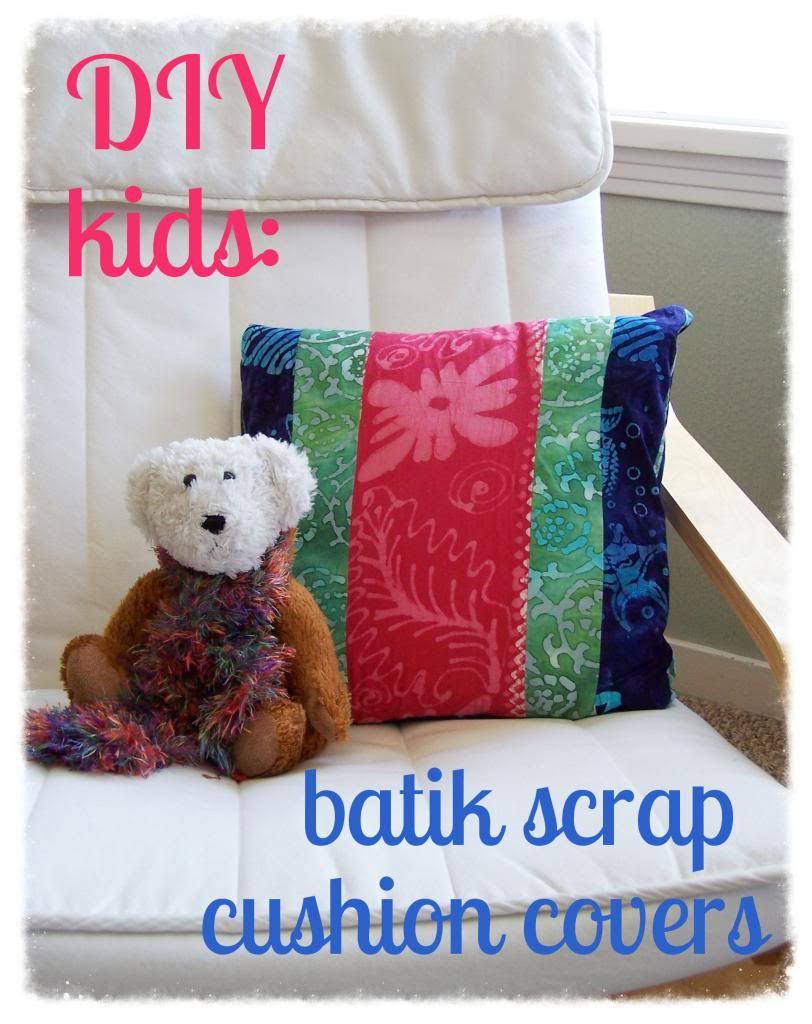
Hello! we're still busy making things and using up our scraps. It feels so good to get these projects done and the materials put to good use!
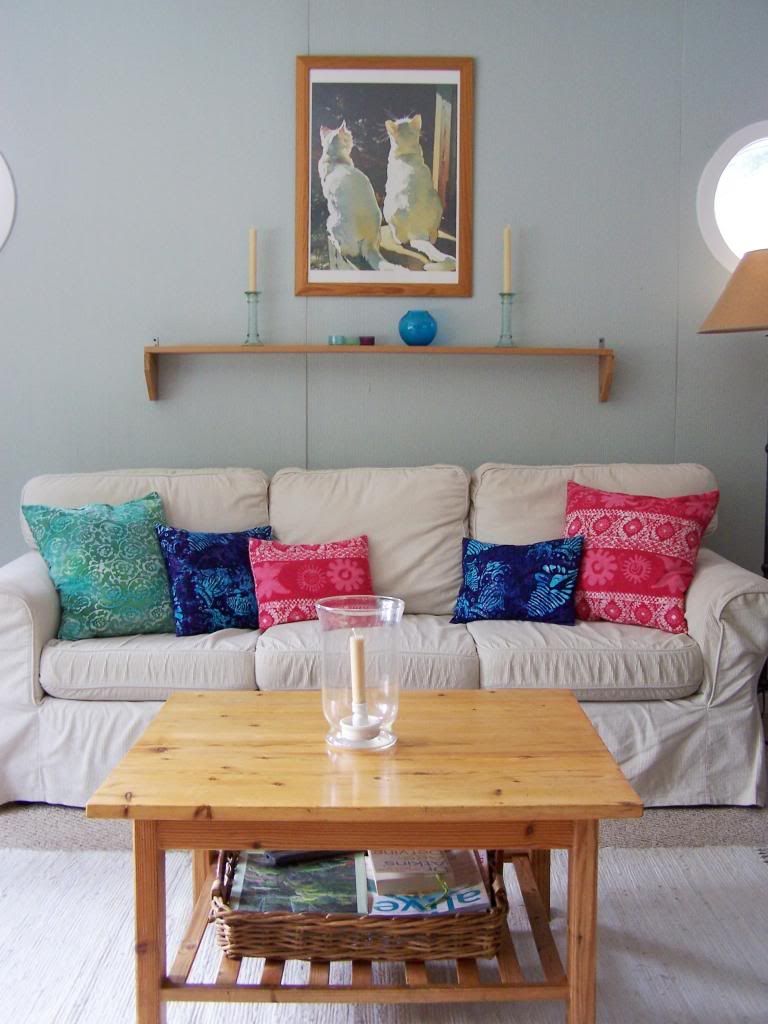
This weekend I made up these cushion covers from batik fabrics (that I found at our Thrift Store!) to give our living room a punch of Spring colour.
My daughter, however, didn't stop there, she saw more potential in my leftover scraps!
So this is a proud Mama moment for me
as this tutorial was made by her!
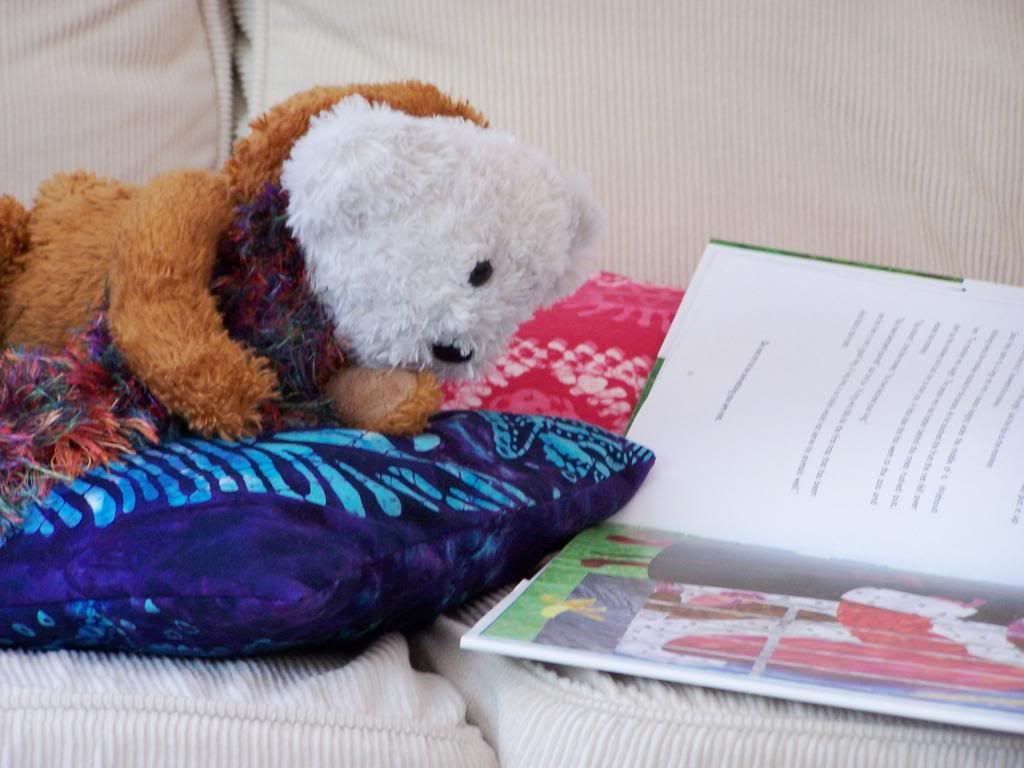
First of all make sure that your little brother's nosy bear has a good book to keep him them occupied as this project takes about one hour!
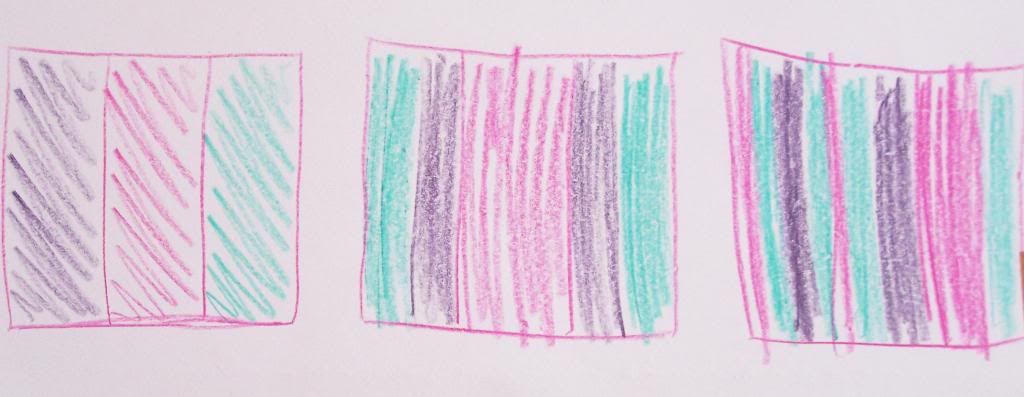
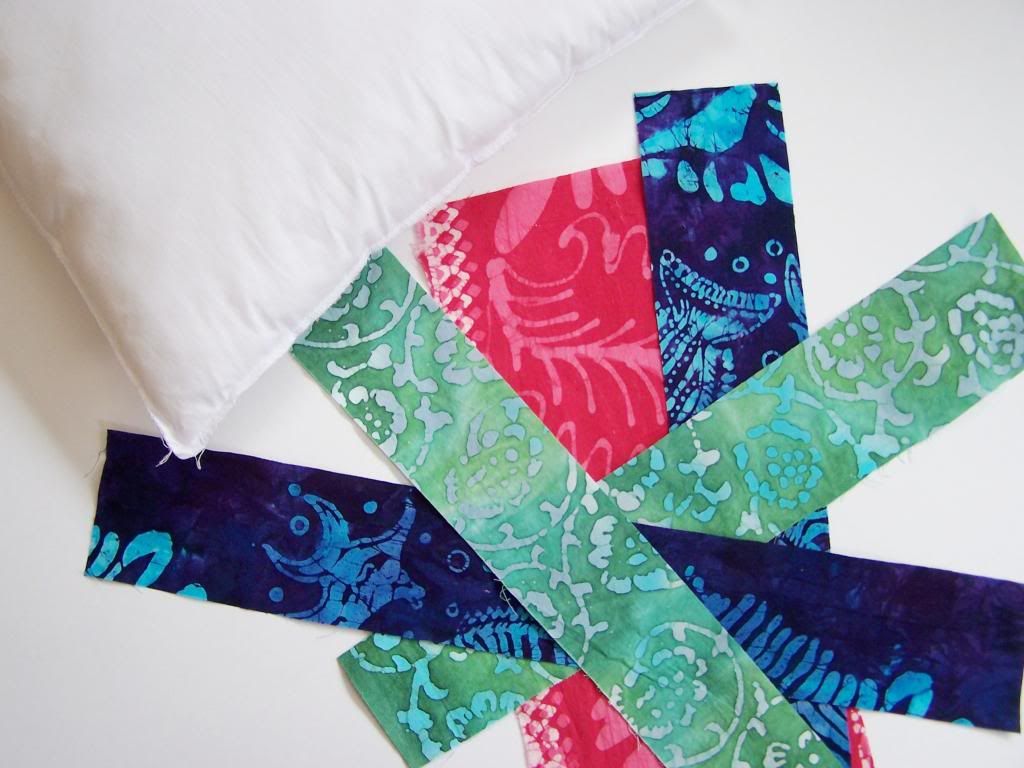
Step 1: sketch out some ideas for fabric placement

Step 2: collect your supplies - pillow form, strips of material, thread and an iron
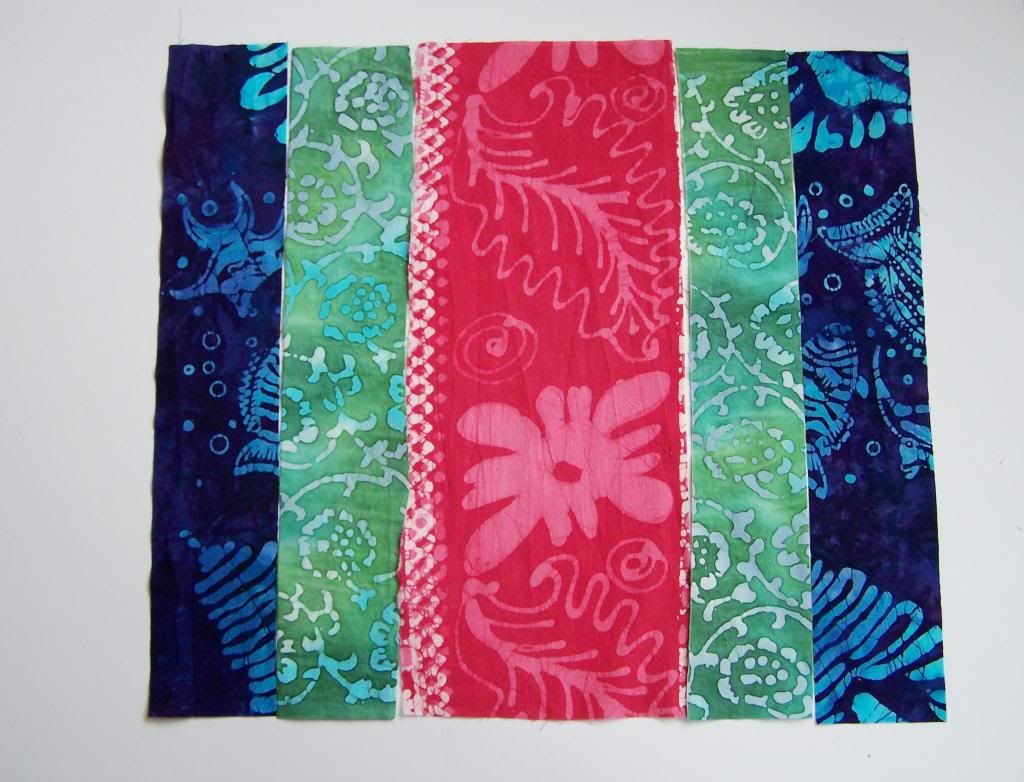
Step 3: lay out your design with the right (good) side of the fabrics facing up
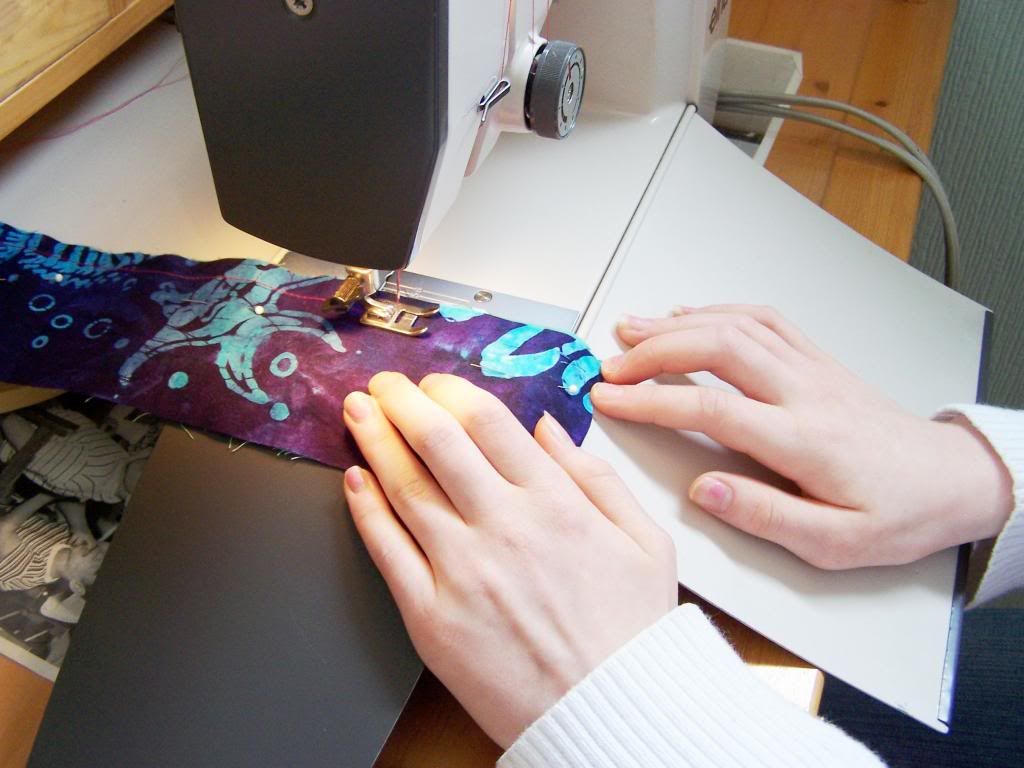
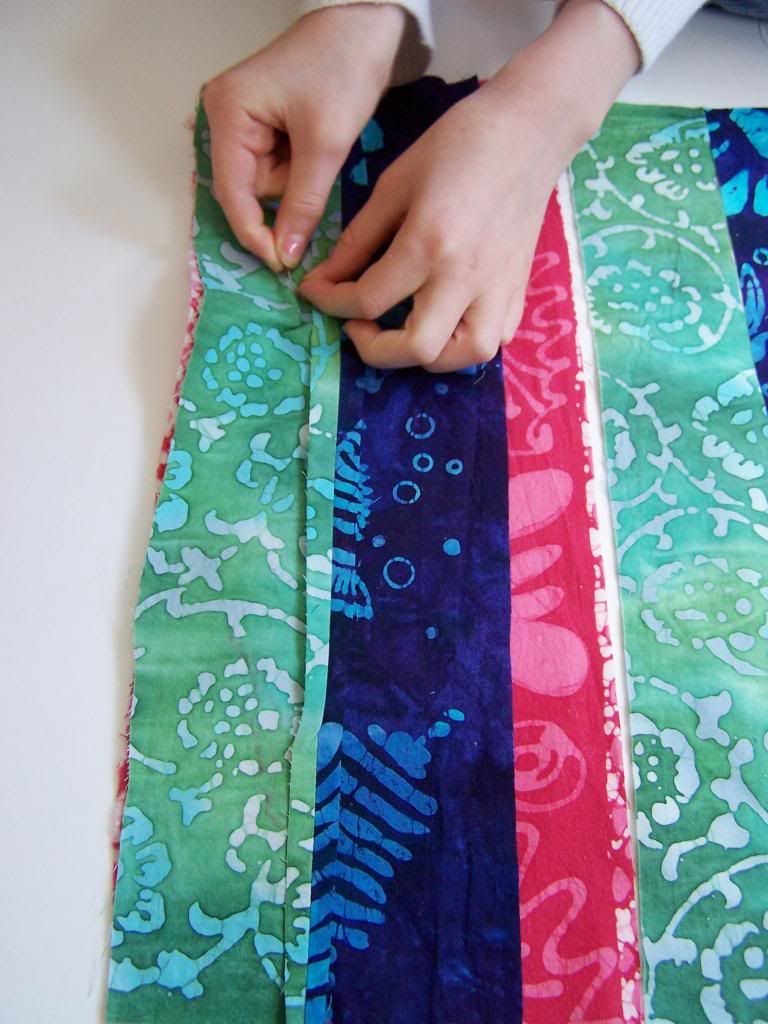
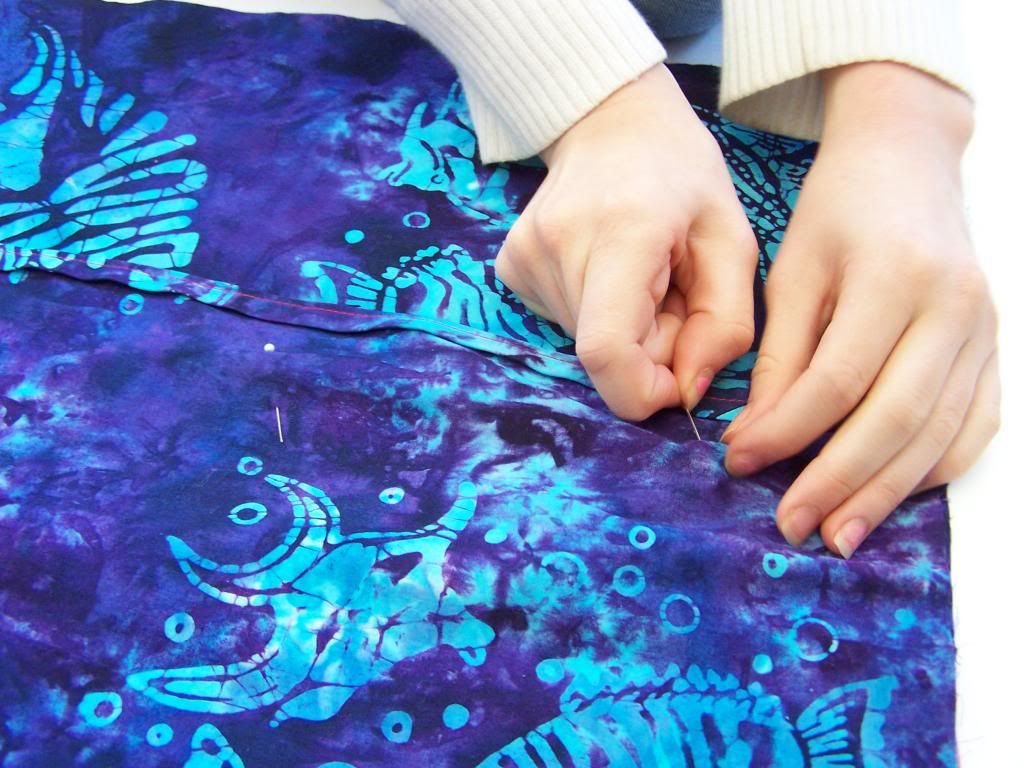
Step 4: pin together two of the fabric strips with right sides together.
Step 5: stitch the two pieces of fabric together.
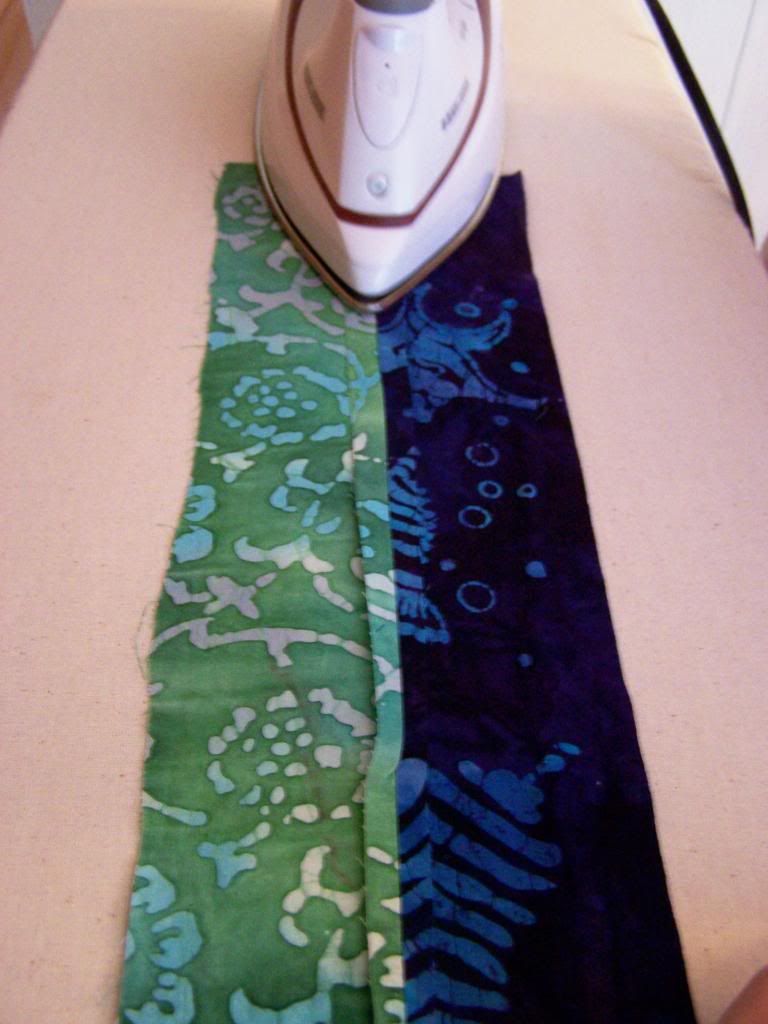
Step 6: press the seam flat with an iron. (or have an adult do it for you)
Step 7: pin the next two pieces of fabric together, stitch and press.
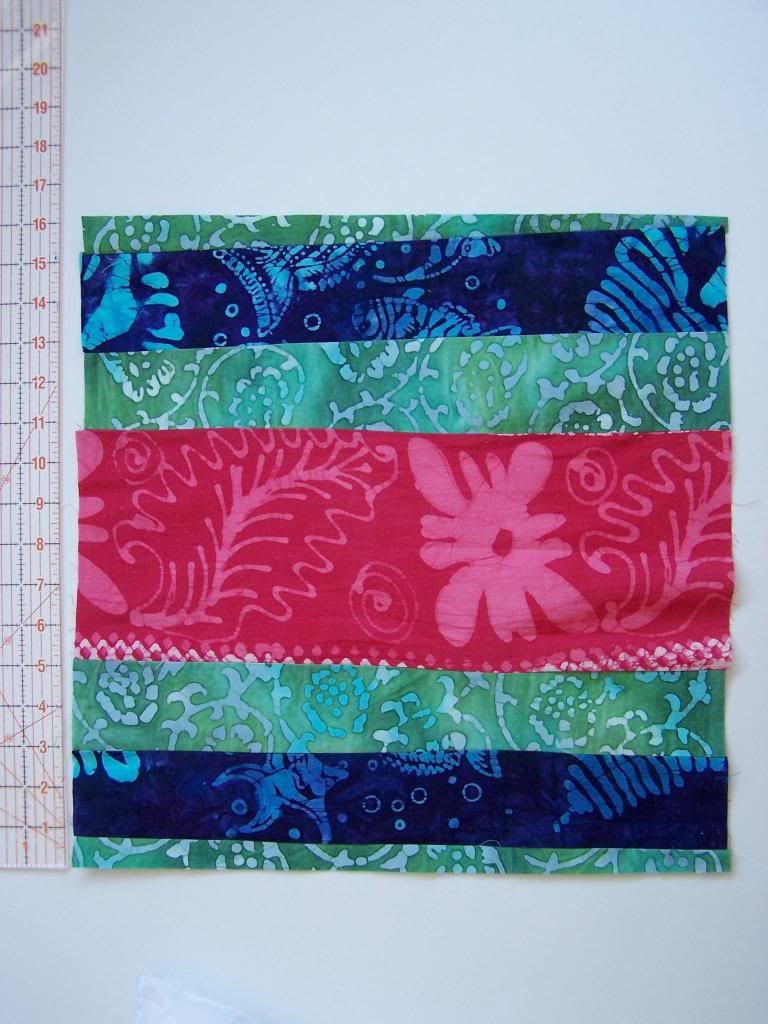
Step 8: repeat until all of the strips are sewn together.
Step 8: repeat until all of the strips are sewn together.

Step 9: measure your fabric to make sure that it's big enough to make the front of the pillow. If not, add more strips to make it wider. For example: I needed my fabric to be 16" square but it ended up only 14"x16" so I had to add two more strips of green...
...and then trim a bit off of both ends to make it 16" square.
To make the back piece with an overlapping closure:
Step 1: Cut two pieces of fabric so that they overlap to create an overlapping closure. For example: the fabric for my pillow is 16" square so I cut 2 pieces of fabric 11"x16".
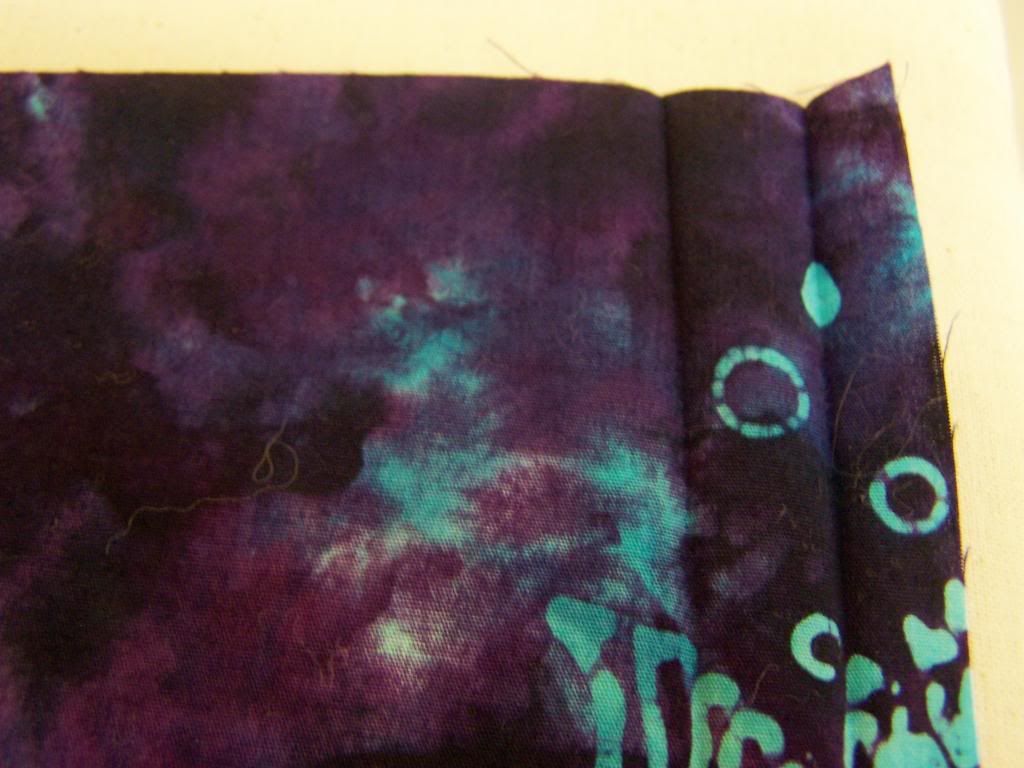

Step 2: With the right side down, fold over the 16" edge 1/2" and press with an iron. Fold over again and press with the iron again to make a hem.
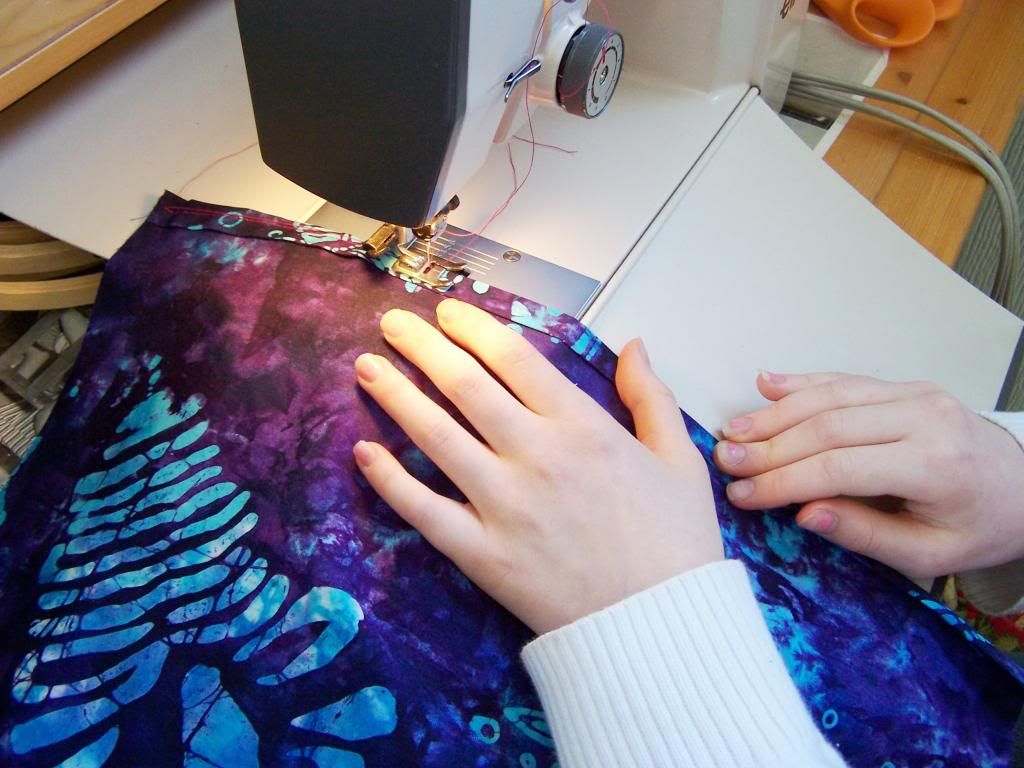
Step 3: Stitch the hem and repeat on the second piece of fabric.
Step 4: In front of you lay the front piece right side up. Then place one of the back pieces right side down ontop with the hem facing towards the centre of the pillow. Lay the second back piece right side down ontop of that with the hem facing towards the centre and pin all 3 pieces of fabric together.
Step 5: Sew all around the edge. You can also zig zag stitch or serge the edge to prevent fraying.
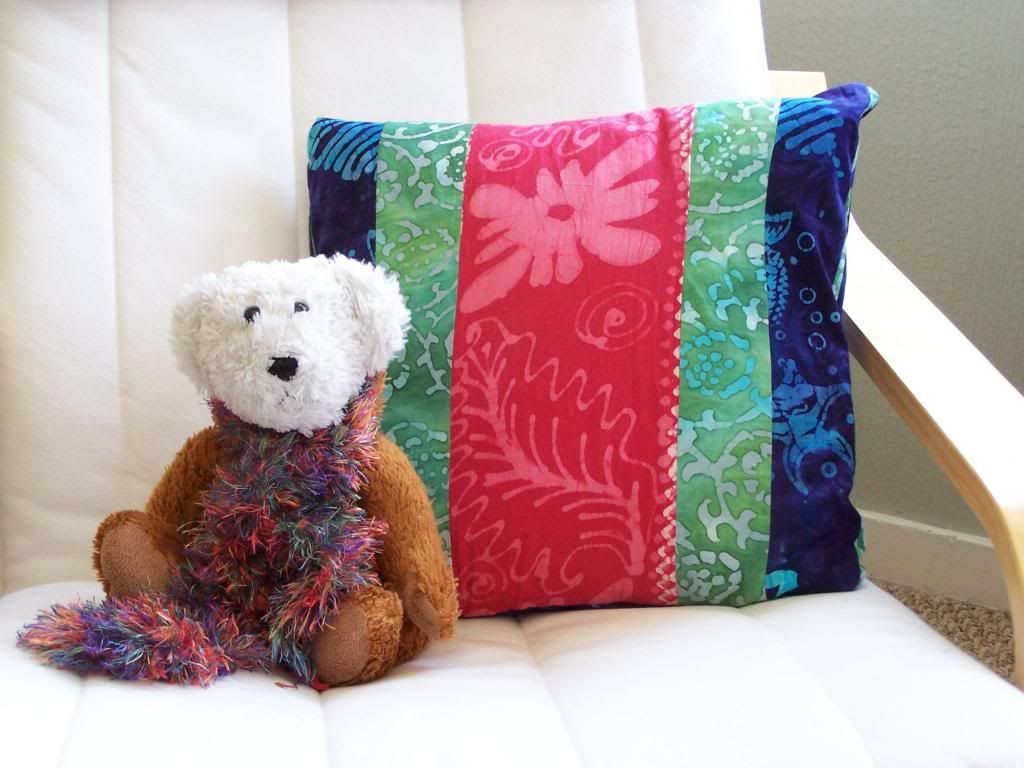
Turn the cushion cover right side out, stuff in your pillow form and you are done! Show off your handmade cushion to your family and take a photo of your beautiful work!
I hope that you found this tutorial inspiring!
wahh keren2 banget batiknya. salam batik lovers dari www.batikmuda.com
ReplyDeleteBeautiful!
ReplyDeletethey look beautiful.great work.:)
ReplyDeleteLove your pillows! I've been wanting to update our living room pillows...alas...hasn't happened yet. Great job!
ReplyDeleteThe batik is really pretty. Love the colour combination.
ReplyDeleteThis comment has been removed by a blog administrator.
ReplyDelete