Welcome back to another day of St. Patrick's Day crafts!
If you missed yesterday's craft click here.

Today I'm going to show you how to make a
cute clover card for St. Patrick's Day.

You will need:
Green quilling paper
Quilling tool
White glue
Cardstock
Ladybug embellishment
Rubber stamp and ink
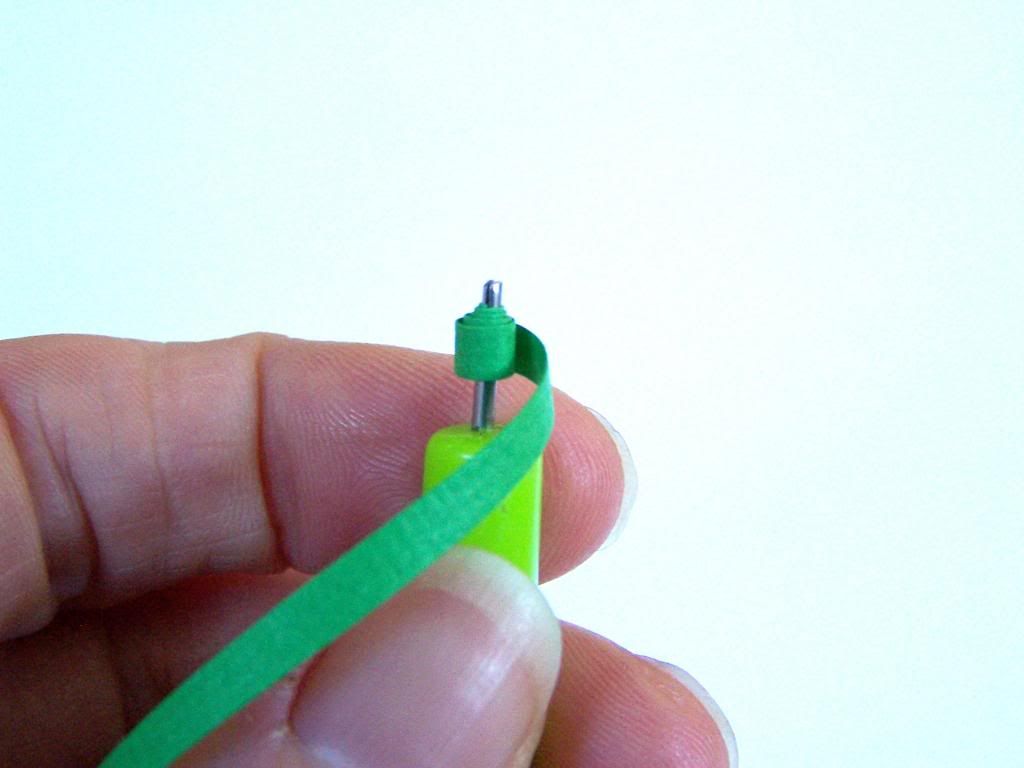
Step 1:
Cut 3 strips of quilling paper 10" long. Wrap the first strip around the quilling tool.
(paper wound on quilling tool)
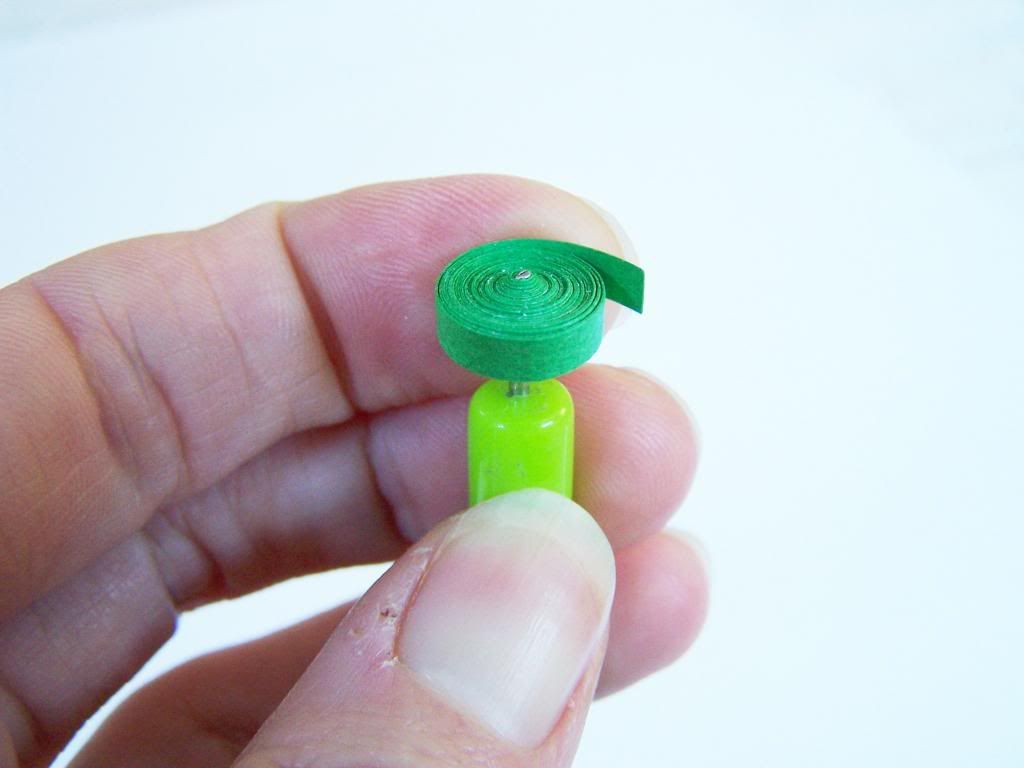
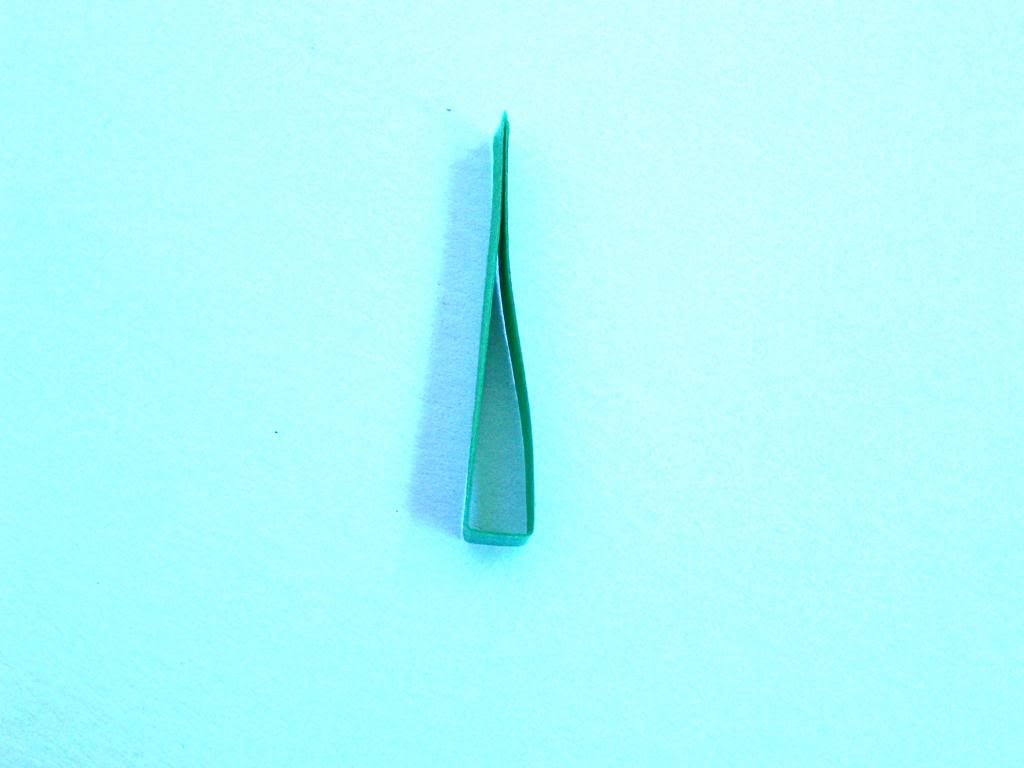
Step 2:
Take the paper off the tool and let it open up a bit.
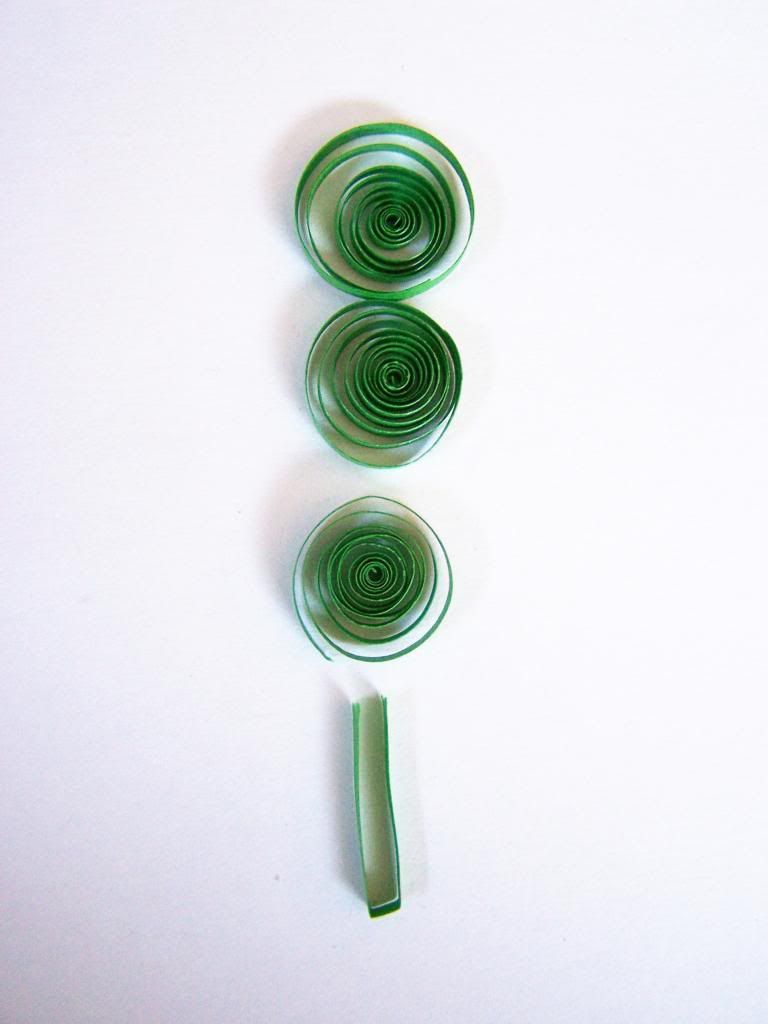
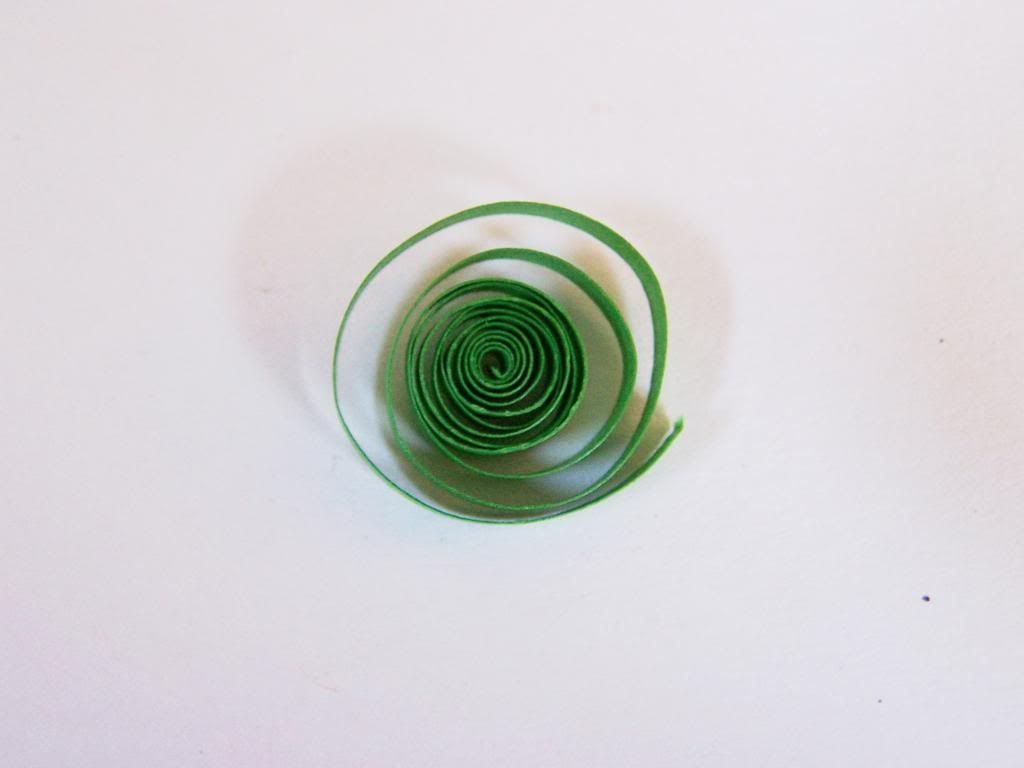
Step 3:
Make 3 circles and fold a stem into the above shape.
Step 4:
Glue the ends of the stem together to make a long triangle shape. Glue the ends of the paper strips to the circles to stop them from unraveling.

Step 5:
Glue the circles and stem into a clover shape.
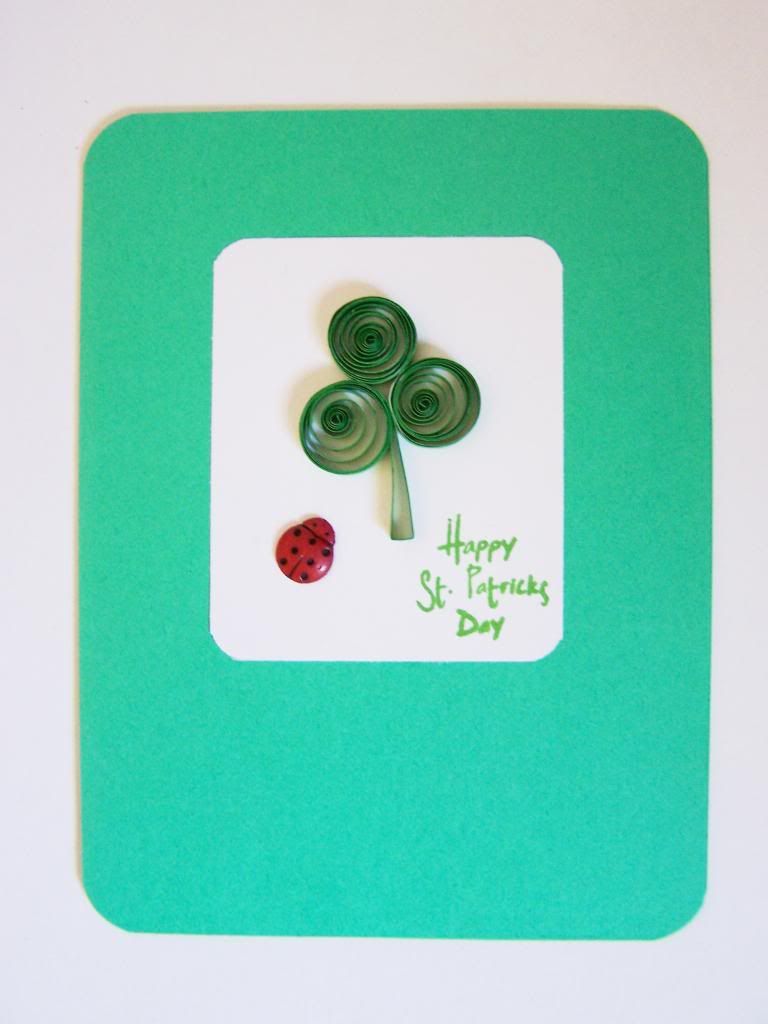
Step 6:
Glue clover and ladybug embellishment onto card and stamp greeting.
Give to someone special!
I will be back tomorrow with a super cute
paper and wire ladybug embellishment tutorial!
See you then!
~ joey ~
Frontier Dreams - Keep Calm Craft On
Shared with:
Like Mama~Like Daughter - Eco Kids TuesdayFrontier Dreams - Keep Calm Craft On
I love it! I've never done quilling before, but I may just have to try.
ReplyDeleteHi Lydia!
ReplyDeleteI was surprised how simple quilling was when I first tried it. My 10 year old daughter enjoys it too.
Thanks for stopping by!
~ joey ~
Cute! Thanks for sharing with us on Eco Kids. I would like to try the cute paper quilling technique someday!
ReplyDeleteYou have the cutest ideas, Joey! Thanks so much for sharing this with us at Eco-Kids Tuesday! Hope you come back and visit today!
ReplyDeletehttp://likemamalikedaughter.blogspot.com/2013/03/nifty-thrifting-at-eco-kids-tuesday.html