Welcome to Day #3 of St. Patrick's Day crafting!
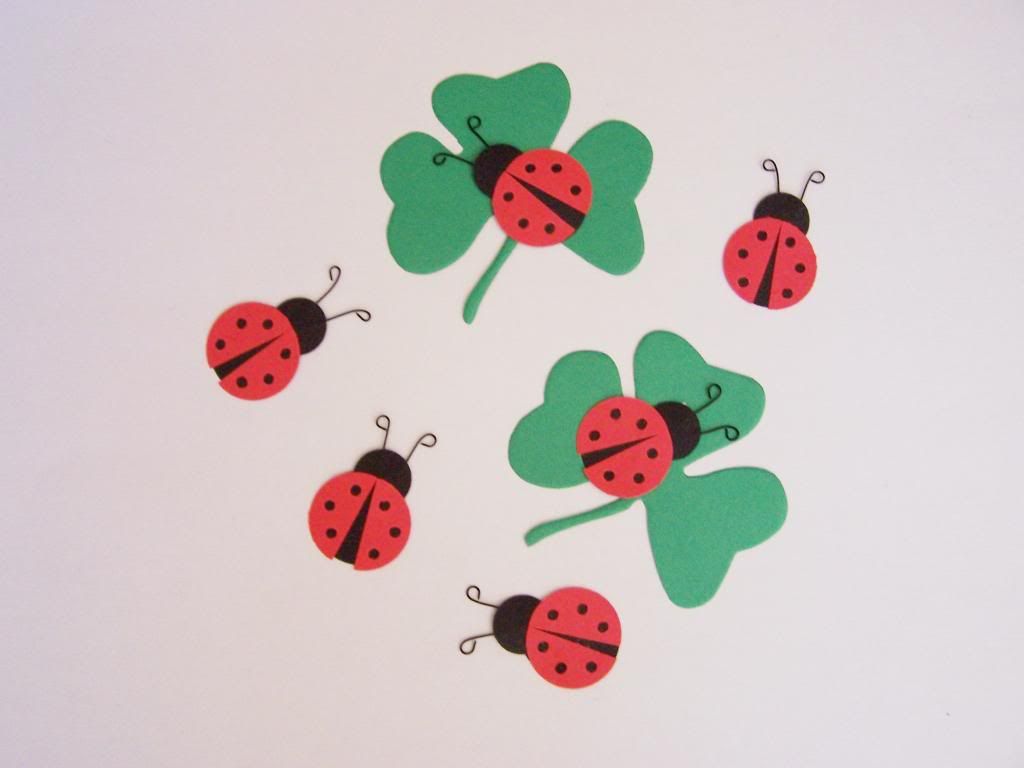
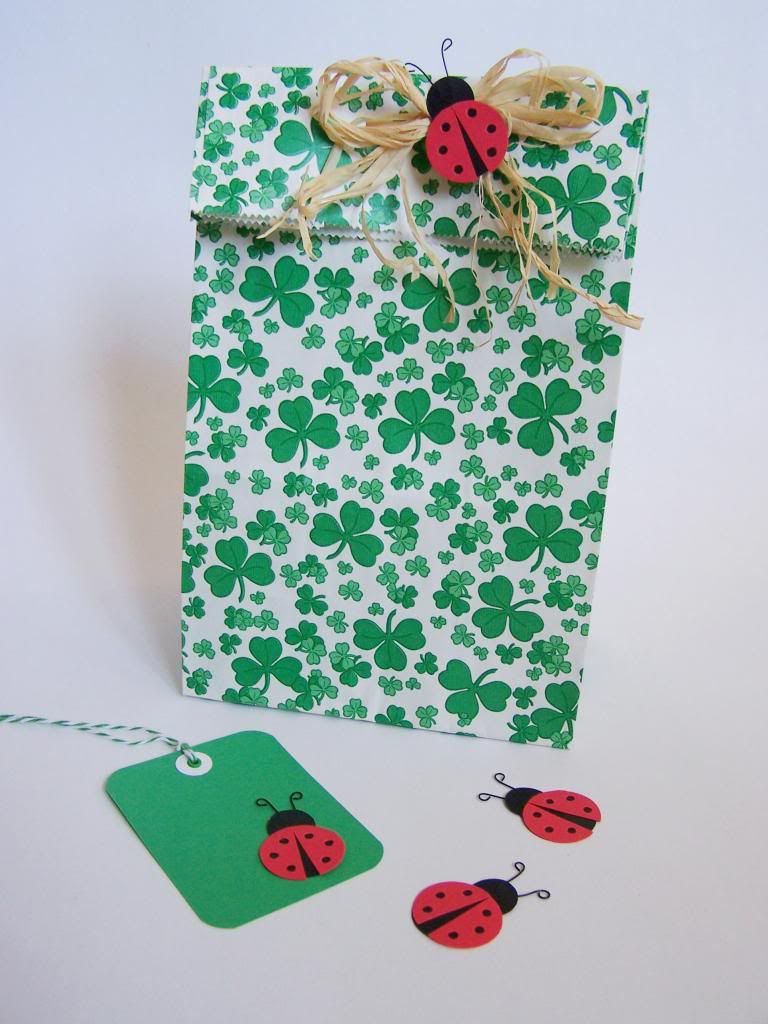
Today I'm making some lucky little ladybugs that can be attached to cards, tags or embellish a small gift bag.

small scrap of red and black cardstock
1" circle punch
5/8" circle punch
1/8" hole punch
black craft wire (24 gauge)
white glue
double sided tape
scissors

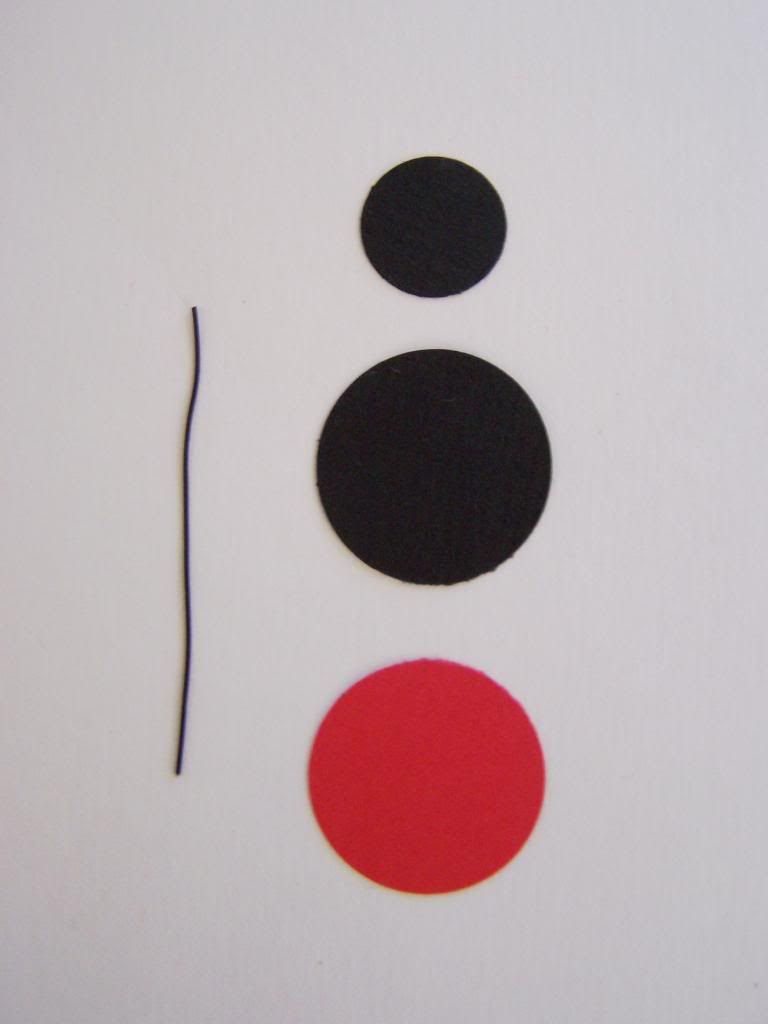
Step 1:
Punch: one 1" red circle, one 1" black circle and one 5/8" black circle.
Cut: one 2" piece of black wire
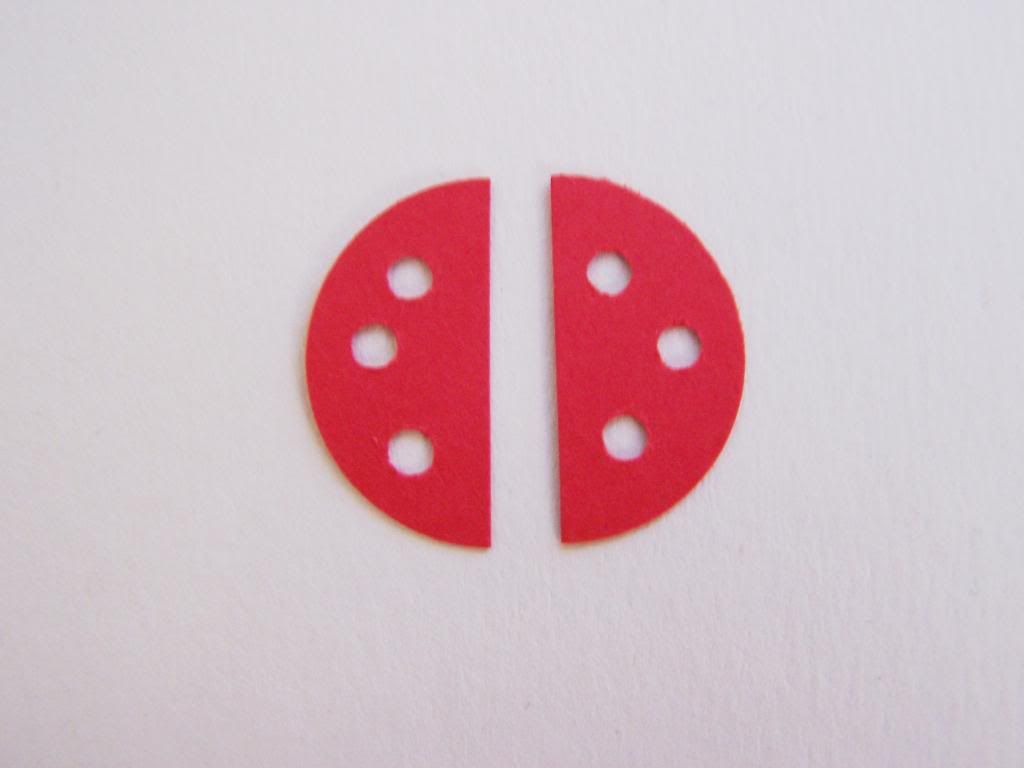
Step 2:
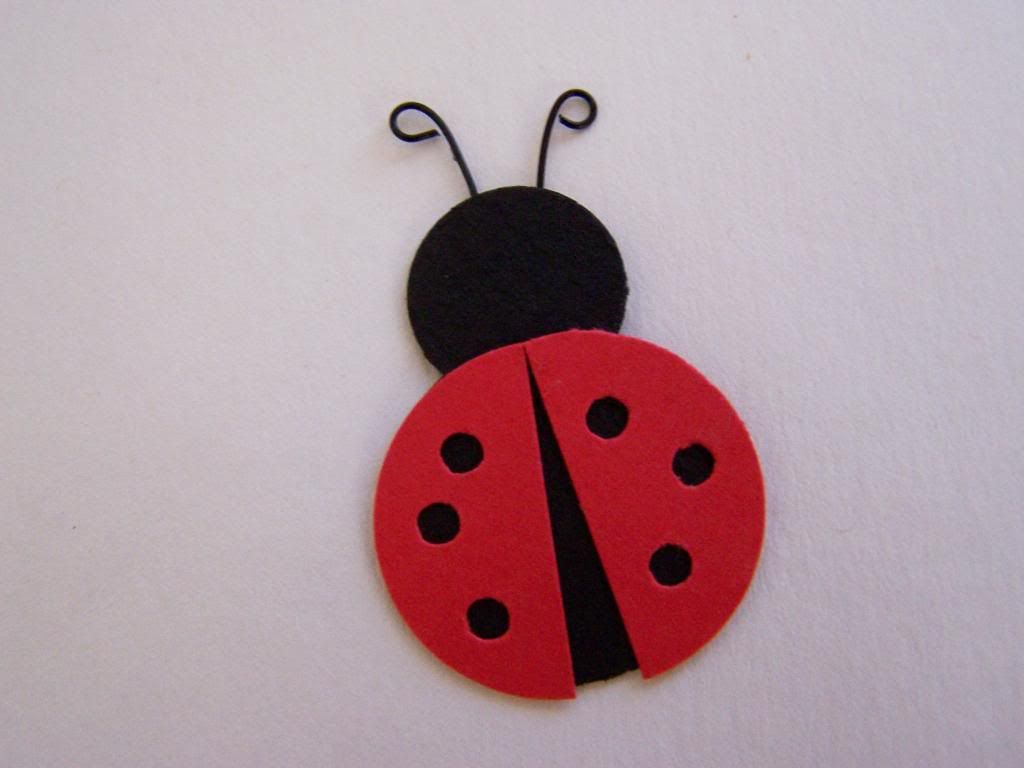
Cut 1" red circle in half with scissors. Punch 3 holes with the 1/8" hole punch in each piece.
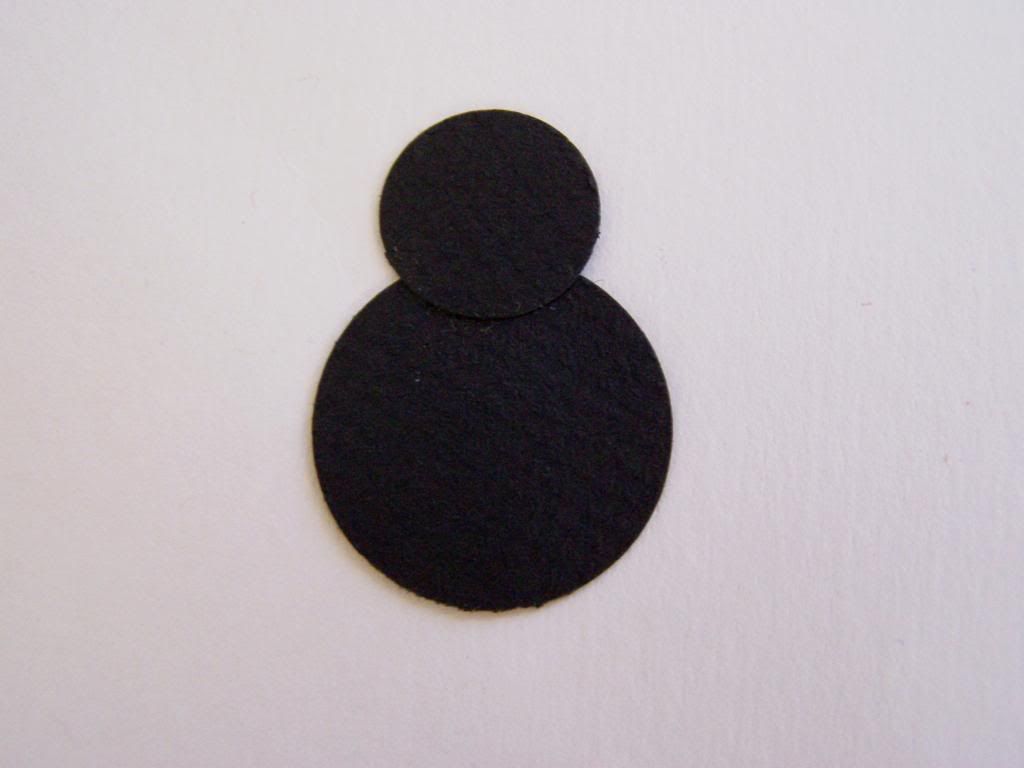
Step 3:
Glue 5/8" black circle (head) to the 1" black circle (body)

Step 4:
Glue both red half circles (wings) onto the body slightly apart.
Step 5:
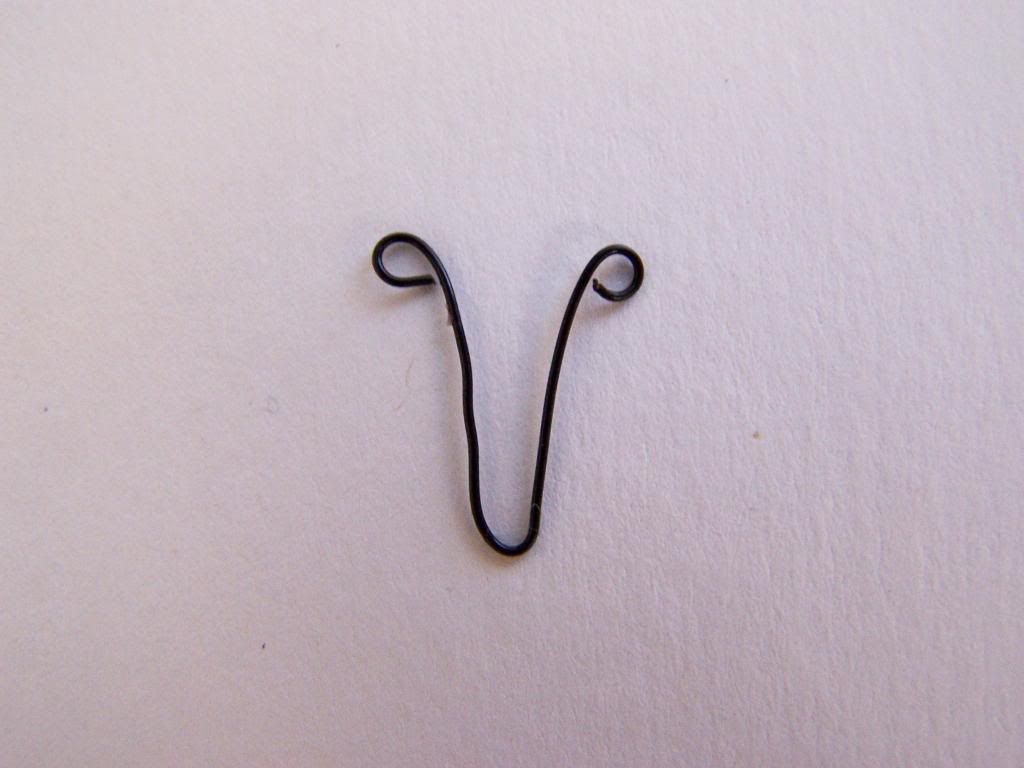
Bend wire in half and then curl ends into a loop (antennae).
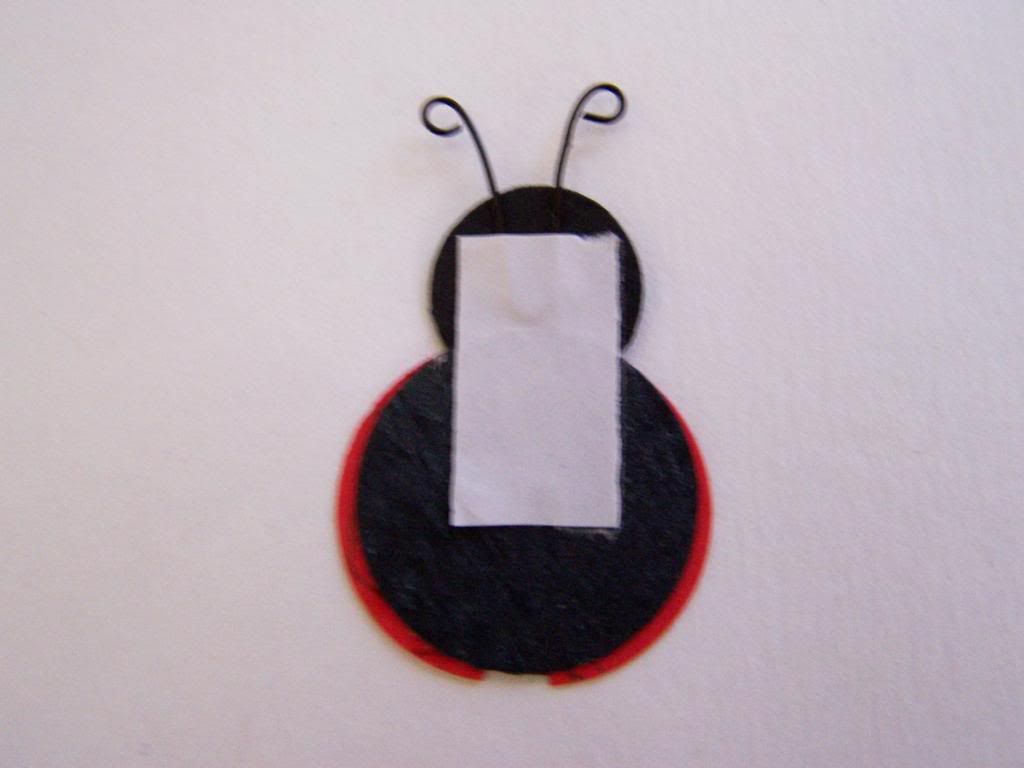
Step 6:
With double sided tape, attach the antennae to the back of the head.
You're done!
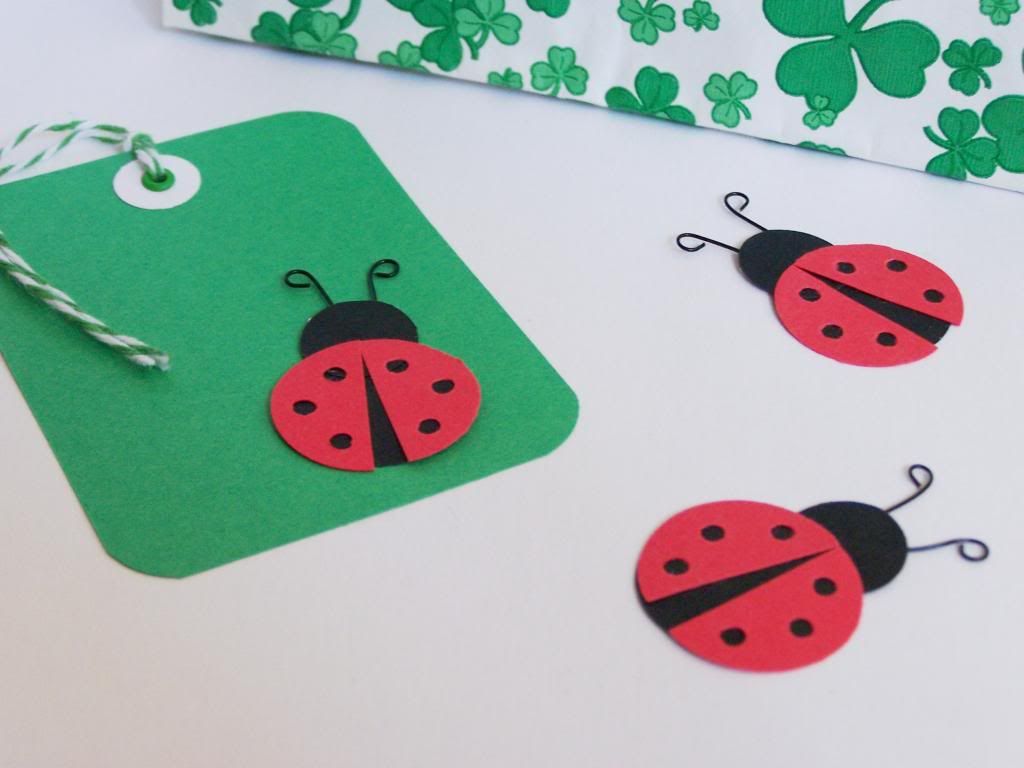
Now peel off the tape backing and adhere to your card, tag or project!
Please note: these little ladybugs are not safe for young children.
I'll be back tomorrow with another St. Patrick's Day craft,
I'll be back tomorrow with another St. Patrick's Day craft,
thanks for joining me this week!
~ joey ~
No comments:
Post a Comment
I really enjoy reading your thoughts and ideas about the posts that I write here. It's nice to just say hi too!
~ joey ~